Showing posts with label die cuts. Show all posts

Saturday, June 27, 2026

Chinoiserie Thank You Card

Hi friends!  I'm so happy to be a part of an Instagram Hop happening today for My Pretty Things new release called Life InDex.  There are lots of fun products for your memory keeping and these can also be used in your card making too!  I've used the gorgeous Chinoiserie Stamp set with coordinating stencils and dies.

If you don't know about My Pretty Things, this is a small company owned by Erin Thompson.  She also hosts the most awesome craft retreat.  The Nashville Craft Retreat is held annually in Franklin, TN, which is just outside of Nashville.  Erin also has crops and virtual retreats that you should check out!  I've been to the Nashville Craft Retreat this year and the previous three.  It is SO much fun and you get to learn new things and bring home so much swag and products from her sponsor companies!  Information about and registration for the 2027 retreat is open now!

First I stamped the Chinoiserie images.  Then I used a few pink and green inks in my stash to color these with the Chinoiserie stencils and blending brushes.  A brand new tool, available from My Pretty Things, are these awesome blender brushes that I used with the inks and stencils!

I seriously would not recommend these if I did not like them.  I know there's lots of choices we have for ink blending brushes, but I definitely recommend these!

When I finished the stenciling, I cut out the images with the coordinating Chinoiserie dies.  I used glue and some foam adhesive to adhere them to a 4" x 5-¼" pink cardstock panel.  Then I added foam tape to the back of the panel to adhere it to my A2 card base.

The sentiment is one of two included in the Chinoiserie stamp set.  I stamped it with black pigment ink and cut it out with the coordinating die.  A few foam squares were used to adhere the sentiment to the card.

I added some pretty and so sparkly sequins from the Chandelier Shaker Mix.

I hope you will join me over on the Instagram Hop.  There will be a prize of a $25 gift certificate given away to two lucky commenters!  If you can't join the hop, then I hope you will check out the new release and all of the other fabulous products in the My Pretty Things shop.

Friday, February 6, 2026

Sending Springtime Smiles

Today I'm back to share another of Spellbinders' February Club Kits!  The main feature of this card is the Small Die of The Month, called Spring Haul!  Can you believe the amount of dies included in this "small" die set?  The dies may be individually smaller but there are actually 32 dies included in this set!  That makes this set a keeper to use a few, or more, of these dies on different projects.

This card actually features all three of the February Club Kits that I will be featuring each month this year.  In addition to the Spring Haul Small Die set, this features a card layer embossed with the Shady Leaves 3D Embossing Folder of The Month.  Also, the sentiment is from the Ears To Spring Clear Stamp & Die for the month!

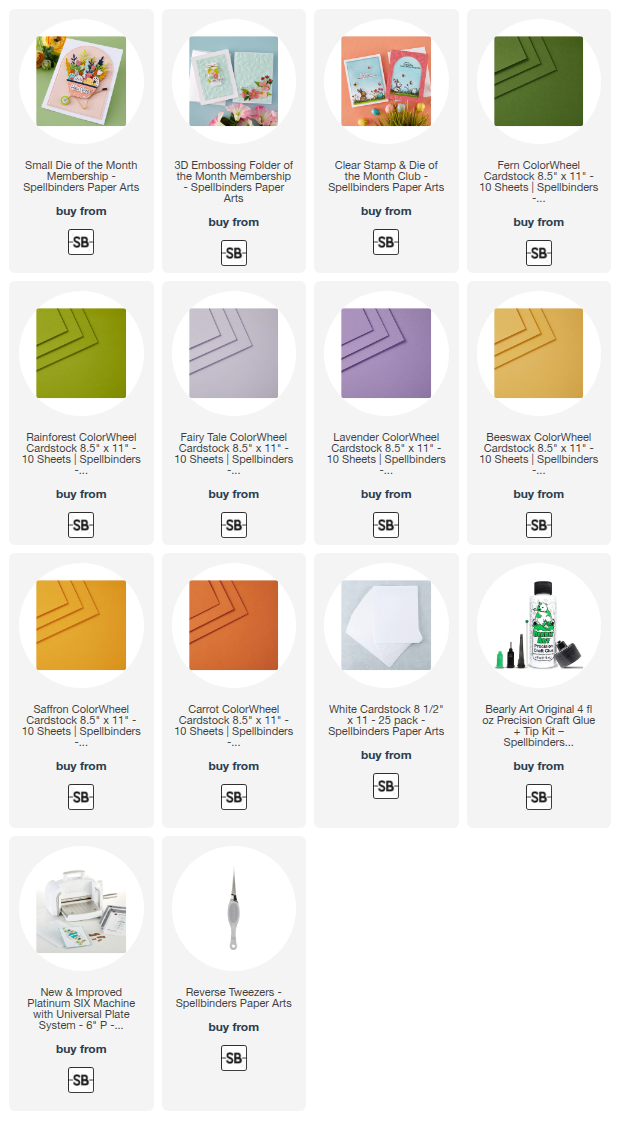
I die cut the dies for the Spring Haul greenery multiple times to have plenty to fill the wheel barrow.  The cardstocks I used are in the list below.

You can fill your wheel barrow with as few, or as many, die cut pieces of greenery as you want!  I die cut three of the eggs.  There are three dies to inset to the three oval dies to have a different design.  You get to choose!

The sentiment is from the Ears To Spring Clear Stamp & Die for February.  You really should check out this set to see the totally adorable image included!  Or, check out my previous blog post that features this!

Today is the day that the Club Kits subscriptions open for new subscribers!  These Club Kits have been very popular so far this year, with some Kits selling out!  Check them out here!

Thank you for stopping by today!  I hope you have a wonderful, and crafty, weekend!

Thanks so very much for using my affiliate links to shop (never any additional cost to you)!

Wednesday, September 17, 2025

A Day To Remember -- A Fun Stenciled and Die Cut Autumn Card

Hello, crafty friends!  I'm still loving to create autumn themed cards and I've made one today with Honey Bee Stamps Maker's Mix stencil set and coordinating dies!  I've added in a favorite older set called Lovely Layers: Autumn Bouquet for the floral details.

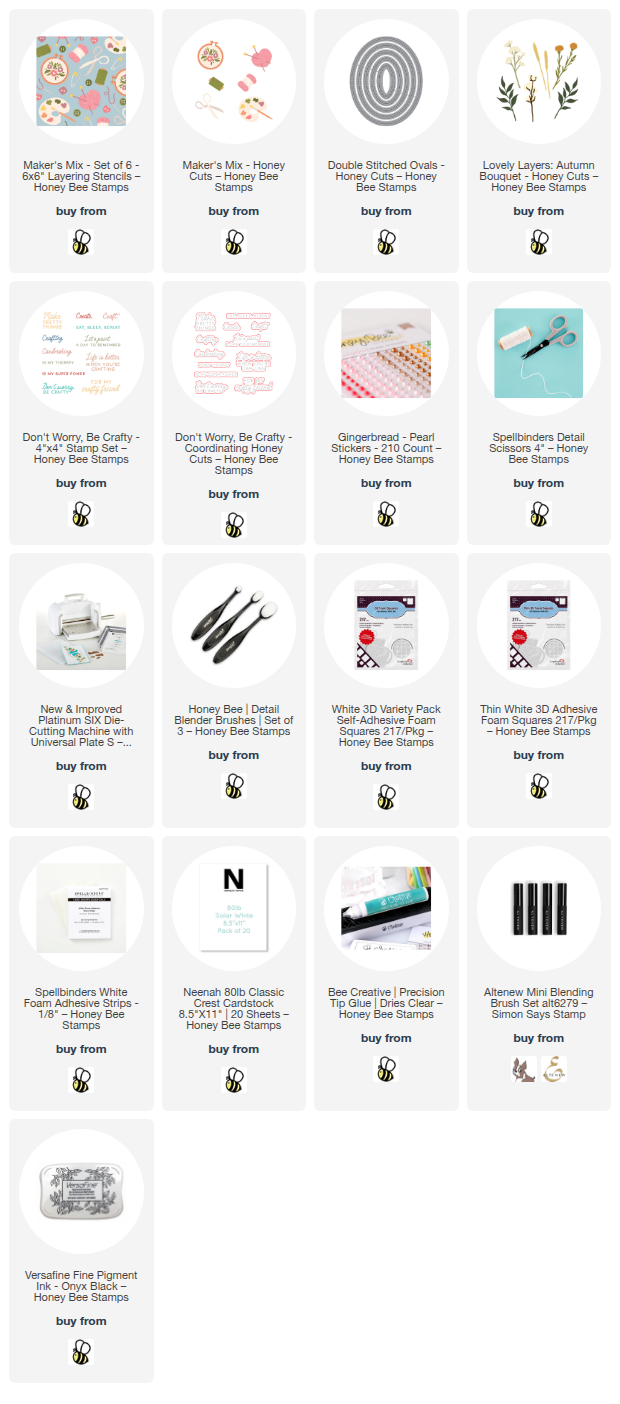
I began with an A2 sized piece of colored cardstock for my stenciling with the Maker's Mix stencil set.  I used mini blending brushes to add coordinating autumn colored inks through each of the six stencils.  Then I trimmed the piece to 4" x 5-¼".  I have all of the cardstock and inks in the list below.

Next I die cut colored cardstock with the middle sized Double Stitched Oval die.  I added foam tape to the back and adhered it to the stenciled panel.  Then I used my scissors to trim off the oval overhanging the panel.  I used glue to adhered this to an A2 sized piece of cardstock in the same color and then glued it to an A2 card base.

Next I die cut several different colored cardstocks with the dies in the Lovely Layers: Autumn Bouquet Honey Cuts.  Then I used glue to adhere the layers together.  I played around with various arrangements of the florals and then used a piece of Press N Seal to pick them all up.  I LOVE doing this to retain the arrangement I made!  I used foam squares and glue to begin adhering the bottom most die cuts.  I continued until all of the florals were adhered to the oval.

I die cut white cardstock with the pallet die from the Maker's Mix .  Then I used the Maker's Mix stencils to add color to the pallet with inks in colors that coordinate with the Autumn Bouquet die cuts.  I added thin foam tape to the back to adhere it at the bottom of the floral arrangement.

The sentiment is from the Don't Worry, Be Crafty stamp set and is stamped in black ink.  I cut it out with the coordinating Honey Cut.  To adhere it the sentiment, I added a double layer of foam strips on the right back and glue to the left to bring the sentiment to the same height as the paint palette.

I added a bit of bling with pearls from the Gingerbread Pearl Stickers set.

Would you have thought to create an autumn card with the Maker's Mix stencils?  If not, I hope you've been inspired to try this out!  Thanks so much for stopping by!  I hope your day is wonderful and filled with fun crafty times!

Thank you so much for using my affiliate links to shop (never any additional cost to you)!

Tuesday, February 20, 2024

You're Simply The Best -- Create A Card With Die Cuts!

Hello crafty friends! Today I'm sharing my card that features the gorgeous Honey Bee Stamps Bold Backgrounds: Vintage Roses die set. As beautiful and intricate as this set appears, it was so quick to create a card with! I love that the roses can be used alone too!

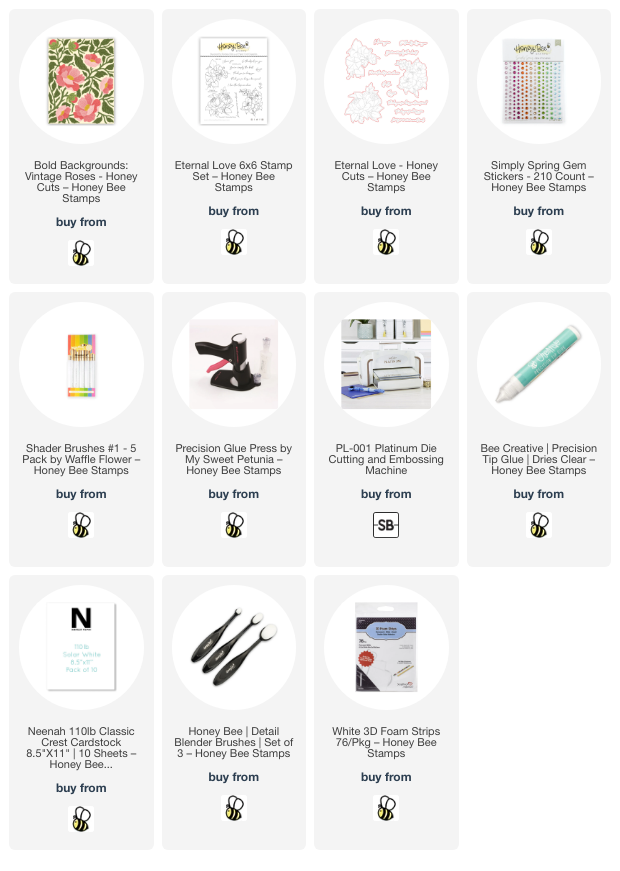
First I die cut the all of the pieces of the Bold Background: Vintage Roses dies. I cut the base of leaves from 100# white cardstock and used small blending brushes to add two shades of green ink. The flower layers are die cut from two shades of peachy toned cardstock. I used a coordinating peach ink to add shading to the petals with my ink blending brush.

Be sure to die cut two each of the large flower and three each of the medium and small flowers. I used the handy Layering Guide found in the product description to help in assembling the flowers. Next I used glue to adhere all of the layers together. I added glue to the base to adhere the piece to a top-folding A2 card base.

I chose a sentiment from the Eternal Love stamp set and stamped it with black in. I cut it out with the coordinating die and added foam tape to the back to adhere the sentiment.

I decided to add a bit of sparkle and found the perfect color of coordinating gems in the Simply Spring Gem Stickers! I think all cards are better with a bit of bling, right?

This card was really just that easy! I absolutely love the Bold Background: Vintage Roses! Thank you so much for stopping by today! 

Thank you for using my affiliate links to shop (never any additional cost to you)!

Wednesday, January 24, 2024

Hearts, Home, & Patterned Paper Card

 Hello crafty friends!! While we await the new Vintage Love release from Honey Bee Stamps on January 31, it gives me the chance to pull out previously released favorite sets to create with. Today my card is all about heart and home and features the Spring Cottage Village dies and No Place Like Home sentiments.

Often, when I am using products that I've used before, I like to try to think of something different to do. This time I used a sheet of beautiful paper from the Marvelous Moments paper pad. I chose the paper that has a flower border around three sides. I trimmed one end of the paper to 4-¼" x 5-½" and glued it to an A2 card base. My "something different" is to use my scissors to trim around the flowers of the remaining piece of the paper. When I had it all trimmed, I added thin foam dots to the flower border and adhered it in the bottom left corner of the card.

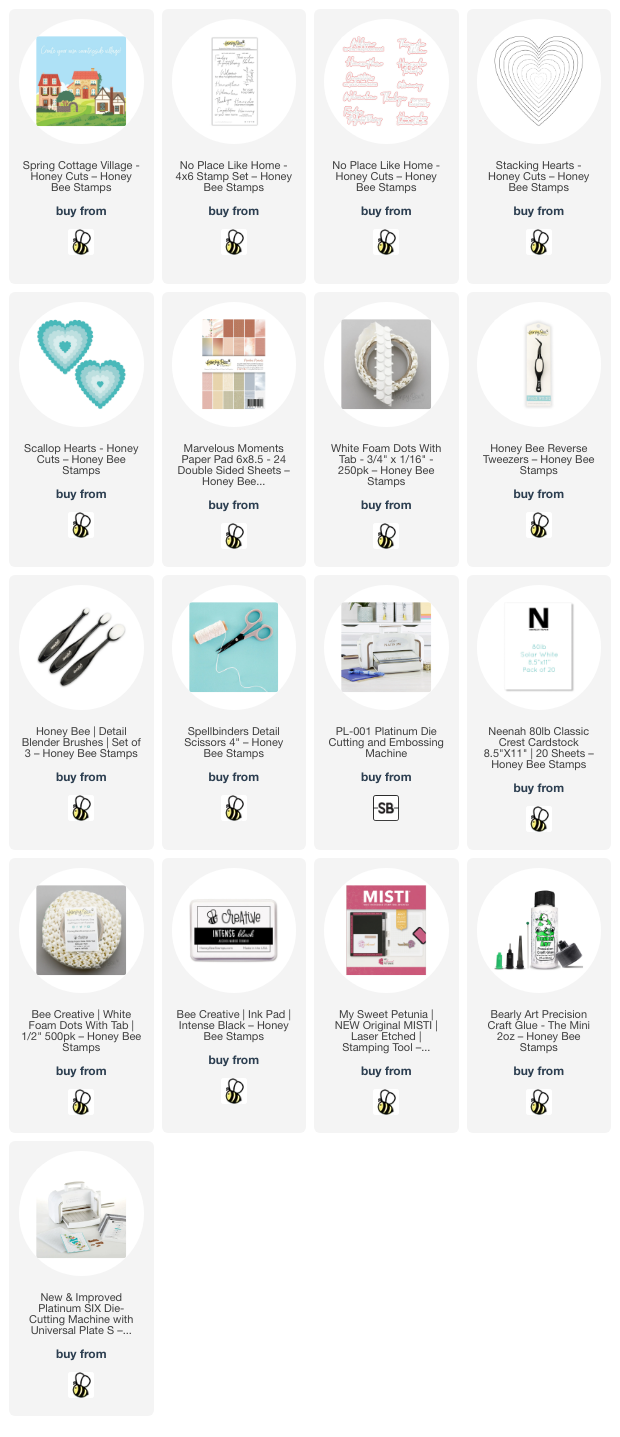
Next I chose a cottage from the Spring Cottage Village dies and cut the pieces from 80# Neenah. I used various inks in my stash that coordinate with the patterned paper colors to color the cottage elements. I used glue with a fine tip, and my reverse tweezers, to assemble the cottage.

I die cut a Stacking Hearts die from 80# Neenah and used removable tape to mask off the bottom so I could add green ink with a blender brush. Before I removed the mask, I added ink splatters in the same green ink diluted with a drop or two of water. Then I masked off the green and repeated the steps with blue ink.

I used glue to adhere the cottage and tree to the ink blended heart. Next I chose a coordinating solid paper in the Marvelous Moments paper pad and die cut a Scallop Hearts from it. I glued it to the card base and the other heart on top with foam dots.

The sentiment from the No Place Like Home set is stamped in black ink and die cut with the coordinating die.

Have you ever trimmed part of your patterned paper to pop up on your card? This was my first time, and I really like the look and hope you do too! Thank you so much for stopping by today! I hope you have a wonderful and crafty day!

Thank you so much for using my affiliate links to shop (never any additional cost to you)!

Saturday, January 20, 2024

Fill Your Card with Fresh Picked Anemones

So say that I am wow'ed by this Fresh Picked Anemones set is an understatement!!  The card-front-filling size of these beautiful dies by Spellbinders really creates a gorgeous card.  

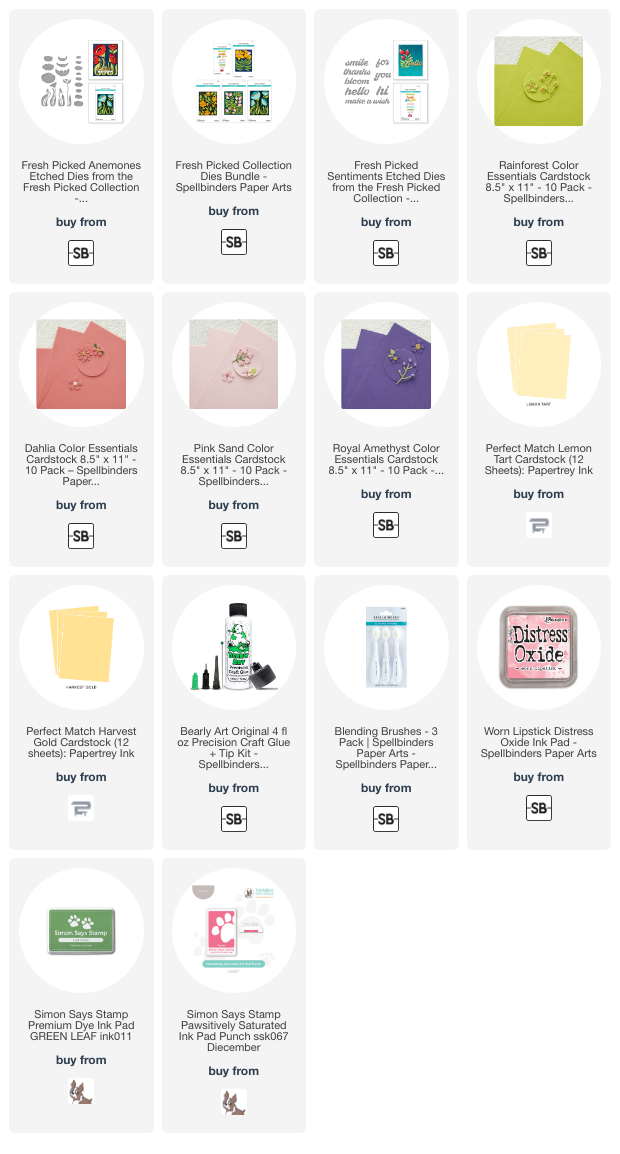
These two cards featuring the Fresh Picked Anemones have all of the same colored cardstocks.  To create two different looks I just die cut the elements out of different colors each time.  I've linked all available cardstocks and inks I used below.

After I die cut the leaves and flower pieces, I used ink blending brushes and shades of ink that were darker than the cardstock to add some depth.

For the background of both cards I used the January Embossing Folder of the Month called Branching Out.  These monthly clubs really are a good bargain, and can be cancelled at any time.

The sentiments are from the Fresh Picked Sentiments die set.  This set includes nine different words to use for a variety of card occasions!

I offset the sentiments with another die cut of a different color.  I think this helps it to stand out from the rest of the card.  I cut pieces of narrow foam tape for both sentiments to pop them up onto the card.

Honesty, I'm not sure which of these color combinations is my favorite!  Do you have a favorite?  Let me know in the comments below.

I absolutely love the oversized size of these Fresh Picked Anemones!  Be sure to check out the other sets available in the Fresh Picked Collection.  Thank you so much for stopping by!  I hope you have a wonderful weekend!

Thank you for using my affiliate links to shop (never any additional cost to you)!

Wednesday, January 17, 2024

Sweet Note Card with Pretty Springtime Colors

Hello crafty friends! Today I'm sharing a sweet card featuring one of my favorites: A Little Note stamps, Honey Cuts, and coordinating stencils by Honey Bee Stamps.  It has been so cold here and I was in the mood for some pretty spring colors to remind us all that this ridiculous cold weather will most certainly go away as we get closer to springtime!

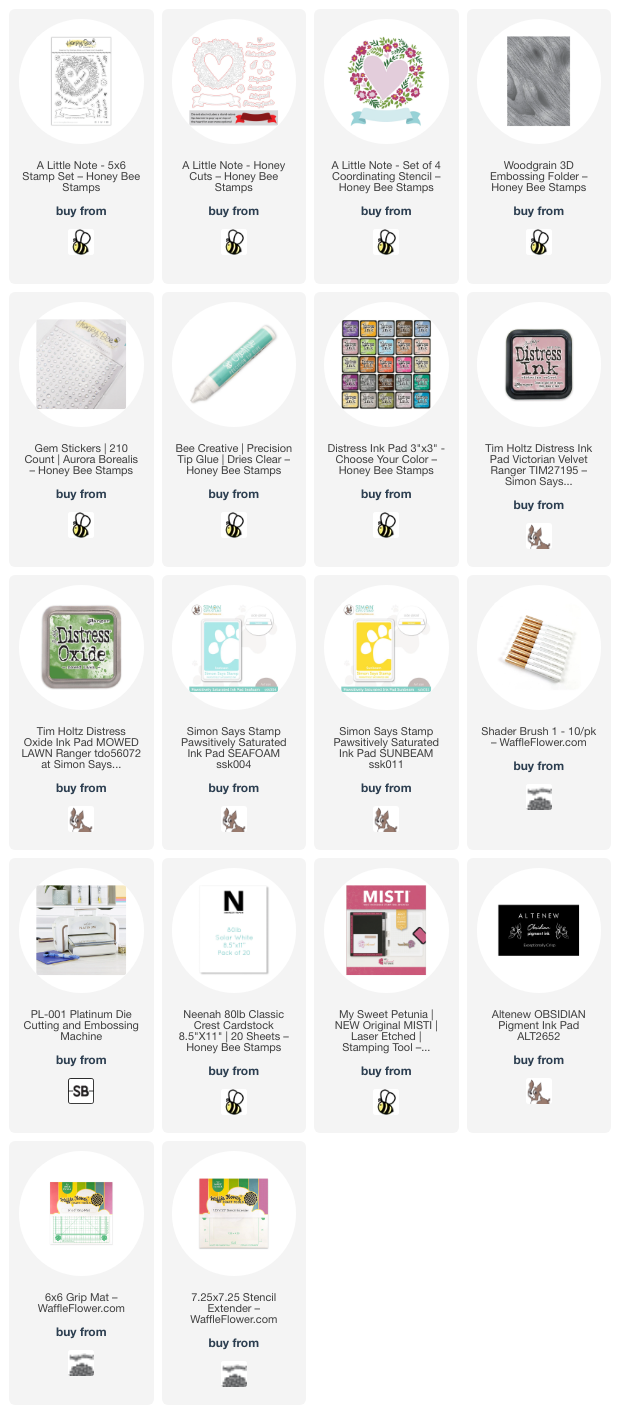
I began by using the A Little Note stencils and blender brushes to add some teal, pink, and green inks through the stencil layers onto white cardstock. I used a variety of ink brands I have in my stash. Note: I didn't use the outline stamp from the A Little Note stamp set because I wanted a softer look for the image.

I chose a sentiment from the A Little Note stamp set and stamped it onto the banner with black pigment ink.

When I was finished coloring with all of the stencil layers, I cut out the wreath and banner with the coordinating dies. I used the other larger banner die including in the A Little Note Honey Cuts to cut out a white banner to place behind the stenciled one.

The card base is an A2 top-folding card made from teal cardstock. I added a 4" x 5-¼" white cardstock I embossed with the Woodgrain 3D embossing folder and adhered with glue.

Next I added white foam strips to the back of the wreath to adhere it to the card. Then I die cut more white cardstock with the heart die in the A Little Note die set and embossed it with the Woodgrain embossing folder. I added foam strips to the back to adhere it to the center of the wreath. More foam tape was used to adhere the banner layers to the card.

I added some pretty sparkle with some gem stickers from the Aurora Borealis Gem Stickers.

I love using stencils to color images, and I hope you've enjoyed my card making process today!  Have a wonderful day!

Thank you so much for shopping with my affiliate links (never any additional cost to you)!

Thursday, October 12, 2023

I Love Fall Gnome Matter What

 Hello crafty friends!  Today I'm sharing my autumn card featuring Rubbernecker Stamps' adorable Autumn Gnomes Set!

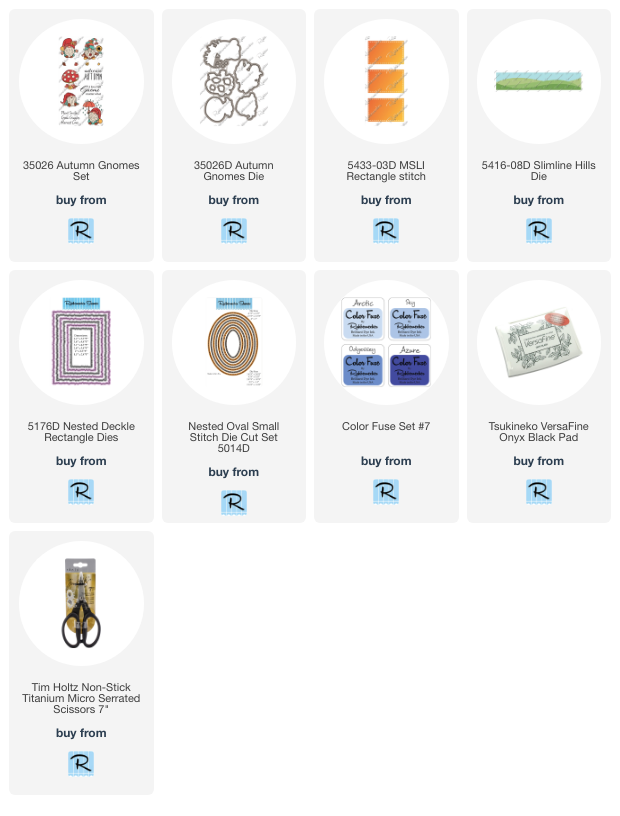
I stamped the cute images from the Autumn Gnomes Set, which includes the mushroom and little leaves, with black Copic safe ink.  After I colored them with my Copics, I cut them out with the coordinating dies.

The card base is created from patterned paper from the new Festival of Colors paper pad (releasing this week) that I die cut with a Nested Deckle Rectangle die.  I die cut two Nested Oval Small Stitch dies from orange and white cardstock.  After I brushed on some light blue ink for the sky, I die cut some green cardstock with the oval and then with a Slimline Hills Die.  I adhered it to the oval with glue.

I used glue and foam dots to adhere the Autumn Gnomes images to create my scene.  I added thin foam tape to the back to adhere it to the orange oval.  Then I glued it to the card base.

The sentiment I chose is one of several included in the Autumn Gnomes Set.  I found that the window of the MSU Rectangle Stitch die fit the sentiment perfectly and die cut it out!

Be sure to click the link below for the Autumn Gnomes Set to check out the other adorable gnomes!  Thank you so much for stopping by!

Thanks so very much for using my affiliate links to shop (never any additional cost to you)!

Saturday, June 17, 2023

Birthday Card and Wax Seals

Today I'm sharing a card that features Spellbinders new Sealed Blooming Stems die set from the new Sealed For Summer collection!  I added a fun wax seal to the card in lieu of stamping a sentiment.  (P.S.:  I just noticed that as of the date of this blog, the product title describes these as "hot foil plates".  They are not!)

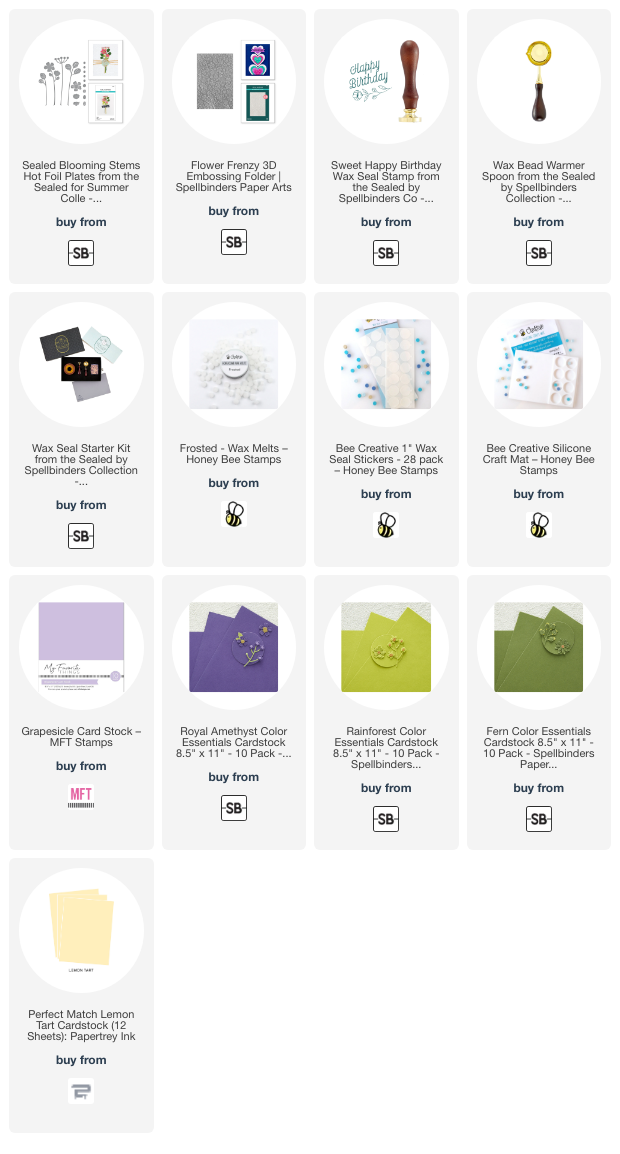
First I created the stems and flowers by die cutting all of the pieces in the Seal Blooming Stems set from colored cardstock.  I have all of the cardstock I used in the list below.  Using colored cardstock makes it super easy and quick to create the elements for a card.  I didn't even add shading to the die cuts--may be a first for me!  Haha!

After I glued the layers together, I created my wax seal by melting some frosted wax beads.  I just use my heat tool to melt wax beads in the melting spoon.  So much faster!  I poured the melted wax onto my silicone mat and pressed the Sweet Happy Birthday wax seal stamp into the wax.  Once it had cooled, I used a gold pen to highlight the sentiment and flower.

For the A2 card base and layers, I added a dark violet layer to the card.  I had an embossed piece leftover from a previous project that I used for the next layer.  It was embossed with the gorgeous Flower Frenzy 3D embossing folder and measures 3" x 4".

I glued the Blooming Stems onto the embossed layer.  Then I added an wax seal sticker to the back of the wax seal to adhere it to the card.

This was such an easy card to make and I really love how it turned out!  I hope you do too!  Thanks so much for stopping by today!

Thank you for using my affiliate links to shop (never any additional cost to you)!

Thursday, May 11, 2023

New Country Road Collection by Annie Williams for Spellbinders

Hello crafty friends!  Today I'm thrilled to share my card that features two of the new set from the absolutely beautiful Country Road Collection by Annie Williams for Spellbinders!


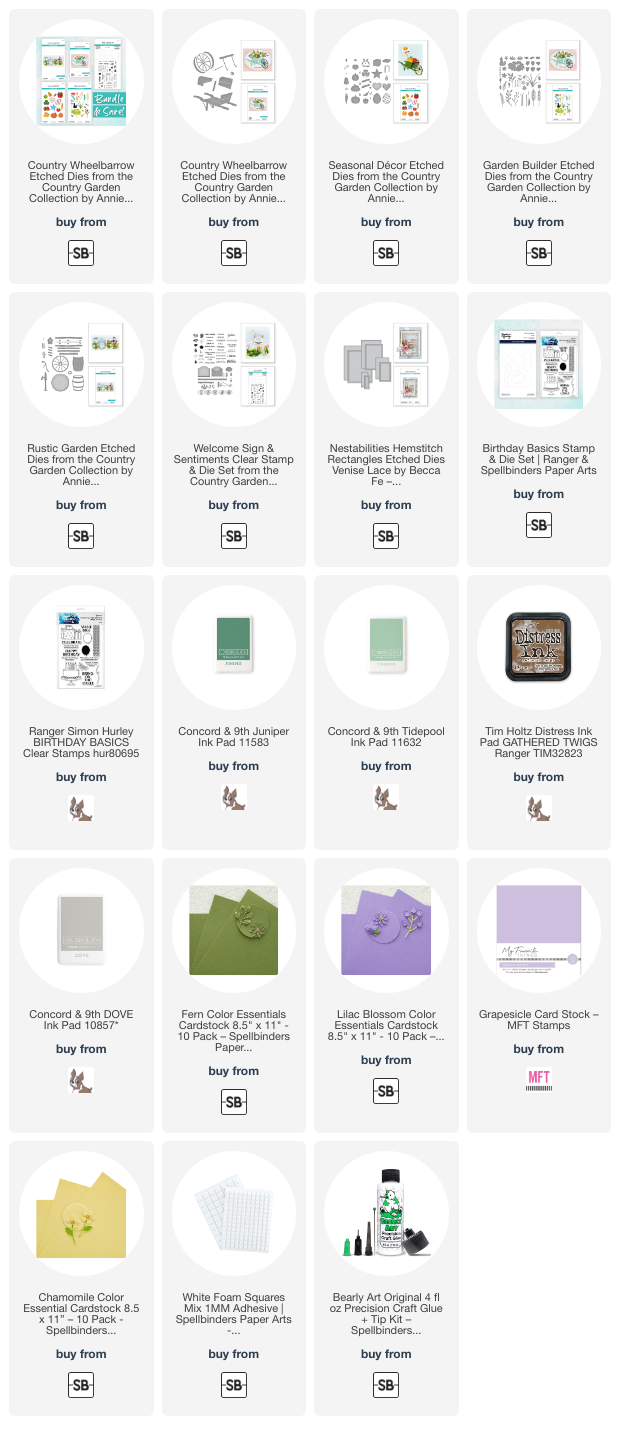
 I absolutely adore this Country Wheelbarrow!  I've used the Country Wheelbarrow and the Garden Builder sets for this card.  What I really love is that there are three more sets in this collection.  The Rustic Garden, Seasonal Decor, and the Welcome Sign & Sentiments stamps w/dies.  I have added all three of these to my wish list because it will let me use the Country Wheelbarrow for other seasons!

There's also a Country Road Bundle that includes all of the Country Road sets plus a savings!

First I create the Country Wheelbarrow.  I die cut all of the pieces from 80# Neenah except the spoked wheel which is black cardstock.  Then I used my ink blending tools to blend on a few different inks to get the fun rustic look!

I have all of the ink colors linked below in the product list!

I used glue to adhere the pieces of the Country Wheelbarrow.  Note:  I did not adhere the back panel of the wheelbarrow (it's barely visible).  I set it aside to adhere after I had the flowers arranged and glued.

Next I die cut most of the elements in the Garden Builder die set.  I used various colored cardstock, which I've linked below, if it is still available.  (Yes, I have lots of cardstock that's a bit older--LOL!)  Once I had the flower layers and centers assembled, I began gluing the florals and branches to the back of the wheelbarrow. I only added a dab of glue to the stem to adhere them, leaving the rest free to "float" and add dimension.  Finally, I added the back panel of the wheelbarrow.

The sentiment is from the Birthday Basics set.  I trimmed it into a strip and added foam squares to the back.

Next I die cut white cardstock with the largest Hemstitch Rectangles and adhered it to and A2 sized piece of purple cardstock.  Then I  glued that to my A2 card base.

I popped the wheelbarrow up with foam tape and added the sentiment to the card.  Then I trimmed the tall grass die cut a bit and tucked it under the sentiment.  I added one of the flowers to the grass stem for more interest!

I can't wait to play more with the awesome Country Road Collection after I place my order for the other sets!  I hope I've inspired you to try out this beautiful Collection.  Thank you so much for stopping by today!

Thank you so much for using my affiliate links to shop (never any additional cost to you)!

Saturday, April 15, 2023

Four Easy & Beautiful Cards with Spellbinders Floral Friendship Collection

Hello crafty friends!  Today I'm sharing four cards I made with elements from the new Spellbinders Floral Friendship Paper Suite.   I was able to make these four beautiful cards using just three of the seven products available in this collection.  And the awesome thing is, I could have made so many more cards with all of the products I have leftover.  I just ran out of time!  LOL!

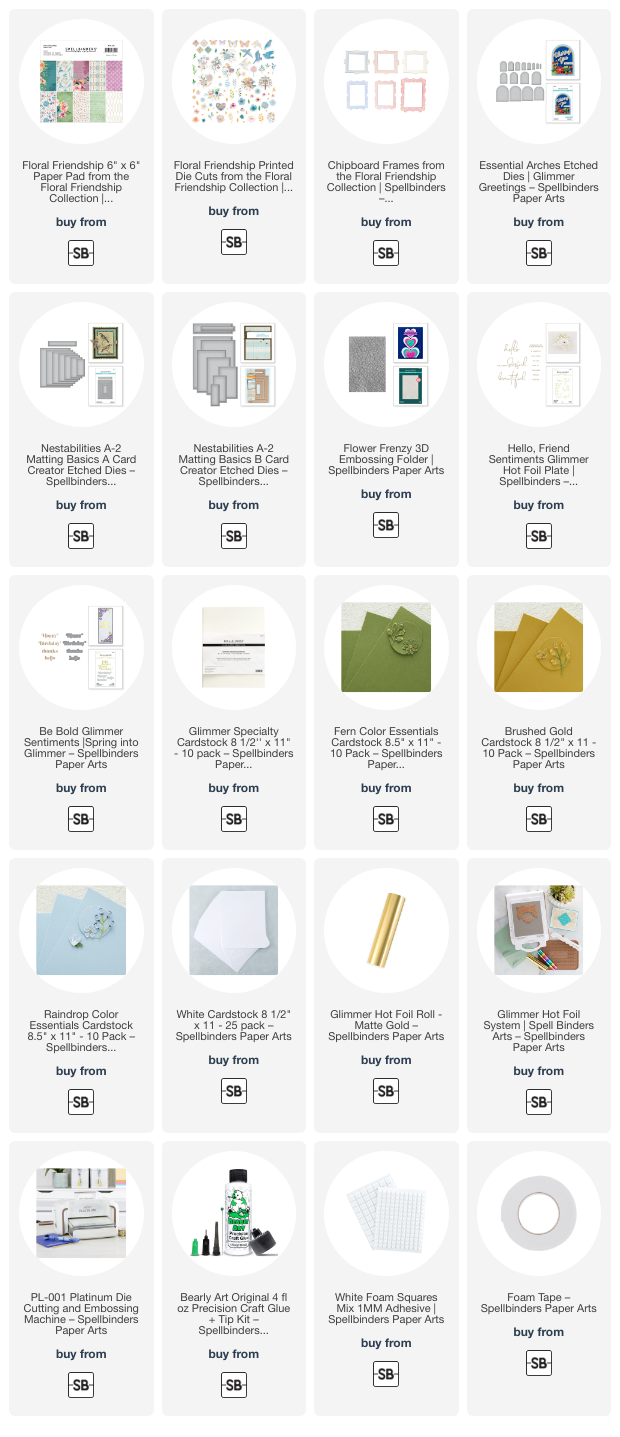
I used different elements of the Floral Friendship paper pad, Printed Die Cuts, and the Chipboard Frames on each of the following cards.  I have a complete supply list at the end.

I used just a few basic supplies to make these cards such as the Matting Basics A and Matting Basics B die sets.  These make creating the perfect layers so easy!  Another basic shape die I used is the Essential Arches, which you will see on this first card.

Before I began to assemble these cards, I chose two different hot foil plates sets and used my Glimmer Hot Foil System to foil all of the sentiments in each set with Matte Gold Glimmer Foil.  This way, as I created the cards, I would have several different sentiments to choose from!  For this card I added a sentiment from the Hello, Friend Sentiments hot foil plates.  (Note: if you've not tried Spellbinders Glimmer Specialty Cardstock for your foiling, I highly recommend it.  I has a super smooth surface that gives flawless foiling!)

Of course, if you don't have the supplies for hot foiling, just use those wonderful stamps you have for your sentiments!!

I used a piece of the Floral Friendship paper pad and coordinating green cardstock to create the layers with the Essential Arches dies.

I also saved time by using the beautiful Flower Frenzy 3D embossing folder on two of the cards.  The card above and this next one!

I added matte gold foil layers to coordinate with the gold on the Printed Die cuts I used.  The Chipboard Frame looks so pretty with the butterfly die cut.  I love how the pack of Printed Die Cuts includes small embellishments like the flower and heart near the sentiment that can be used for a bit of bling!

The next two cards have sentiments from the Be Bold Glimmer Sentiments in Matte Gold Glimmer Foil.

The papers in the Floral Friendship paper pad are absolutely gorgeous!!  I used one piece of paper to create this card.  The flowers are actually printed on the left side of the paper so I was able to trim a rectangle to adhere behind the frame and then use what was left as the background layer!


More matte gold cardstock for the layer coordinates with the gold on the flowers, sentiment and butterfly!


There are several beautiful birds in the Printed Die Cuts set and this sweet bird coordinates very nicely with the patterned paper and floral elements I chose!  The matted blue layer and patterned paper were die cut with the Matting Basics A and B die sets.  I also used these dies to die cut the layers on the previous card.

I absolutely love how these cards turned out and hope you do too!  I think the Floral Friendship collection would be so fun to create cards with a church group or even a non-card making group of friends.  Who knows, you might just convert some friends into card makers!

Thank you so much for stopping by!  Have a wonderful and crafty weekend!!

Thank you for using my affiliate links to shop (never any additional cost to you)!