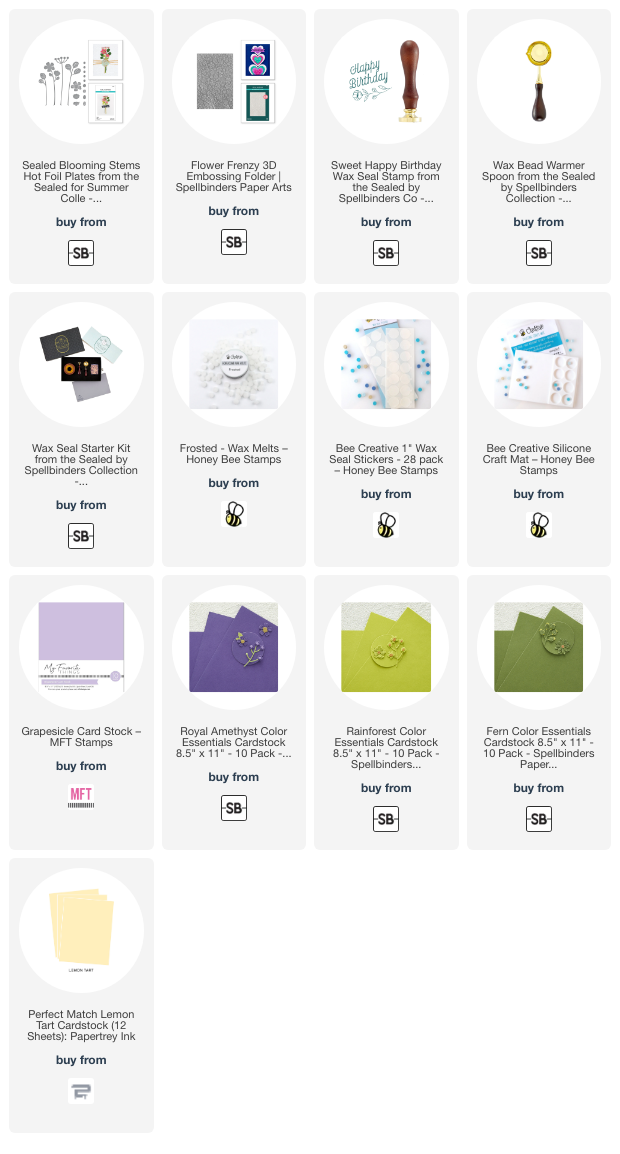
First I created the stems and flowers by die cutting all of the pieces in the Seal Blooming Stems set from colored cardstock. I have all of the cardstock I used in the list below. Using colored cardstock makes it super easy and quick to create the elements for a card. I didn't even add shading to the die cuts--may be a first for me! Haha!
After I glued the layers together, I created my wax seal by melting some frosted wax beads. I just use my heat tool to melt wax beads in the melting spoon. So much faster! I poured the melted wax onto my silicone mat and pressed the Sweet Happy Birthday wax seal stamp into the wax. Once it had cooled, I used a gold pen to highlight the sentiment and flower.

For the A2 card base and layers, I added a dark violet layer to the card. I had an embossed piece leftover from a previous project that I used for the next layer. It was embossed with the gorgeous Flower Frenzy 3D embossing folder and measures 3" x 4".
I glued the Blooming Stems onto the embossed layer. Then I added an wax seal sticker to the back of the wax seal to adhere it to the card.

This was such an easy card to make and I really love how it turned out! I hope you do too! Thanks so much for stopping by today!
Thank you for using my affiliate links to shop (never any additional cost to you)!