Friday, April 5, 2024

Spring Greetings Shaker Card

Hello friends!  Today I'm sharing this card over on Instagram as part of Honey Bee Stamps' hop to celebrate their latest release for their 9th birthday!  Just so you know, there will be two $50 gift card prizes chosen from those that leave a comment on the Instagram posts!

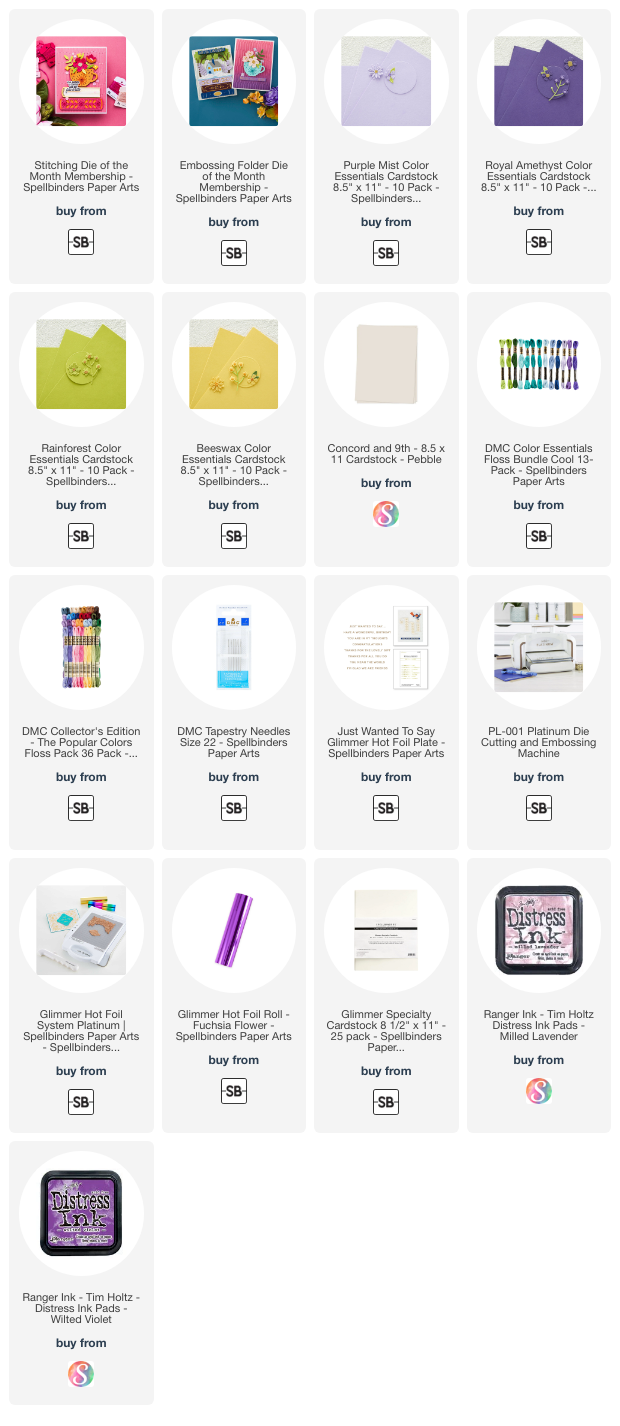
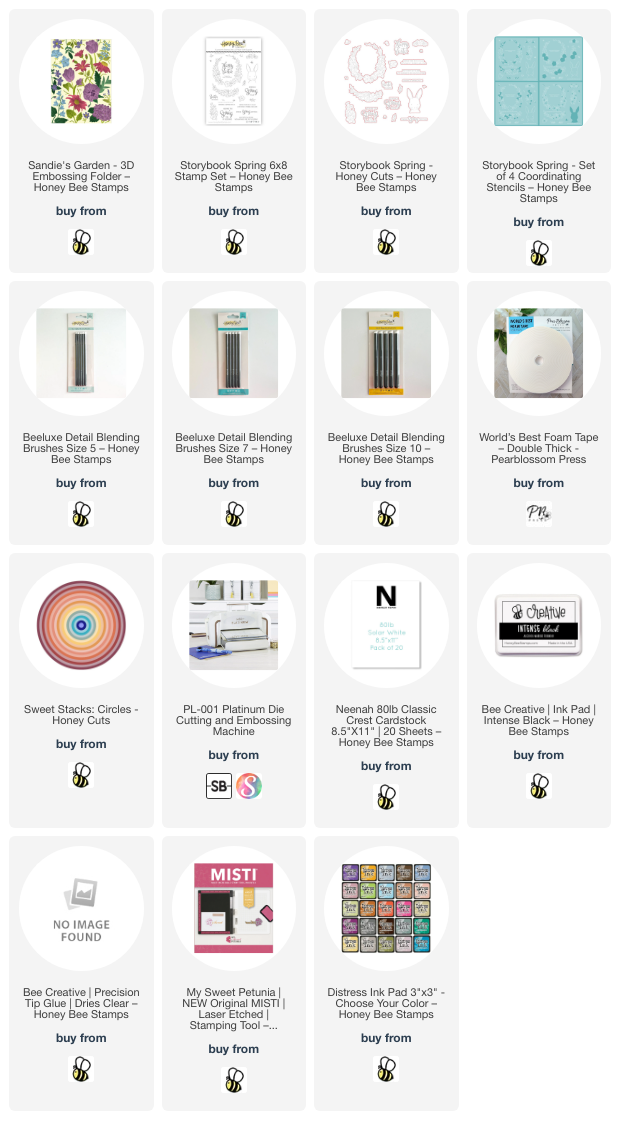
The new products I've used are the Storybook Spring stamps with the coordinating dies and stencils, and the Sandie's Garden 3D embossing folder.

I used Honey Bee's new Beeluxe Blending Brushes to color the image through each Storybook Spring stencil layer.  These brushes are pencil shaped and make getting into the small openings very easy.

I used Distress Inks in these colors:  Kitsch Flamingo, Mustard Seed, Squeezed Lemonade, Dried Marigold, Mowed Lawn, Rustic Wilderness, and Lost Shadow.  When I finished with each stencil layer I placed the panel into my MISTI.  Then I aligned each stamp over its image and picked them up with the MISTI door.  I inked up the stamps with Intense Black ink.  Then I cut them out with the coordinating Storybook Spring dies.

For the background layer, I placed a die from the Sweet Stacks Circles in the center of an A2 white cardstock panel.  After I cut out the circle, I put it into the Sandie's Garden 3D embossing folder to emboss it.

I adhered a piece of acetate to the back of the circle opening, then added strips of the World's Best Foam Tape by Pear Blossom Press around the opening and to the edges of the panel.  I've talked about this foam tape before, but if you missed it, this tape is truly amazing!!!  If you need to reposition your adhered panel, the tape is temporary for about 30 minutes!!  It becomes permanent after that.  

Next I added my shaker mix, then removed the adhesive backing, and placed my A2 card base onto the panel.  I love using some of my stash of embellishments!

The sentiment from the Storybook Spring set is stamped in black ink and cut out with the coordinating die.  The cute tiny bees add a bit of extra something!

Thank you for stopping by today!  I hope you'll click over to my Instagram to check out more inspiration from this awesome release!

Thank you for using my affiliate links to shop (never any additional cost to you)!
Wednesday, April 3, 2024

Hip, Hip, Hooray! It's Your Birthday!

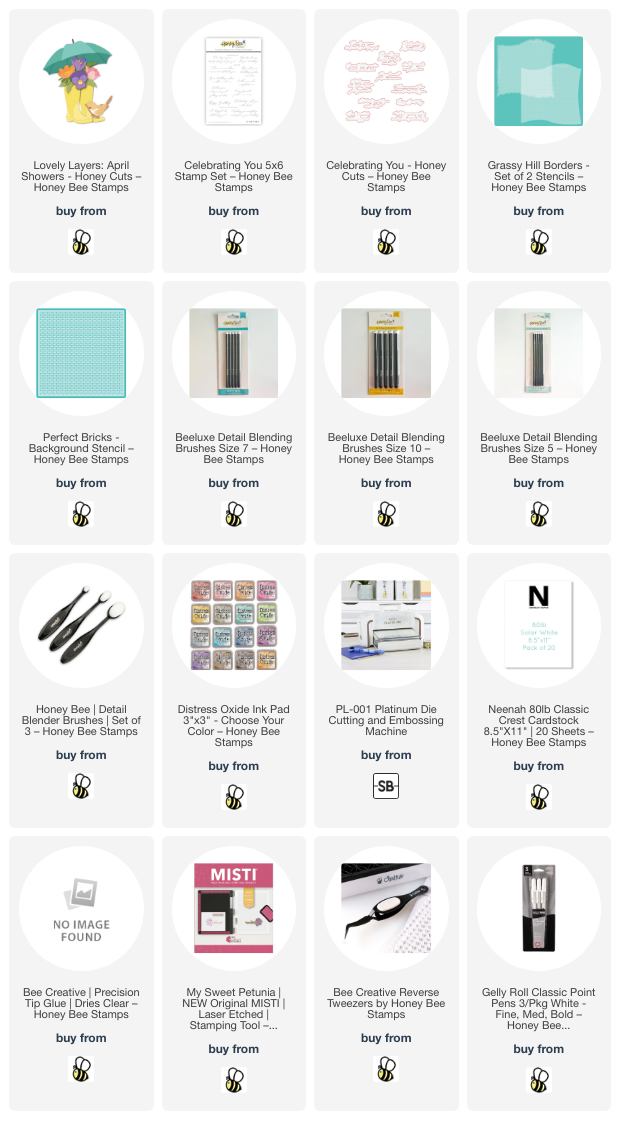
Hello friends! Today I'm sharing my card featuring some products from Honey Bee Stamps' new Celebrate release and it's all about spring! I've used the Lovely Layers: April Showers Honey Cuts to create this cute birthday card with spring colors. Keep reading to see how I created my matching umbrella and boots with a floral pattern!

I made the background for the Lovely Layers: April Showers with the Perfect Bricks and Grassy Hill Borders stencils. I added Mowed Lawn and Lost Shadow Distress Oxide inks through the stencils with Detail Blender Brushes. I used glue to adhere the panel to an A2 card base.

For the fun floral pattern on the umbrella and boots I used the Wonderful Wishes Honey Cuts and Coordinating Stencils. For ease of stenciling, I die cut the cake portion from white cardstock. Then I lined up each of five stencils over the die cut piece and colored it with Distress Oxide inks. I used the new Beeluxe Detail Blending Brushes to add Squeezed Lemonade, Mustard Seed, Mowed Lawn, Rustic Wilderness, Wilted Violet, and Ripe Persimmon Distress Oxide inks. The Beeluxe Brushes are so helpful with the small details of the stencils!

Then I cut the umbrella top layer (Lovely Layers: April Showers) from the stenciled piece. Line the die up diagonally on the stenciled piece and run it through your die cutting machine.

Next I used the Lovely Layers: April Showers dies to cut the elements from purple, green, coral and white cardstock. I used more Distress Oxide inks along with the new Beeluxe Detail Blending Brushes to add depth and shading to the various elements. I used most of the Distress Oxide inks I mentioned above.

I colored the three layers of the bird with Copic markers in the colors of E25, E23, E13, and E11.

Next I used glue to adhere the layers of the April Showers elements. The Layering Guide found in the product description is very helpful for getting your layers just right.

The dots and line details you can see were added with orange and white Gelly Roll gel pens. The sentiment is from the Celebrating You stamp set, stamped in black ink, and die cut with the coordinating die.

To adhere the elements to the card, I used foam dotsfoam strips, and Bee Creative glue.

I hope you've enjoyed my process to make this colorful birthday card! Thank you so much for stopping by. Have a wonderful and crafty day!

Thank you so much for shopping with my affiliate links (never any additional cost to you)!

Monday, April 1, 2024

Altenew 10th Anniversary Blog Hop Day 1 + Giveaway (over $3,500 in Total Prizes)

Happy 10th anniversary to Altenew!  I'm so happy to be a part of the Day 1 blog hop to celebrate their 10 years!  I have been an Altenew fan for many years and am thrilled that they continue to bring us beautiful products to create with.  And wow!  The prizes are fantastic, so keep reading for all of the details.

You should have arrived here from Virginia Lu's blog.  If you need to start at the beginning, head over to the Altenew blog.

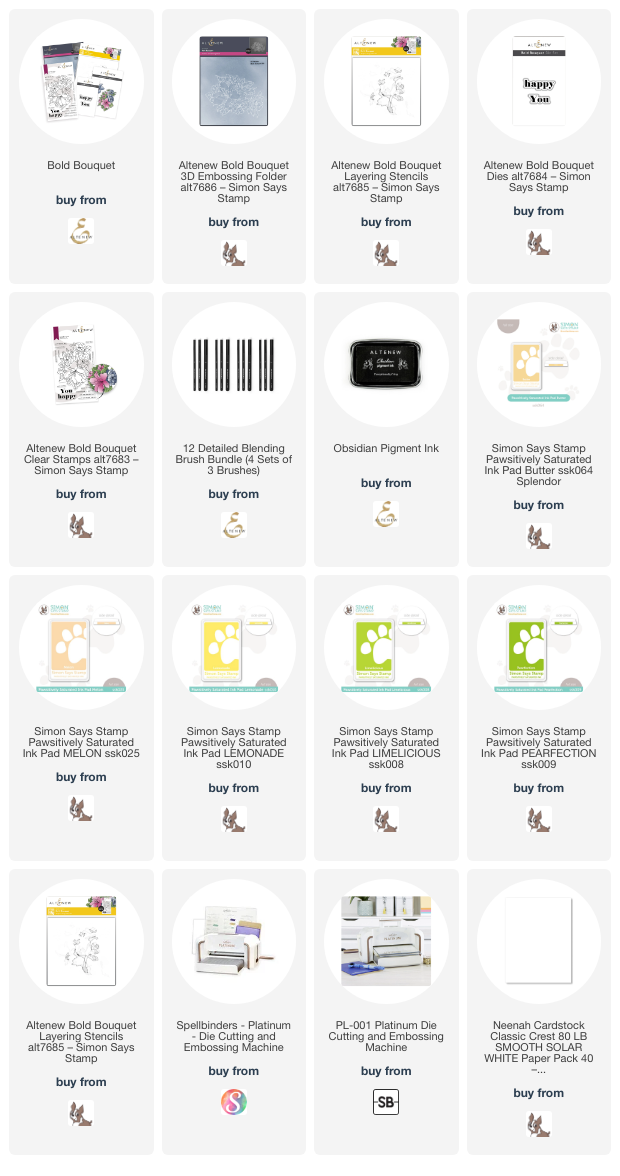
My card was made with the gorgeous Bold Bouquet 3D embossing folder and the coordinating stencils.

After embossing 80# Neenah with the Bold Bouquet embossing folder, I used ink blending brushes to blend various shades of ink through each stencil layer.
 

I love how this turned out!  I added two mat layers behind the main panel and adhered them to an A2 card base.  The sentiment is from the Bold Bouquet stamp set and stamped in black pigment ink.

Check out these amazing prizes from Altenew and be sure to leave a comment here, and at every stop, for your chance to win!


Giveaway Prizes

Over $3,500 in total prizes! We are giving away a $50 Altenew gift certificate to 10 winners, a $20 ArtistrybyAltenew gift certificate to 5 winners, and an online papercrafting class($39.99 value) from Altenew Academy Online Class to 14 winners. There are also 28 awesome companies/crafty friends who are celebrating with us, and they are offering the following prizes:


Be sure to leave comments by 04/16/2024 for a chance to win one of 68 prizes! To make the hop more exciting, start your comment with "Hi from (city or country where you're from)!" 68 winners will be chosen at random from the comments left on any of the blogs listed below and will be announced on the Altenew Card Blog on 04/19/2024.


I'm the last stop, but you can click on any of these photos to go see more amazing inspiration!

You are invited to the Inlinkz link party!

Click here to enter

Click these images to check out these fantastic offers!


Thank you for using my affiliate links to shop (never any additional cost to you)!

Friday, March 29, 2024

You Are Amazing -- Stenciling, Die Cuts, and Coloring!

 Hello crafty friends!  I've shared my reel over on Instagram for Picket Fence Studios where I've used their Garden Topper Cover Plate die.  Add in some fun stenciling with texture pastes and Copic coloring and I really enjoyed making this card!

You can watch some of my process to make this card on my Instagram reel!

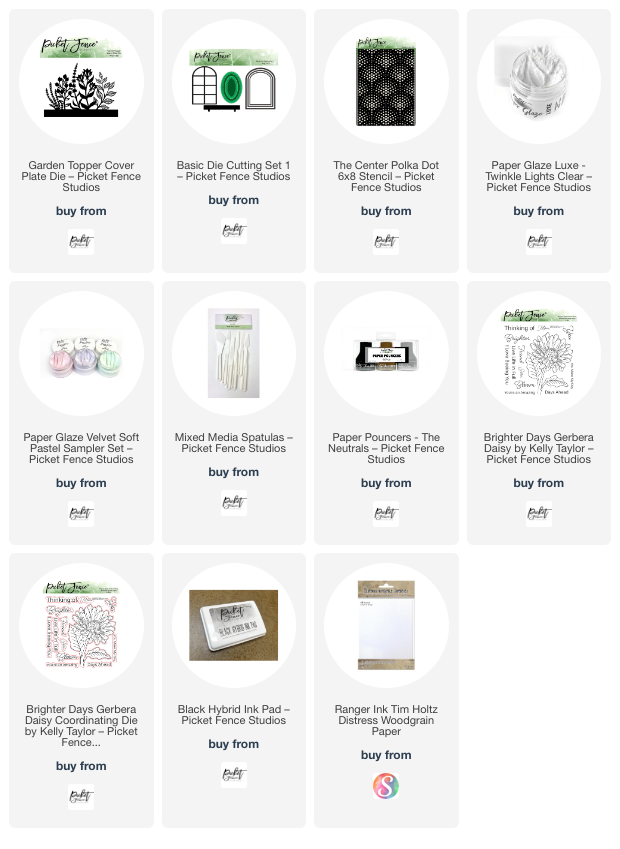
All of my supplies are linked below for your reference.  After I added two Paper Glazes through the Center Polka Dot stencil and it was dry, I cut it out with an arch shaped die from the Basic Die Cutting Die Set 1.  I also used this die to create my shaped card base.

I die cut the window box and frame (also in the Basic Die Cutting set) from woodgrain cardstock.  Then I used a Paper Pouncer to color it with Gathered Twigs Distress Ink.

I die cut the Garden Topper Cover Plate from 80# Neenah and then colored it with various Copic Markers.  Then I adhered it behind the window box and then I glued it to the window frame.  I used glue to adhere it to my card base and then trimmed of the bits that were hanging off the edges.

The sentiment is from the beautiful Brighter Days Gerbera Daisy stamp set and cut out with the coordinating die.

Thank you so much for stopping by!  I hope your Easter weekend is filled with many blessings!

Thank you for using my affiliate links to shop (never any additional cost to you)!

Wednesday, March 27, 2024

Sending You Sweet Birthday Wishes

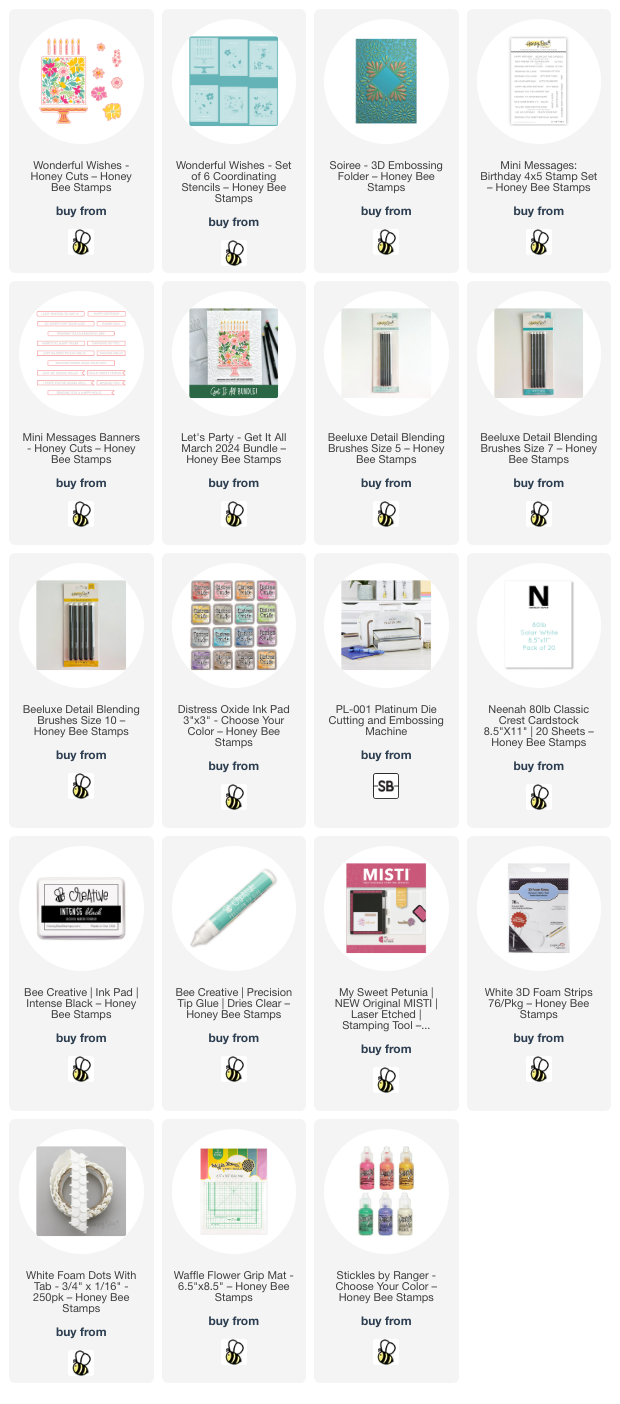
It's release day for Honey Bee Stamps 9th birthday celebration!  Happy 9th birthday to Honey Bee!!  My card today features a few of the new products from the Celebrate release and are now available.  I've used the gorgeous Wonderful Wishes Honey Cuts and Wonderful Wishes stencil set along with the Soiree 3D embossing folder and Mini Messages: Birthday for my sweet birthday card.

I die cut 80# Neenah with the dies in the Wonderful Wishes set. Then I used the awesome new Beeluxe Blending Brushes (isn't that a cute name?) to color through the Wonderful Wishes stencils. These brushes come in three sizes and are small pencil shaped brushes. The small size is so good to use on the detailed areas of the stencils!

The Wonderful Wishes dies includes separate dies to cut out extra flowers to pop up. I used the flower stencils to make some extra flowers and cut them out. Then I added foam tape to the back of these and added them to the cake.

Those of you that look closely at details may be saying to yourself that you only see five flowers popped up. Well, you are correct!! It seems that I forgot to stick the last one on before I took my photos! Haha!

I finished coloring with the other stencils for the candles and cake stand.  Distress Oxide inks were used in these colors: Saltwater Taffy, Ripe Persimmon, Mustard Seed, Mowed Lawn, Rustic Wilderness and Lost Shadow. I glued the candles and stand to the cake and then added foam dots to the back.  Notice I added nine candles since it's Honey Bee's 9th!

I embossed a 5" x 7" piece of 80# white cardstock with the gorgeous new Soiree 3D embossing folder and used glue to adhere it to a 5" x 7" card base.

I think you will want the Mini Message Banners to use with the new Mini Messages: Birthday stamp set!  There are LOTS of sentiments in this set, so be sure to check it out!!  

To finish I added some pretty coordinating pearls from the Celebration Pearl Stickers set. For a bit more sparkle I added Star Dust Stickles to the candle flames.

I love this new set and how there are so many occasions it could be used for! I hope you'll come back to Honey Bee's shop this evening to order your favorites from the Celebrate release! Thank you so much for stopping by!

Thank you for shopping with my affiliate links (never any additional cost to you)!

Sunday, March 24, 2024

Thinking Of You -- Masking, Ink Blending, & Heat Embossing

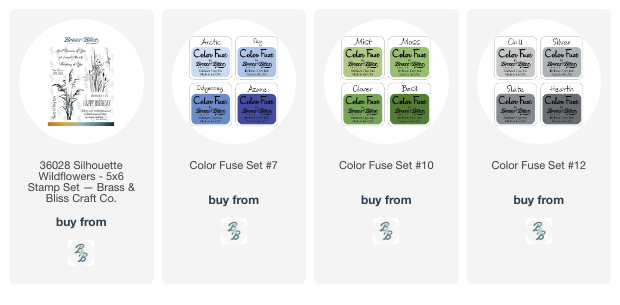
Hello crafty friends!  Today I'm sharing my card that features Brass & Bliss Craft Co.'s new Silhouette Wildflowers set.  This card was quick and easy and all you need are inks and just that stamp set!

I really enjoyed this masking process!  I have all of the step-by-step details and photos over on the Brass & Bliss blog.

I die cut a circle from masking tape and positioned it along with two more strips of masking tape on my card front layer.  Then I used ink blending brushes to add the blue and green inks.

I removed the moon mask and carefully added dabs of gray ink for definition in the moon.  Before I removed the other masking tape strips, I added splatters of metallic white watercolor.

After I made sure the ink was completely dry, I treated the piece with my anti-static tool and then stamped the Silhouette Wildflowers image and sentiment from the set with black pigment ink.  Then I sprinkled on black embossing powder and heat set it.

I created a coordinating layer for the main layer by swiping Azure ink along the edges of white cardstock.

And that's it!  I love how this card turned out.  The sentiment is perfect to use for a card to send as a sympathy card or to someone going through a hard time.

Be sure to check out the seven other sentiments in beautiful fonts included in the Silhouette Wildflowers set.  Several occasions are covered for versatility in our card making!  Thanks so very much for stopping by today!

Thank you for shopping with my affiliate links (never any additional cost to you)!

Friday, March 22, 2024

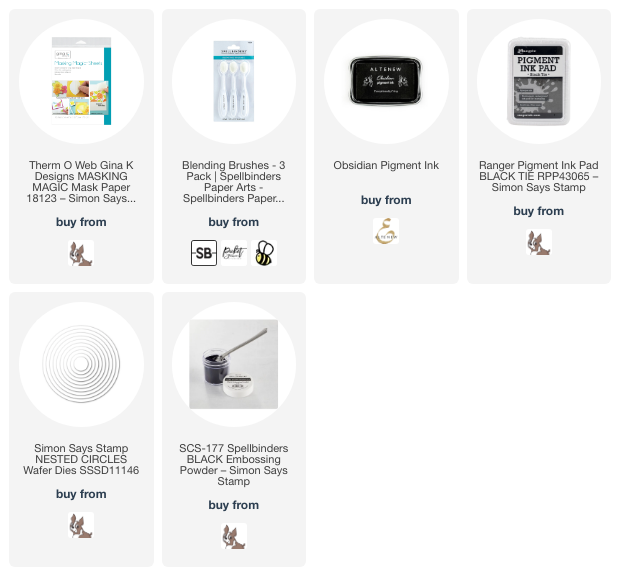
Just Wanted To Say... -- Spellbinders Stitching Die Of The Month

Happy Friday friends!  Today I'm sharing my fun card featuring Spellbinders March Stitching Die of the Month called Stitched Read & Sip!  If you've ever thought about trying a stitching die, this is a good one to try.  It has minimal stitching and would also be beautiful without any stitching!

All of Spellbinders monthly clubs, including the Stitching Dies of the Month have a window of time to enroll and receive that month's featured product.  This month's "window" is March 6-27.  The only time it might not be available is if the item has sold out for the month.  Also, you can cancel at any time.  Check out all of the specific details here.

I die cut the Stitched Read & Sip from purple, green, yellow, and neutral cardstocks.  All available cardstocks are linked in the list below.  I added a bit of shading to the cup and flowers with coordinating ink.

Then I used purple and green DMC embroidery floss for the quick stitching.  The thread on the book is one that I had in my stash that I saved years ago when I used to do counted cross-stitch a lot.

To adhere the stitched layers to the base layer, I just put glue on the back of the stitching and aligned it with the base piece.  It gives instant dimension!

I embossed a white cardstock panel with the Checkered Scallops embossing folder.  This is the March Embossing Folder of the Month.  I embossed all but about ¾" of the bottom edge of the panel.  Then I glued it to an A2 card base.

I adhered the Stitched Read & Sip elements to the card.  I added a sentiment from the Just Wanted to Say Glimmer set that I foiled with Fuchsia Flower Glimmer Foil.  For easy foiling I used Spellbinders Glimmer Specialty cardstock.

I hope I've inspired you today to try these fabulous stitching dies.  It's really fun and makes a very special and unique card to give.  Thank you for stopping by!

Thank you for shopping with my affiliate links (never any additional cost to you)!