Showing posts with label get well card. Show all posts

Wednesday, July 16, 2025

Back In The Saddle -- Get Well Scene Card

Hello crafty friends!  Today I'm sharing my card that features Honey Bee Stamps new Lovely Layers: Tack Honey Cuts along with a new stencil set.  Read on for all of the details!

I started by die cutting the dies in the Lovely Layers: Tack from white and teal cardstocks.  I used a few Copic markers to color the white cardstock.  See how I managed to keep the debossed areas of the die cuts white?  To do that, I laid the nib of the marker almost flat and lightly colored over those areas.  I was very happy it worked out!!

I used glue to adhere all of the Lovely Layers: Tack pieces together.  Be sure to refer to the handy layering guide while you assemble the saddle!

Next I created the background layer with the Range Scene stencil set.  I used blending brushes and Distress Inks on an A2 white cardstock panel.  The colors I used are Mowed Lawn, Rustic Wilderness, Lost Shadow, and Tumbled Glass.  NOTE:  I intentionally did not stencil the fence post section.

The idea in my head was to have the saddle hanging over a fence.  So I die cut white cardstock with the Lovely Layers: Barn Wood Fence dies.  Then I used my scissors to trim off the top picket sections even with the top rail.  Then I colored it with a blender brush and Walnut Stain Distress Ink.

I glued the rails onto the fence, added foam tape to the back, and then adhered it to the card with a portion of the bottom of the fence hanging off.  I just used my scissors to trim it even with the bottom of the card.

The sentiment stamped in black pigment ink is from the Saddle Up stamp set.  I cut it out with the coordinating die and popped it up on the card with foam strips.

I blinged out the saddle with some pretty coordinating gems I found in the Vitamin Sea Gem Sticker set.

I love it when I have an idea for a card actually turns out to be like I wanted!  I hope I've given you some inspiration too!  Thanks so very much for stopping by!!!

Thank you for choosing to use my affiliate links to shop (never any additional cost to you)!

Wednesday, March 19, 2025

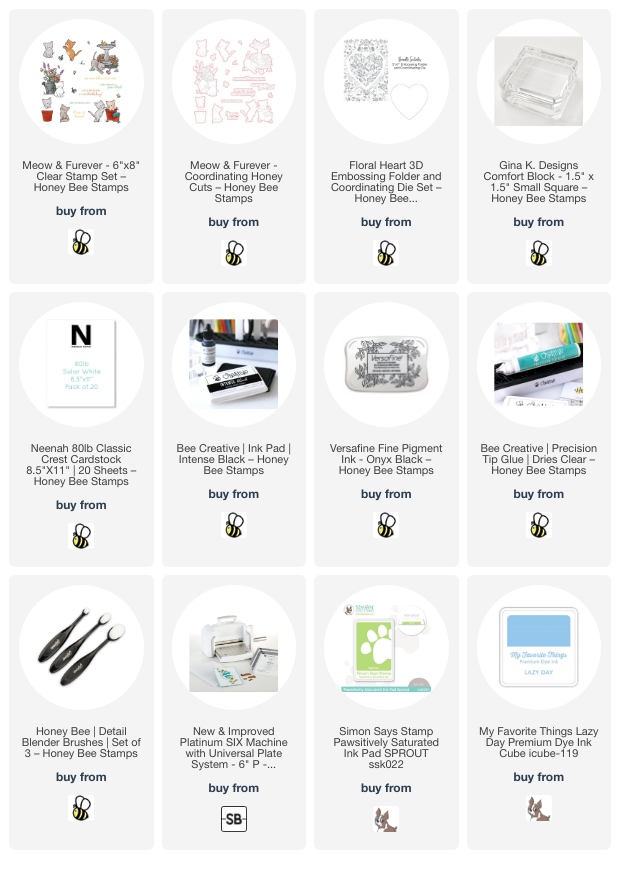
Get Well Card With Adorable Kitties!

Hello Honey Bee friends! Today I have a card for all of the cat lovers out there! I'm a bit allergic to them, but still think they are so cute! I've used the so sweet and adorable Meow & Furever stamps and coordinating dies for my card today.

First I stamped the images I wanted to use from the Meow & Furever stamp set with Copic safe black ink. After I colored them with my Copic markers, I cut them out with the coordinating dies. (If you are interested in what marker colors I used, I have them listed at the end.)

I stamped the sentiment from the Meow & Furever stamp set with black pigment ink and cut it out with the coordinating die. The separate cat's die actually cuts slits below its paws so I used glue to adhere it to the sentiment.

I added foam tape dots and strips to the back of the images and the sentiment and set them aside while I made the card base and background.

The card base layer and the heart are both included with the Floral Heart 3D embossing folder. I love that this includes the heart die! I embossed a 5" x 7" piece of white cardstock with the Floral Heart embossing folder. I glued this to a 5" x 7" card base.

I die cut more white card stock with the heart die and used blender brushes to ink it with some green and blue inks. Then I placed the little grass stamp (Meow & Furever stamp set) onto a stamp block. I randomly stamped it over the inked grass using the same green ink as before.

Next I removed the backing from the foam tape on the images and adhered them to my card front.

The Meow & Furever stamp set has another focal image along with several more cats and sentiments too!  I thank you so much for stopping by!!

Thank you for using my affiliate links to shop (never any additional cost to you)!

Sunday, April 14, 2024

Two Easy Cards Using Patterned Paper Scraps

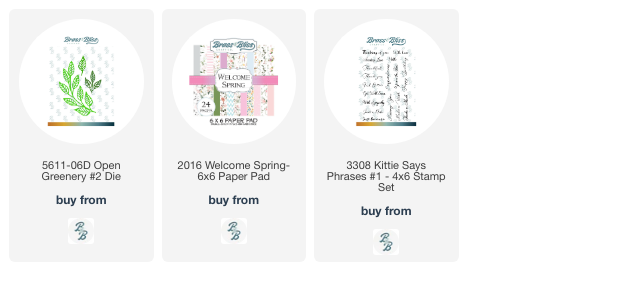
Today I'm sharing two cards I made featuring Brass & Bliss Craft Co.'s Open Greenery #2 dies.  These cards are examples of great ways to use up patterned paper scraps and are super quick and easy to make!

If you would like to read all of the detailed steps for making these cards, please join me over on my post on the Brass & Bliss blog.  

I love finding ways to use up some of the patterned paper leftovers and I had several pieces from the Welcome Spring paper pad.  This paper pad has solid colored paper to coordinate with the patterned papers so it was easy to layers these up!

This first card features a pink floral with the matching solid paper.  I die cut the Open Greenery #2 die from white and pink paper to coordinate with the layered strips.

Before I adhered the die cut greenery pieces, I added an extra special touch by using my stylus and scoring board to add embossed lines on either side of the layered strips.

This card was so easy to make so I made another with scraps of purple floral and solid papers.

It's so easy to duplicate a card like this once you already have the design and elements to use in mind.

The sentiments on both cards are from the Kittie Says Phrases #1 stamp set.  There are lots of sentiments in this set that are fitting for different occasions!

Thanks so very much for stopping by!  I hope your week is filled with lots of fun card making fun!

Thank you for using my affiliate links to shop (never any additional cost to you)!

Wednesday, June 22, 2022

Get Well Card Featuring Lovely Layers: Wildflowers

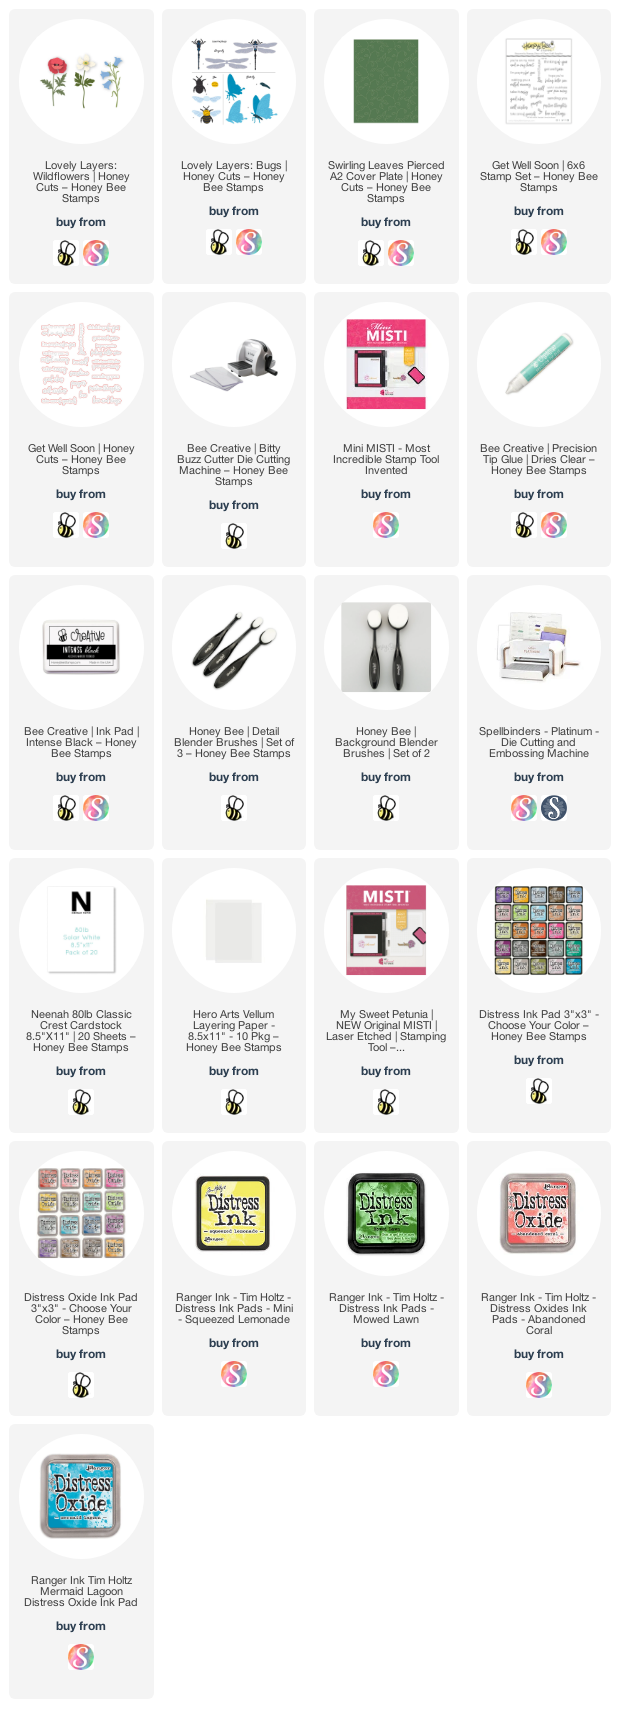
Today I'm sharing a sweet get well card where I've featured the Lovely Layers: Wildflowers and the bee from the Lovely Layers: Bugs. This was a quick, and easy, card to make, and a good type of card to have on hand!

First I die cut the Swirling Leaves Pierced A2 Cover Plate from 80# Neenah. I trimmed it to 4" x 5-¼" and adhered it to an A2 card base with foam tape. I love the subtle detail this creates for a background!

Next I pulled out some colored cardstock scraps and die cut (using the new Bitty Buzz Cutter) the Lovely Layers: Wildflowers and the bee from Lovely Layers: Bugs.  The Bitty Buzz Cutter is the cute little die cutter I didn't realize I need! It's so convenient to have right by my main crafting space! 

I used some Detail Blender Brushes to add Distress Inks and Oxides Inks for shading on the flowers and greenery. I used Mowed Lawn and Squeezed Lemonade Distress Ink. The Distress Oxide colors are Abandoned Coral and Peacock Feathers. You may be wondering why I used Distress ink and Oxide ink--well, honestly, I didn't even notice that I did until I began writing this post! LOL!

I assembled the flowers by following the layering guide that you can download using the link in the product description. I used Bee Creative glue to adhere the pieces together. I also used the glue and some foam dots to adhere the pieces to my card.

I used my black Copic marker to color in the stripes of the bee. Then I used a black Micron 005 pen to add little fuzzy lines. I die cut the wings from vellum, then added sparkle with a clear glitter pen. I used a small foam dot to adhered the small bee body piece and then more foam dots to pop him up on the card.

I stamped the sentiment from the Get Well Soon stamp set in black ink. I pulled out the coordinating Honey Cut to die cut the sentiment and popped it up with foam strips.

Thanks so much for stopping by today!  Have a wonderful day!

Links to products I've used for my card: