Showing posts with label Vintage Flora background stamp. Show all posts

Wednesday, February 14, 2024

Happy Birthday Card with A Fun Stamping Technique

Hello crafty friends! Today I'm sharing another card with the florals from the Blooming View stamp set, but with a twist! Did you see my card from last week's blog where I used this set? I love thinking of different ways to use the same set to get more use out of a favorite! Check out the details below.

First I cut a panel of 5" x 7" 80# Neenah. I placed it inside the Floral Heart 3D embossing folder, but did not emboss it just yet. I used the embossing folder to plan where to place the included heart die to cut out the center. I adjusted as needed, then use removable tape to hold the die in place. After I ran it through my die cutting machine, I taped the die cut heart by putting tape on the back to hold it in place.

Next I put the entire panel into my MISTI. Then I chose two of the florals from the Blooming View stamp set and arranged them so that part would stamp on the heart and part off. Then I removed the tape and placed the heart aside and ran the other piece through my die cutting machine after I placed it in the Floral Heart embossing folder.

I used some Copic markers to color the images on the heart die cut. Then I placed the Vintage Flora background stamp on my craft mat and inked up just one corner. TIP: Use a small ink blending brush to apply the ink to the stamp. This will avoid the lines you get when pressing the ink pad to the stamp and give a more subtle stamped image. I used my fingers to press the heart over the inked portion of the stamp and repeated once more. As you can see in the above photo it certainly adds detail, but does not overpower the colored flowers. I used the same ink and a blending brush to add ink to the edges of the heart.

I dyed some white ribbon with drops of Scattered Straw Distress Ink re-inker that I added water to. After drying the ribbon, I tied it around the main panel in a double bow. I used glue to adhere it to a 5" x 7" card base.

Next I added foam tape to the back of the heart and adhered it in the opening of the embossed piece. The sentiment is from the Love Is A Rose stamp set. After I stamped it with black ink, I cut it out with the coordinating die and popped it up with foam strips.

For a touch of bling, I added some sparkle from the Vintage Love Gem Sticker!

Such a super fun card to make and I hope you've found inspiration here today!  Thanks so much for stopping by!

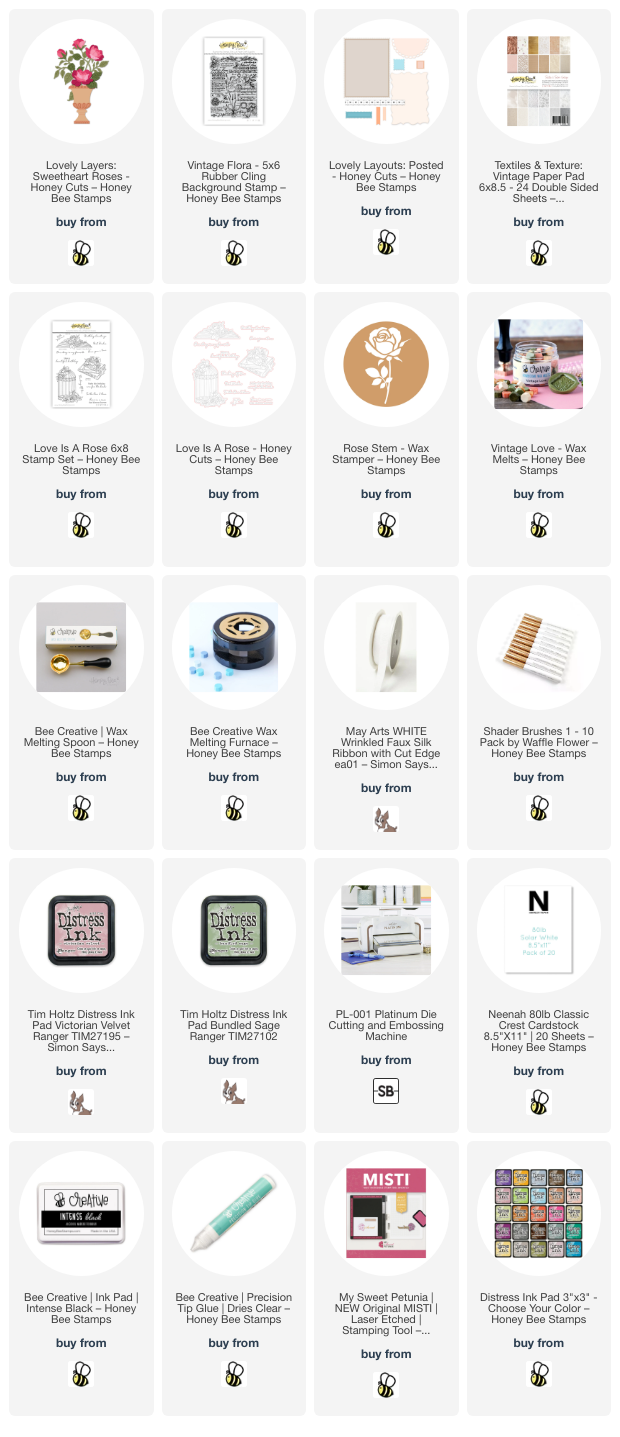
Thank you for shopping with my affiliate links (never any additional cost to you)!
Wednesday, January 31, 2024

Birthday Card Featuring New Lovely Layers: Sweetheart Roses

 Hello crafty friends! Today I'm sharing my card featuring some of the gorgeous new products from Honey Bee Stamps Vintage Love release that is available now!!

This card features the gorgeous Lovely Layers: Sweetheart Roses set along with the Vintage Flora background stamp, the Lovely Layouts: Posted dies, Love Is A Rose stamps (for the sentiment) and the Textiles & Texture: Vintage paper pad. As you can see in the photo background, I've also used some new Vintage Love wax melts and the Rose Stem Wax Stamper to create a pretty seal for the envelope.

First I stamped the Vintage Flora background stamp with light brown ink onto paper from the Textiles & Texture: Vintage paper pad. Then I die cut the piece with a die from the new Lovely Layouts: Posted die set. I set that aside to work on the other card elements.

I die cut the Lovely Layers: Sweetheart Roses from 80# Neenah. Then I used ink blending brushes to color the rose layers and stems with dusty pink ink and some green inks from my stash.

As this was my first time to use these gorgeous dies, I printed the layering guide to assist me in assembling the flower layers with glue. You can view, and download for printing, this layering guide found in the product description.

Next I created my perfectly coordinated ribbon by dying it with the same dusty pink ink I used on the flowers. I smooshed the ink pad onto my craft mat, spritzed the ink with a bit of water, and the pressed the ribbon into the ink. You can repeat the steps until you're happy with it. Then I dried the ribbon with my heat tool by holding it with my reverse tweezers. Be careful to not hold the heat tool too closely to the ribbon so it doesn't scorch!

I tied the ribbon around the Vintage Flora background panel and added foam tape to the back. I adhered it to a coordinating pink A2 card base.

Next I adhered the Sweetheart Roses to the card front with glue. I chose a sentiment from the Love Is A Rose stamp setand stamped it with black ink. I cut it out with the coordinating die and popped it up with foam tape strips.

Next I used the Vintage Love wax melts and the Rose Stem wax stamper to create the seal. Honey Bee has a wax melting spoon and a wax melting furnace in their shop to create these pretty seals with.  I actually use my heat tool to melt the wax in the spoon--I'm kind of impatient.  LOL!   I really like to use this silicone mat when making seals as it is extra thick and you can pour the hot wax onto it and set the hot spoon on it to protect your crafting surface.

This was the first time I tried this two-tone seal. I saw someone on Instagram make them this way and have been wanting to try it. Your wax stamper needs to be very warm and then you pour the melted wax from the spoon directly into the rose portion. Having it warm allows you to use a straight edge to scrape off the excess and level it to just leave wax in the rose. Then melt another color, pour it onto your surface and press the stamper into the wax. Wait a half minute or so and you will have a beautiful two-color seal!

Be sure to check out all of the other beautiful new products of the Vintage Love release over on Honey Bee's website.  Thanks so much for stopping by!

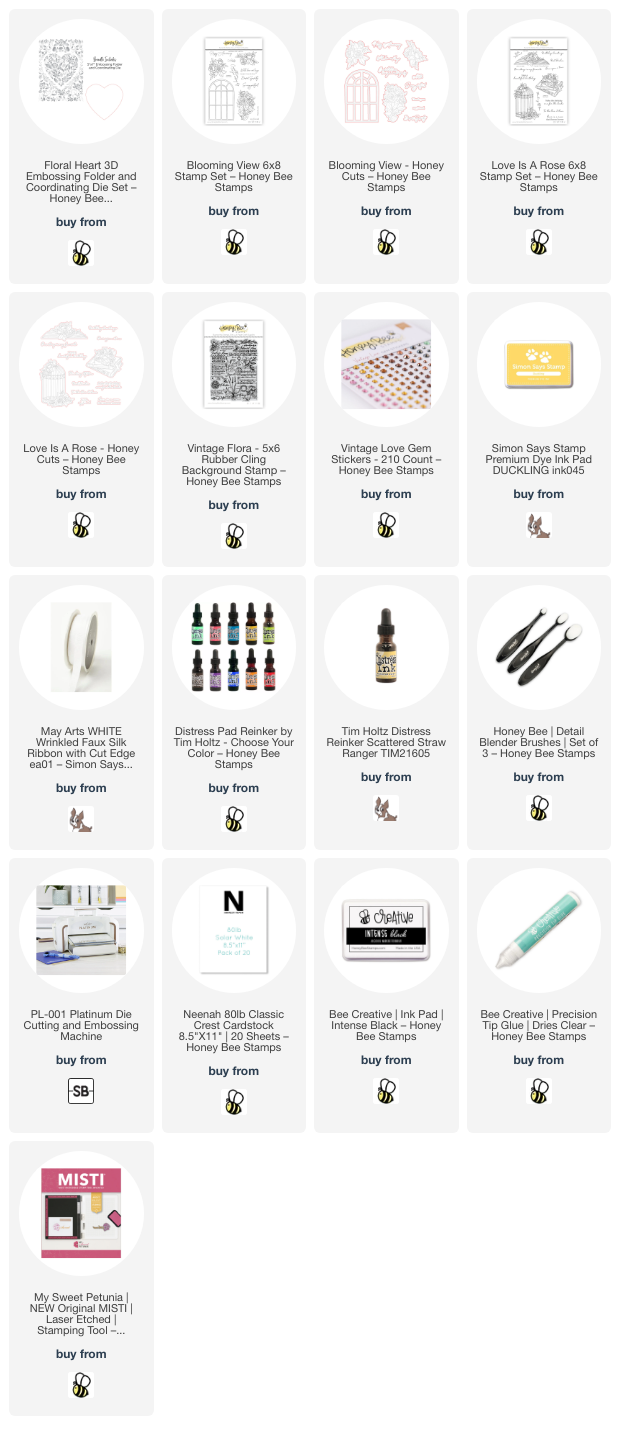
Thank you for using my affiliate links to shop (never any additional cost to you)!