Showing posts with label United We Stand. Show all posts

Wednesday, June 2, 2021

Red, White & Blue Patriotic Pickup Truck | Honey Bee Stamps

 Hello crafty friends!  Today I'm sharing a card with Honey Bee Stamps Big Pickup Tailgate stamps, dies, and coordinating stencils.  I've decorate our pickup to be ready for a July 4th parade!  I'd love to ride in a truck like this, want to join me?

Here are the steps for my card:  (Do you like the steps as bullet points?  Let me know)

  • First create the background.  Using a Background Blender brush, ink some red ink through the Twinkle, Twinkle stencil onto white card stock.
  • Leave the stencil in place, and add some Nuvo Moonstone Glimmer Paste through the stencil.  I like the subtle sparkle it adds and how it somewhat mutes the brightness of the red ink!
  • Remove the stencil and set the panel aside to dry.  Clean the stencils and tools immediately!
  • Stamp the Big Pickup Tailgate stamp with black Copic safe ink.  I colored it with Copic markers R39, R29 and R27.  Then die cut it with the coordinating die.
  • Next I used the Big Pickup Cab & Tailgate stencil set and a blender brush to add silver metallic ink to the bumper, side and center mirrors.  I added black ink to the tires.
  • Stamp the license plate sentiment with dark blue ink.
  • Then I used a white gel pen to add the details to the tires and highlights on the pickup.
  • Add Glossy Accents to the tail lights and side mirrors and set aside to dry.

  • I used the flag in the United We Stand set and stamped it in some red and dark blue ink from my stash.
  • Next I took the die in the Big Pickup Tailgate die set that is for the tailgate and centered it over the flag.  I positioned it so that more of the blue portion showed and ran it through my die cutting machine.
  • Then I stamped, colored and die cut the flowers and grass from the Loads of Spring stamp set with the coordinating dies.
  • I adhered the grass edge and flowers to the top of the flag tailgate with Bee Creative glue. Then I added foam tape to the back and adhered it to the truck.
  • The small flag is in the Farmhouse Add-on stamp set.  It is a blank flag and after I stamped it, I used a red and blue gel pen to add in the details.

  • Next I trimmed the stenciled panel to 5" x 5" and added it to a dark blue layer I had cut to 5-¼" x 5-¼".  These were adhered to a 5-½" x 5-½" white card base.
  • Then I adhered the pickup to the card base with Bee Creative glue.
  • I used the Grass Border die to cut a strip of white card stock.  Then I colored it with a couple of green Copic markers and added it to the bottom of the top panel.
  • Finally, I stamped the sentiment from the United We Stand stamp set in dark blue ink.  Then I die cut it with the coordinating die, and also once again from dark blue card stock.  I adhered the dark blue layer behind the sentiment slightly offset.
  • Add foam strips to the sentiment and attach it to the card.

I hope you've found inspiration for another way to use the fun Big Pickup Tailgate set!  Thanks so much for stopping by, and I hope you have a wonderful week!

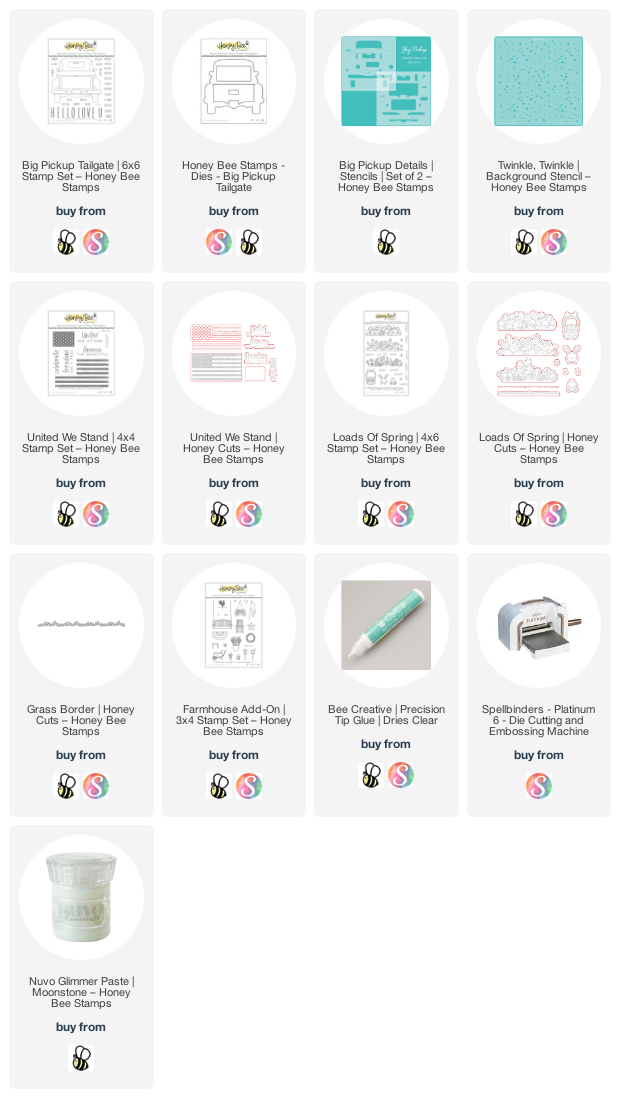
Links for products I used today:
Thursday, June 25, 2020

Patriotic Barn Scene Card | Honey Bee Stamps

Hello friends!  Today I have this adorable card using Honey Bee Stamps Barn Scene Builder set!  My barn today is all ready for the Fourth of July with the festive red, white and blue colors!  This set is so fun, especially when you add in some of the elements from the Way To Goat set!


The Barn Scene Builder set makes a stand alone barn-shaped card.  However, I wanted more space for my scene, so I added it to a 6" square card base.  I created this base by cutting two pieces of white card stock:  one 6"x 6" and another 6" x 6-¼" (score this one at ¼").  Adhere the 6x6 piece to the tab.   On the card front I used the cloud stencil from the Outdoor Scene Builder stencil set and blended on some Salty Ocean Distress Oxide ink with a Background Blender Brush.  I used the Grass Border die to create a mask and blended on Mowed Lawn and Twisted Citron Distress Oxide ink.  Turns out that the grassy edge barely shows!  Haha!

My next step was to build was this adorable windmill.  I die cut the blades and five of the circle pieces from silver card stock.  Stack and adhere the circle pieces and then adhere the blades to the circle.   The other portions are die cut from Woodgrain card stock.  I blended some Distress Oxides to color and shade this piece.  I wanted this windmill to be movable, so I punched holes with the pokey tool in the center of the blades and windmill base.  See the photo for a visual explanation.  I used a tiny brad to connect the pieces.


Next I die cut the barn pieces from patterned paper in the Home Essentials 6x6 paper pack.  I die cut the door frames, the window, and window box from white woodgrain card stock.  I used a Blending Brush to add some Walnut Stain and Ground Espresso Distress Ink to color and shade these.  I offset the barn on the card base, adheredit, and then trimmed off the extra.  Next adhere the doors, window, and roof.


I stamped the flowers and critters from the Way To Goat set, along with the banners from the Farmhouse Add-on set, in Copic safe ink.  I colored them with Copic markers and die cut them with the coordinating Way To Goat Honey Cuts and Farmhouse Add-on Honey Cuts.  I stamped the sentiment from the United We Stand set in black ink and die cut it with the Coordinating Die.  I die cut two more of the sentiment piece and colored them with a red and a blue marker that I used to color the flowers.  I layered these all together and popped it up with foam tape.


If you haven't tried a scene building set like this one, you really should!  It's so much fun customizing it however you like!  Thank you so much for stopping by today!  


Supplies:
Distress Oxide inks:  Salty Ocean, Mowed Lawn, Twisted Citron
Distress inks:  Walnut Stain, Ground Espresso