Showing posts with label Trinity Stamps. Show all posts

Saturday, June 10, 2023

Sea You Soon Shaker Card

Happy Saturday!!  I have a quick blog post with another card that features Trinity Stamps' new Sea You Soon set!  It's a fun shaker card using one of the new A2 Layer Shaker pouches!  It is sized just right for your card front layer!

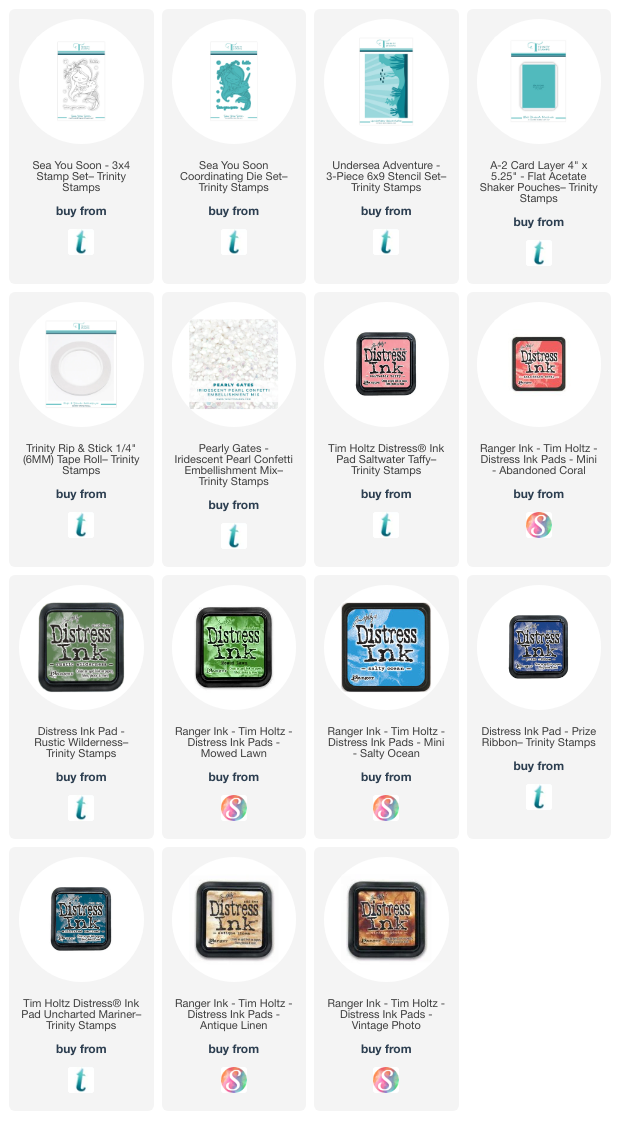
I used the Undersea Adventure stencil set to create the background scene.  I used ink blending brushes with the Distress Oxide inks in the list below.  I added the subtle light rays with some white pigment ink.

When all of the inks were dry I added ¼" double sided tape to the back of the scene panel.  Then I placed it face down into the A2 Layer Shaker pouch.  (There's a protective film on the outside that you will need to remove.)  After I folded and creased the edges I removed the backing from all of the tape except the top and folded the edges over to seal three sides.

Next I added some coordinating sequins and sealed the top.  I added ½" double-sided tape to the back of the shaker and adhered it to an A2 card base.

Next I stamped the adorable mermaid from the Sea You Soon set and colored it with some Copic markers.   The sentiments are also in the set!  I cut all of the pieces out with the coordinating dies.  I used more double-sided tape to adhere the sentiment and image to the front of the shaker.

Thank you so much for stopping by!  I hope you have a wonderful weekend!

Thank you for using my affiliate links to shop (never any additional cost to you)!
Friday, June 9, 2023

Teacup Blooms Card & Trinity Stamps 5th Birthday Celebration

I’m thrilled to be celebrating Trinity’s 5th Birthday and New Release.  My card features the beautiful new Teacup Blooms and Punny Cup of Tea sentiments and is part of today's Instagram hop.  And WOW, Trinity is giving away a $100 gift card to one commenter that joins us in the hop!!


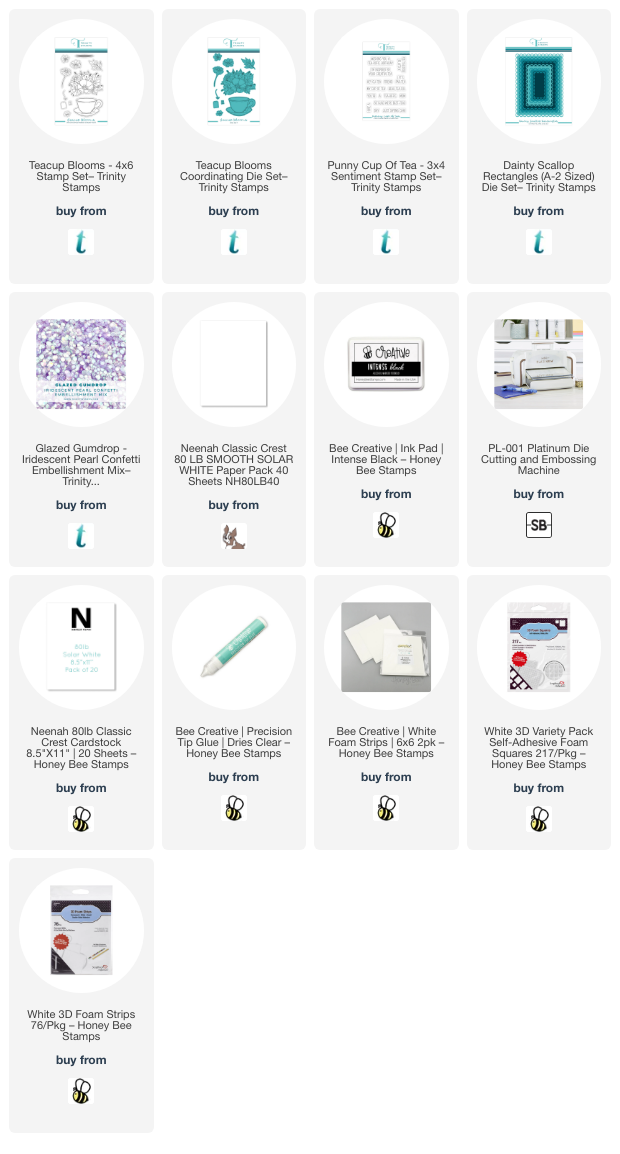
I used Trinity Stamps' new Teacup Blooms stamp set for my card today.  I stamped all of the images in Copic safe black ink onto 80# Neenah.

After I colored the images with my Copic markers, I cut them out with the coordinating Teacup Blooms dies.  For the A2 card, I die cut the second largest Dainty Scallop Rectangles from 80# Neenah.  I added some thin foam tape to the back and adhered it to my card base.

I stamped the sentiment from the new Punny Cup of Tea stamp set after the card was fully assembled!  Don't do that!! LOL! Stamp it onto the die cut panel before assembly!  I got luck and was able to stamp it a few times by using my MISTI!

I added thin foam tape to the back of the teacup to adhere it to the card.  Then I added a double layer of the foam tape to the upper back of the flowers.  The other elements are tucked behind with a few flowers on top.  Thin foam tape and squares make adding dimension to your card and you'll still be able to mail the card.

Added a few of sequins from the new Glazed Gumdrop Iridescent Pearl Confetti mix around the flower cluster for a bit of sparkle.

Be sure to join me over on the Instagram hop!!  Trinity Stamps has lots of wonderful card making products that you could get with the amazing prize!!

Thank you so much for stopping by!

Thank you for using my affiliate links to shop (never any additional cost to you)!

Tuesday, June 7, 2022

Trinity Stamps Sweet Summer Celebration Release Blog Hop

Hello crafty friends!  I'm so thrilled to be joining in the Trinity Stamps Sweet Summer Celebration release blog hop!  This hop is filled with lots of awesome inspiration for the Sweet Summer Celebration release!  Be sure to hop along and leave a comment at each stop for your chance to win one of two $50 gift certificates to the Trinity Store!  You should have arrived here from the blog of Kelly Fusco.  If you need to start at the beginning, head over to the Trinity Stamps blog.

For my cards today, I created two clean and simple cards using the Cupcake Bouquet set for the first card. My second card features the So Berry Sweet set.  Read on for the details!

This sweet birthday card featuring the Cupcake Bouquet set was super fun to color with my Copic markers.  First I stamped the image and sentiment with black Copic safe ink.  After I finished coloring, I used the coordinating dies to cut them out.

I added foam tape to the back of the die cuts and adhered them to an A2 card base.  For a bit of bling, I added a few iridescent gems around the cupcake.

My next card uses the adorable So Berry Sweet set.

Again, I stamped the image with Copic safe ink and colored the image with my Copic markers.  I chose not to use the coordinating dies and added a red mat layer slightly larger than the image I trimmed to 3" x 4-¼".  


I added some detail to my A2 card base by using my score board to add lines around the edges.  Then I added foam tape to the colored panel to pop it up on the card.  Next I added a few details with a white gel pen to the berries and the sentiment.  I finished up with some pretty bling from the Crystal Ball Dewdrop Baubles embellishment mix.

Thank you so much for stopping by!  Be sure to leave a comment before you hop to the next stop for a change to win a $50 gift certificate!

The next stop on the hop is the blog of Shanna Slater.

Blog hop list:

Trinity Stamps

Emelie Genberg 

Carrie Rhoades

Lisa Mears

Christine Burillo-Kirch 

Amanda Wilcox 

Katie Brooks

Cassie Trask

Jenny Hall

Jennifer McGuire

Brenda Noelke

Kelly Fusco

Carol Hintermeier <<< that's me!

Shanna Slater

Jeannie Lieu

Natasha Davies

Larissa Heskett

Ilina Crouse 

Joy Baldwin

Tanya Boser 

Amanda Stevens

Silvia Galloni

Sandy Allnock