Showing posts with label Textiles & Texture: Vintage paper pad. Show all posts

Monday, March 3, 2025

The Most Adorable Pet Card!

Happy Monday!  Today I'm sharing my card that is part of Honey Bee Stamps' Instagram Hop to celebrate their latest "Pet-tastic Release".  This release not only has the dogs and cats we love, but several other pets, like these little hamsters and their hamster house!

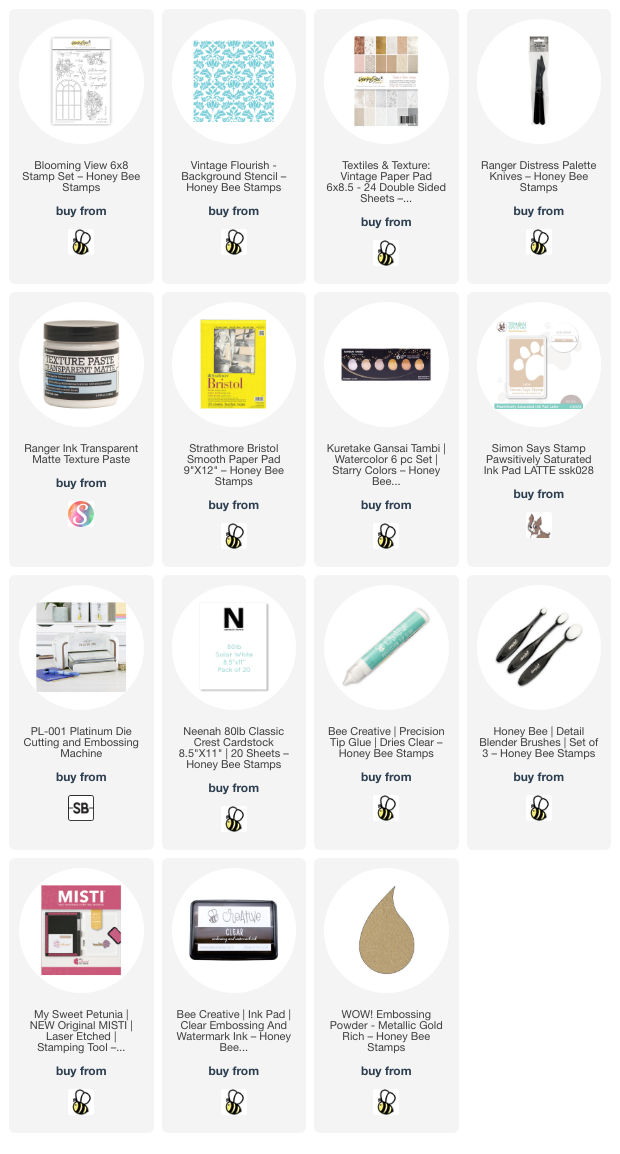
I die cut the Lovely Layers: Hamster House and accessories from light gray, two shades of teal, vellum, and matte silver cardstock.  The hamster tunnel pieces were die cut from the vellum.  I die cut the hamster wheel from teal and silver cardstocks.

I always print off the Layering Guides for each of the Lovely Layers sets and used that to adhere the cage and other elements.

Our daughters had hamsters when they were growing up and let me tell you, we have hunted the corners of the house for one that always managed to escape!  There are two different hamster in the Lovely Layers: Hamsters die set.  I die cut five hamsters and used various shades of brown Copic markers to color each one.  After I glued each of the hamsters' layers together, I had fun planning where to place each one, with two of them as escapees!  Haha!

Once I had my plan figured out, I created a 5" x 7" card base and adhered patterned paper from the Textiles & Textures: Vintage paper pad onto the card for a subtle background.  I added a strip of woodgrain cardstock for a "table" for the cage from the Grain & Grunge paper pad.

Isn't it so cute that there is a die that will cut two seeds for the hamsters to eat?!

I stamped a sentiment from the You've Got A Friend stamp set in black ink.  Then I cut it out with the coordinating You've Got A Friend die.

I hope you will join me over on Instagram for the hop.  Honey Bee will be giving away two $50 gift certificates to two winners!  Thanks so much for stopping by!

Thank you for using my affiliate links to shop (never any additional cost to you)!
Wednesday, February 7, 2024

Anniversary Card With Stencils and Watercolor

Hello Honey Bee friends! Have you been loving the new Vintage Love release as much as I have? Today my anniversary card features the gorgeous Blooming View stamps and coordinating dies. I absolutely love the florals, but also the window which has so many possibilities with other sets too!

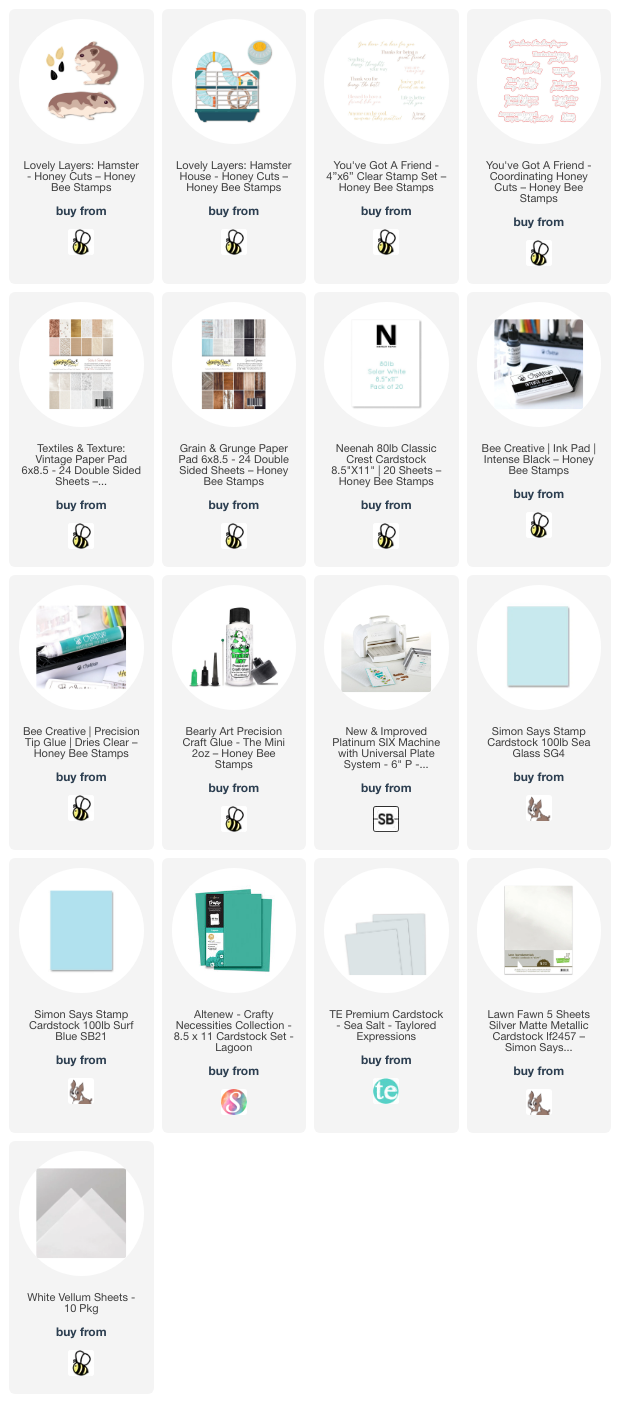
I started by using a fun stenciling technique for my A2 card background. I trimmed a piece of paper from the new Textiles & Texture: Vintage paper pad to 4-¼" x 5-½". Then I lightly sprayed the back of the Vintage Flourish stencil with Pixie Spray. This is a beautifully detailed stencil and the spray will keep the small parts of the stencil secure.

Next I used a pallet knife to spread some transparent matte texture paste through the stencil. I removed the stencil and immediately washed it and the knife. When the piece was dry, I used an ink blending brush to add some very light brown ink over the entire piece. This makes the detail of the stencil pop! Check out this photo I took about half way through the process.

You can really see what a difference the ink makes. (The ink wasn't thoroughly dry and is much lighter after some time.) I adhered the panel to my A2 card base with glue.

Next I stamped the images from the Blooming View stamp set with clear embossing ink onto Bristol Smooth cardstock. I added gold embossing powder and heat set it.

Then I used various watercolors from my stash to color the florals. I used a gold metallic watercolor on the window. Tip: Use a scrap piece of Bristol to experiment and combine colors to find what you like. This prevents me from making a color mistake on the actual piece.

I die cut all of the dry pieces with the coordinating Blooming View dies. I love that the window has two dies! I used the outer die to cut a piece of vellum to fit behind the window and used glue to adhere it to the card.

The gold embossed sentiment is one of several in the Blooming View stamp set and is cut out with the coordinating die. I used foam dots and narrow foam tape strips to adhere the florals and sentiment to the card.

This was a super fun technique to used with patterned paper and stencils! I hope you've enjoyed my card making process and have found inspiration here! Thank you so much for stopping by!

Thank you for using my affiliate links to shop (never any additional cost to you)!