Showing posts with label Quilted A2 Cover Plate die. Show all posts

Wednesday, June 8, 2022

Two-for-One Father's Day Cards

Happy Wednesday!  Today I'm sharing two Father's Day cards I made with one inked and die cut piece! My inspiration for this design is the design of the new Happy Happy Happy A2 Cover Plate die. These cards were so fun and easy to make--read on for the details!
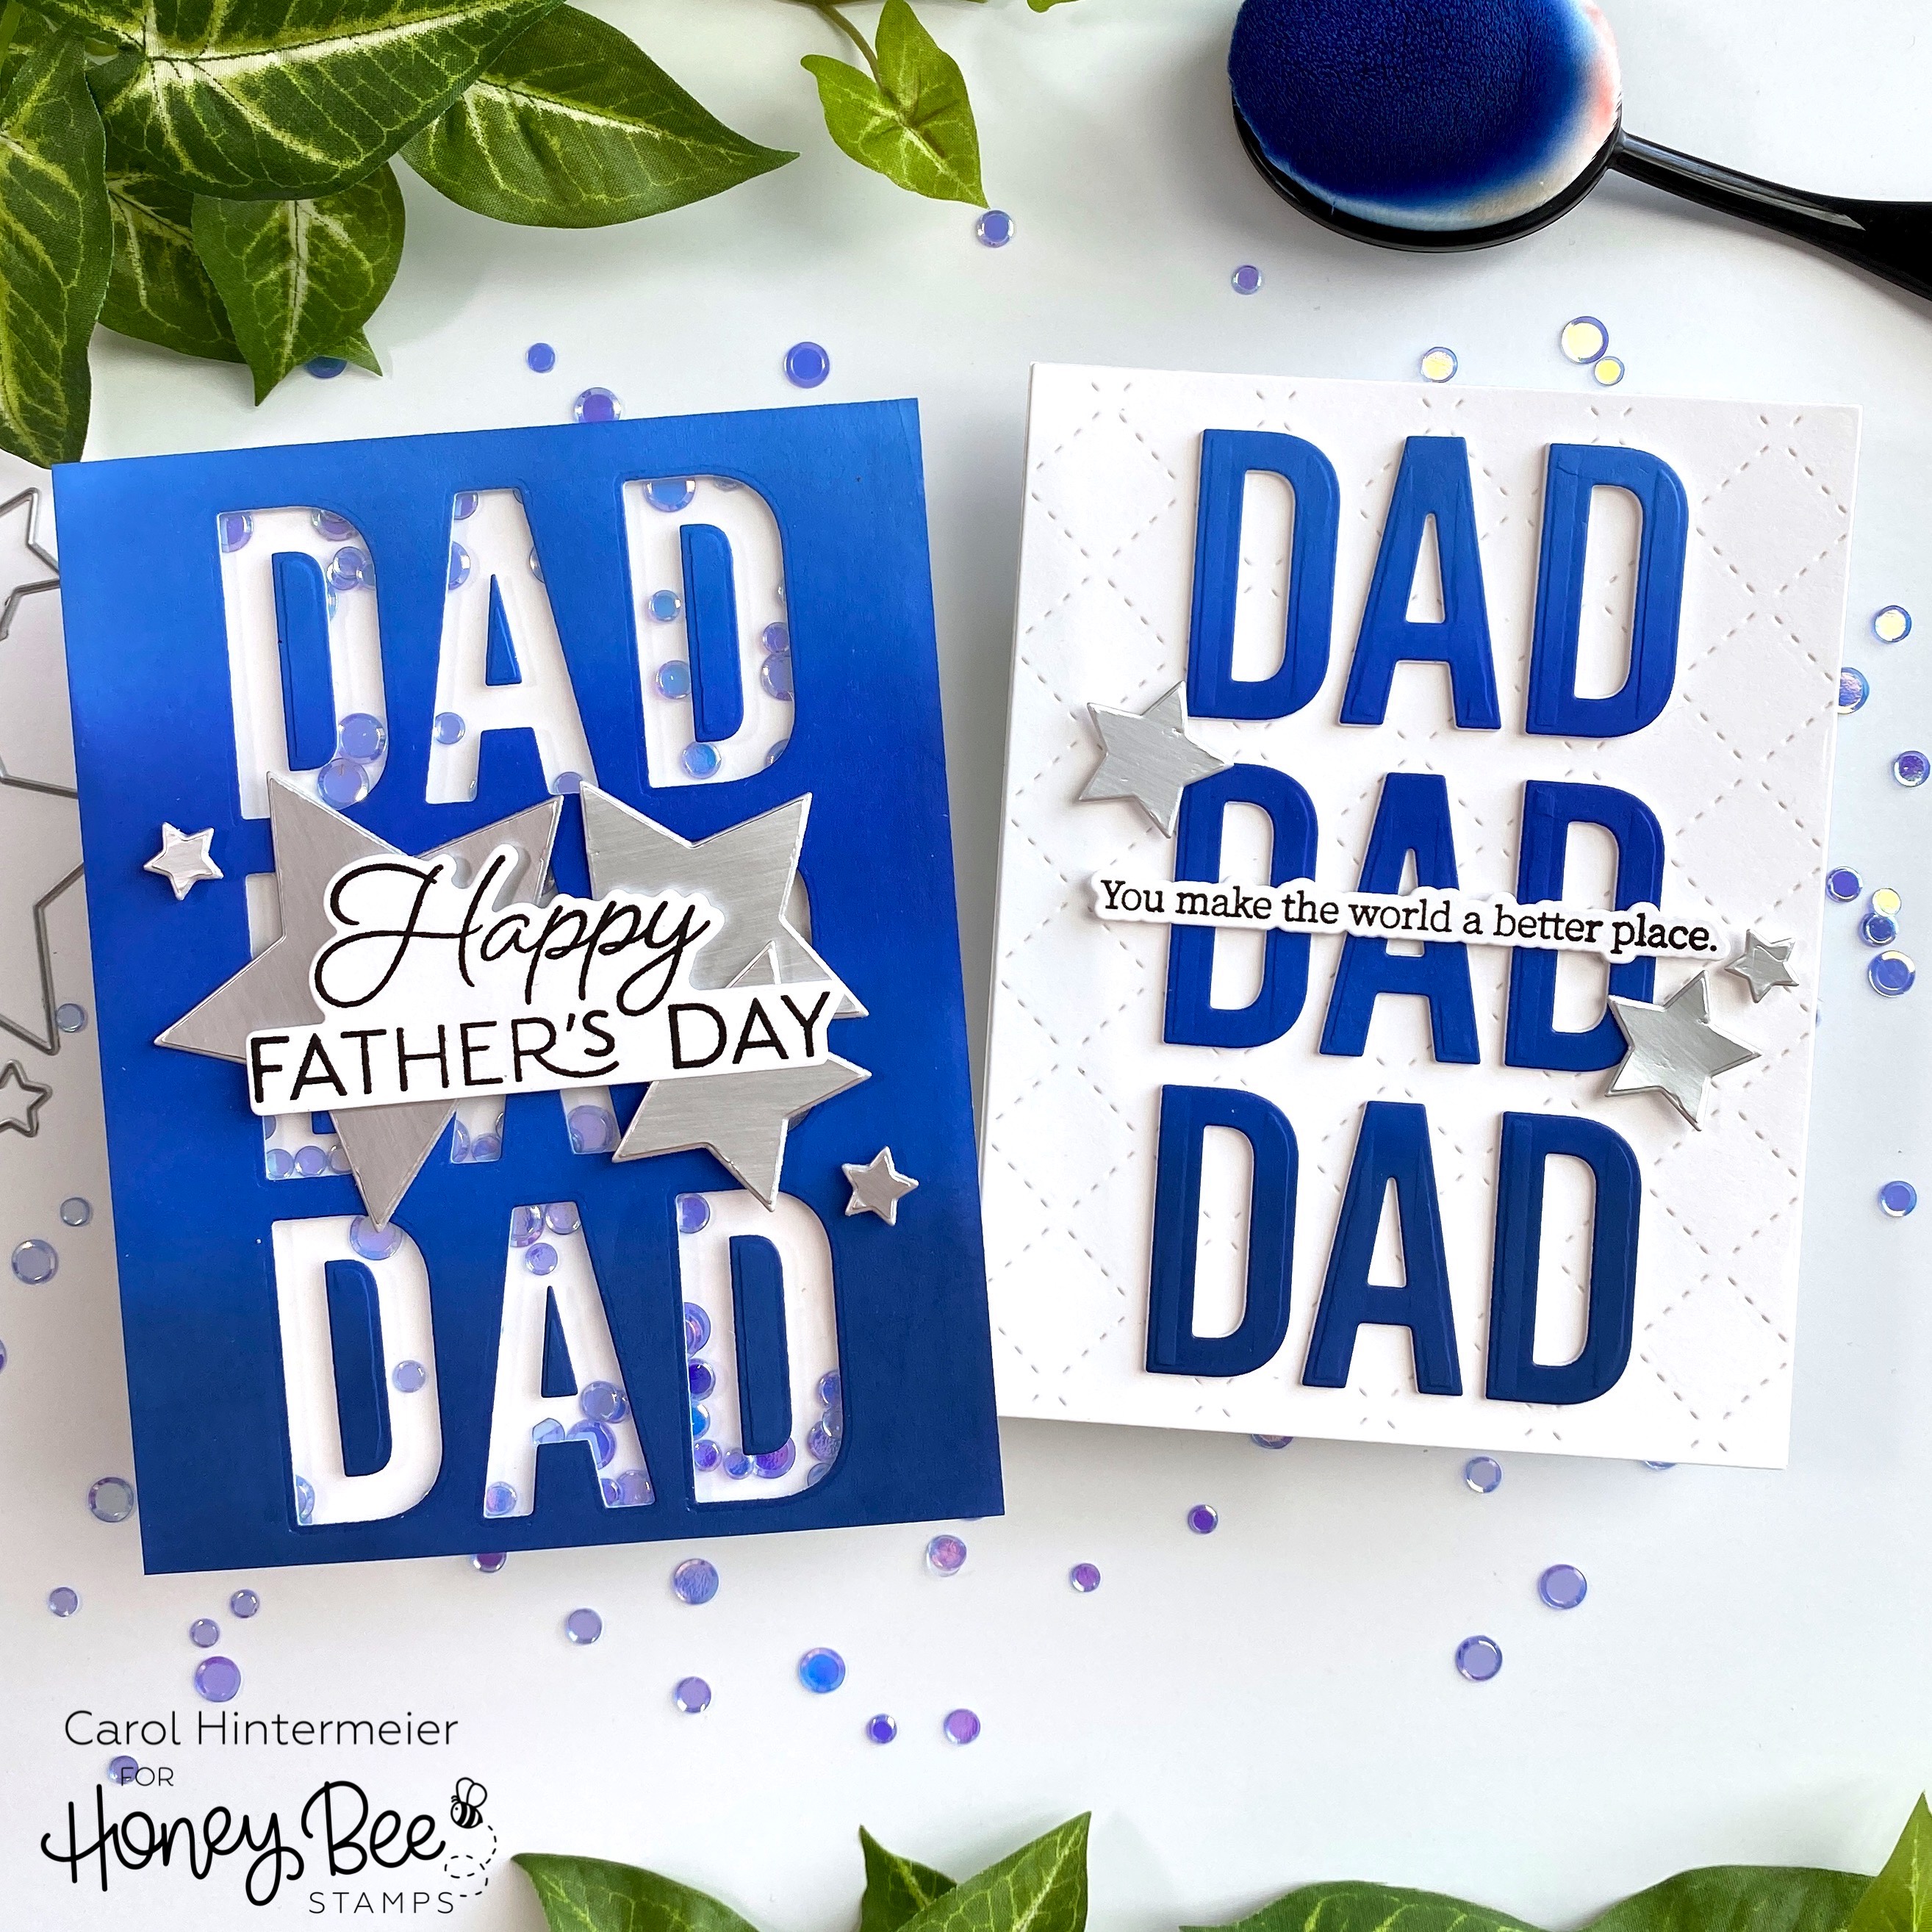
The first thing I did was use a Detail Blender brush to ink up a panel of white cardstock with blue Distress Oxide inks. I used Chipped Sapphire, Prize Ribbon, Blueprint Sketch, and Tumbled Glass. I mixed and blended the colors until I had the subtle ombre look I was going for. Then I used the letters "D" and "A" from the Bee Bold Alphabet Honey Cuts to die cut the word Dad three times on the inked panel. A t-square ruler helps to keep things straight for this design. I set the die cut letters aside while I worked on the shaker card.  BE SURE TO SAVE the little center pieces of the d's and a's!!!!

I added some clear acetate to the back of the inked, die cut panel with Bee Creative glue. Then I added foam tape along the edges of the card back and in-between the words. I sprinkled in some Maliblue confetti mix sequins into each section. Then I removed the adhesive backing and placed an A2 card base onto the piece. Such a fun shaker card for your guy!

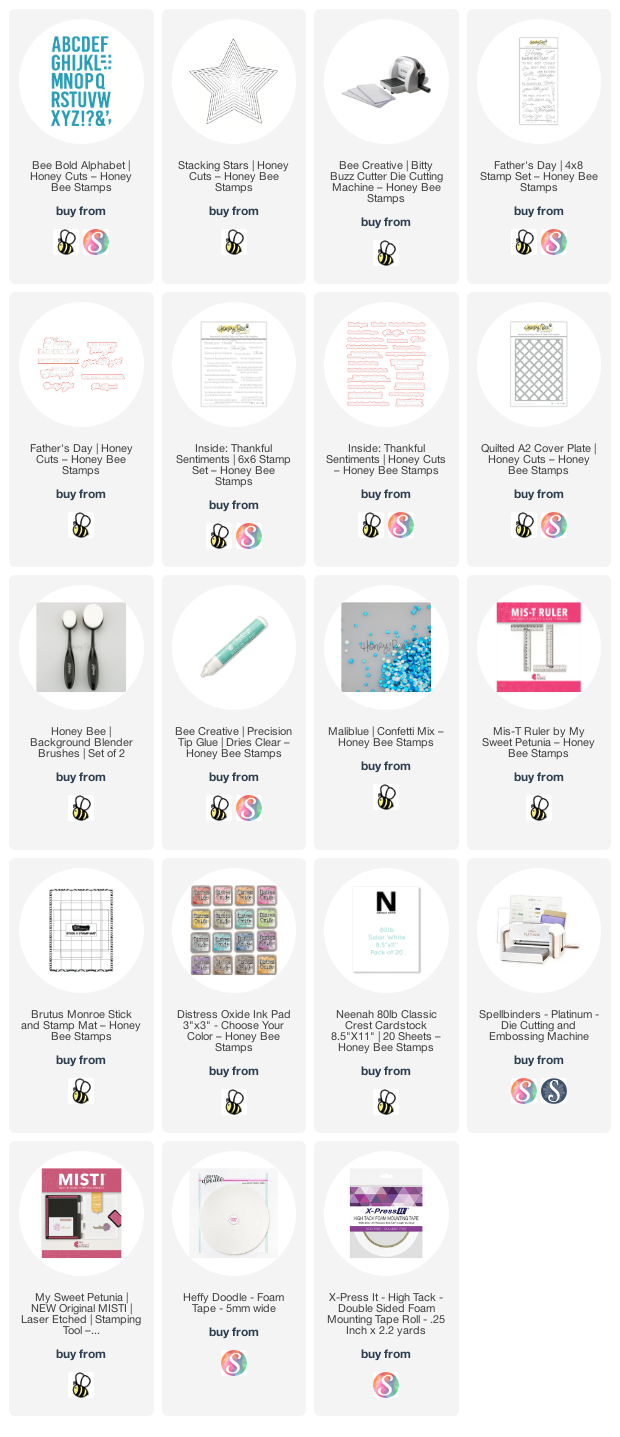
I die cut some brushed silver metallic cardstock with stars from the Stacking Stars Honey Cuts and adhered them with Bee Creative glue and the small ones with foam tape. Then I stamped the sentiment from the Father's Day stamp set with black ink and die cut it with the coordinating Honey Cut. I used Bee Creative glue to adhere it to the card.

For my "bonus" card I die cut white cardstock with the Quilted A2 Cover Plate to add some detailed interest to the card background. I adhered it to an A2 card base.

Next I used my Bitty Buzz Cutter to die cut white cardstock with the letters D and A to have three white layers per letter.  I HIGHLY recommend this cute little die cutter! I decided to order it and just received it a couple days ago. It was so easy to use and made die cutting so many of the letters to stack up so easy! Glue all of the layers of letters together with Bee Creative glue.

Then I used my t-square ruler and this sticky mat to line up the letters. Next I placed removable tape over each word to pick it up all together and used Bee Creative glue to adhere the letters. I added a few extra stars I die cut with the Stacking Stars Honey Cuts to the card. Then I stamped the sentiment from the Inside: Thankful Sentiments set and die cut it with the coordinating die. I die cut two more of the sentiments from white cardstock and adhered the layers together before adding it to the card.

Thank you so much for stopping by!  Have a wonderful, and crafty, day!!


Thank you for choosing to use my affiliate links!  (never any additional charge for you)
Wednesday, April 13, 2022

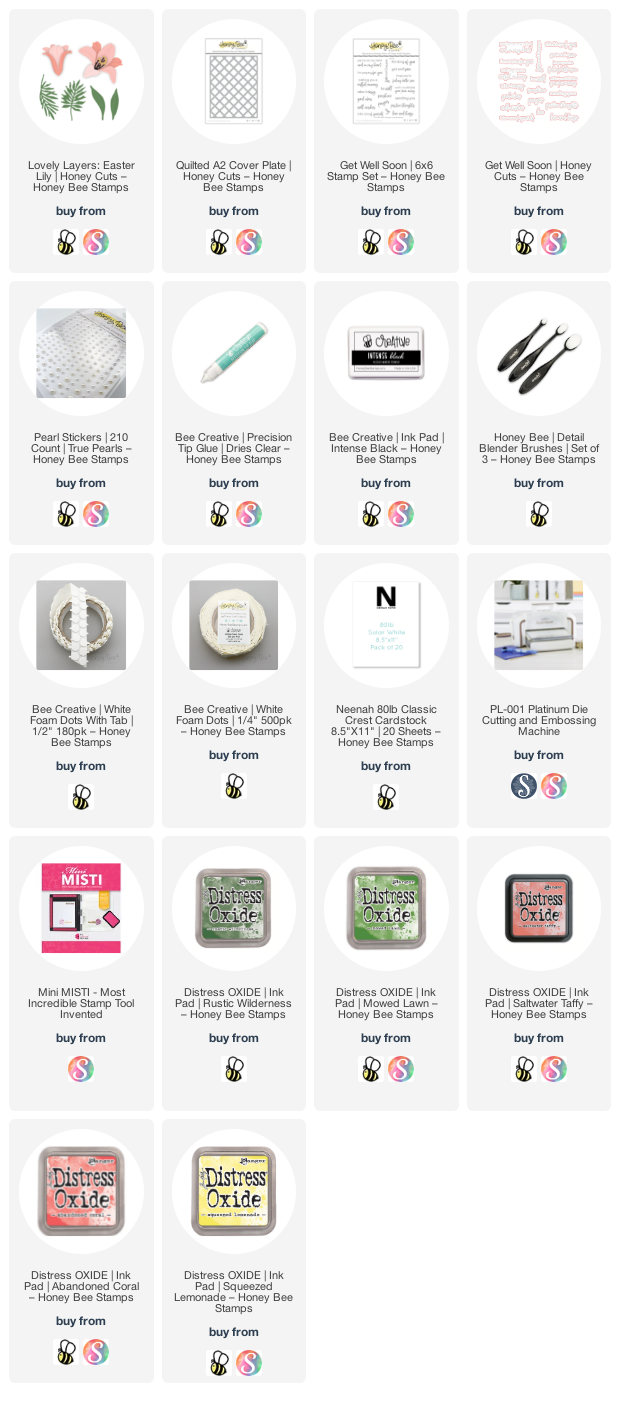
Sending You Love & Hugs Card Featuring the Lovely Layers: Easter Lily

Hello crafty friends!  Today I'm sharing a sweet card featuring Honey Bee Stamps Lovely Layers: Easter Lily dies.  This is one of their early sets in the Lovely Layers line, and also one of my favorites!

The card base is a top-folding A2 size with edges I inked up by dragging the Saltwater Taffy Distress Oxide pad along the edges.  This is a quick and easy way to have a perfectly coordinating layer!  Next I die cut some 80# Neenah Solar White cardstock using the Quilted A2 Cover Plate die and trimmed it down to 4" x 5-¼".  Then I adhered it to the card base with Bee Creative glue.

Next I die cut the Lovely Layers: Easter Lily dies from white cardstock.  I used the smallest of the Detail Blender brushes to add Abandoned Coral and Saltwater Taffy Distress Oxide to the flowers' petals.  Then I added some dots to the petals with a R14 Copic marker.

I used Rustic Wilderness and Mowed Lawn to color the leaves and stamen stems.  Squeezed Lemonade is the color I used for the stamen tips.  I used some small foam dots to adhere with center flower layers and Bee Creative glue for the other pieces.

Then I stamped the sentiments from the Get Well Soon set with Intense Black ink.  I used the coordinating dies to cut them out and added foam tape to adhere them to the card.

After I adhered the flowers and leave to the card with glue, I added white pearls from the True Pearl pearl stickers set to the intersecting lines of the die cut card panel.  I love the shine and the detail that these pearls add!

Thank you so much for stopping by today!  If you are interested, check out my Instagram where I will have a short "reel" posted of my card making process.  I will post it most likely sometime this morning.  Have a wonderful day--stay crafty!!

Thank you for using my links to check out the products I used today!

Wednesday, September 15, 2021

Honey Bee Stamps & Waffle Flower Collaboration: Stenciling Fun!

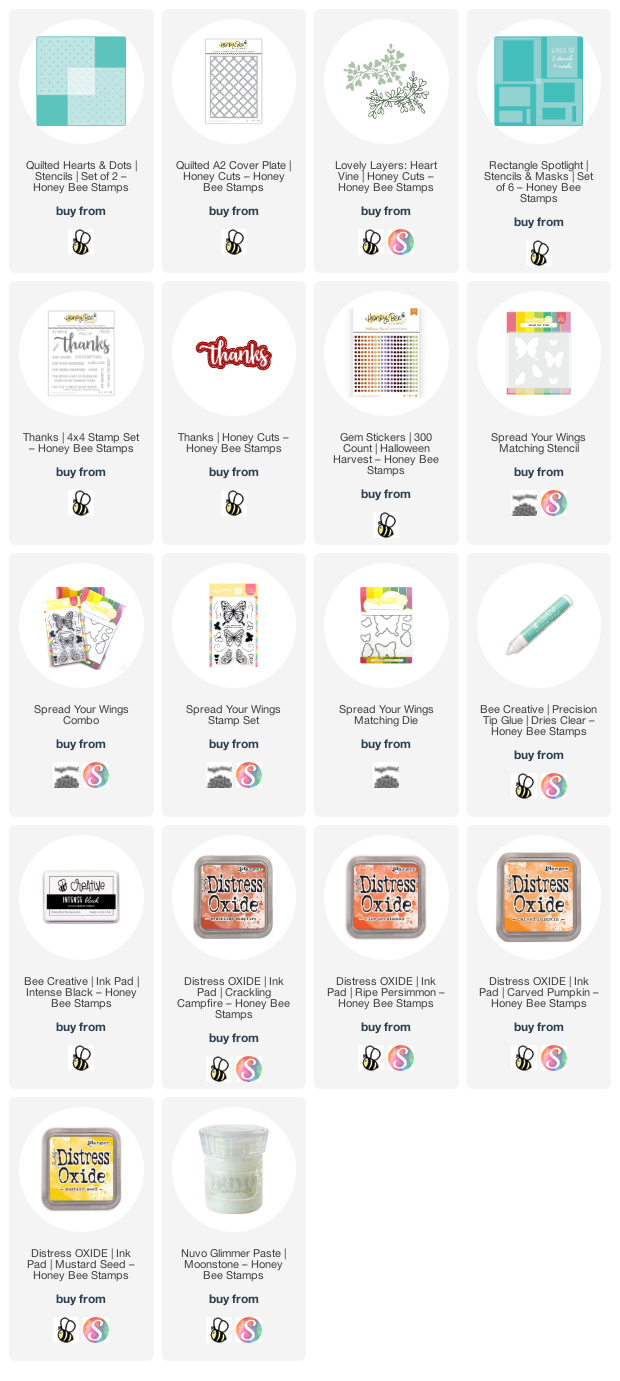
 Hi crafty friends!  I shared this card over on Instagram for a fun hop with some of the Honey Bee team along with Waffle Flower Crafts!  We are showing off the NEW Waffle Flower Crafts stencil mats: 9" x 12" or the 6" x 9" Mini Stencil Mat.  Both of these are now available in the Honey Bee shop!  Also, be sure to check out Waffle Flower's comparison chart of all their mats below.

Now, you may be wondering, "why do I need this?"  Well, I admit, I thought the same.  However, after using it, I can say "yes!" you do need it.  Here's why: the silicone mat holds your card stock without it slipping around; the raised edges keep the card and your stencil aligned; the mat is non-stick, waterproof, and heat resistant too!  I found it very easy to clean up with water and a clean towel.  Just so you know, this is sincerely my honest opinion--I have not been paid to give it a positive review.

Now, on to my card!  I combined several products from Honey Bee and Waffle Flower to create my fun thank you card.  I have the list with links at the end.

To begin, I die cut 80# Neenah with the Honey Bee Quilted A2 Cover Plate die, then trimmed it to 4" x 5-¼".  I aligned the heart stencil from the Quilted Hearts & Dots stencil set over the card and added some purple tape to hold it in place.  Now I put it on the Mini Stencil Mat and began my ink blending my Distress Oxides.  I used Crackling Campfire, Ripe Pumpkin, Carved Pumpkin and Mustard Seed.

You may notice the the raised edges of the Mini Mat are at the bottom and right side--well, I found that, as a left-hander, that's what worked best for me!  Haha!  So another good thing about the mat is that it works just fine whichever way you place it!  I left the tape on my stencil and wiped off the ink.  Then I spread some Nuvo Moonstone Glimmer Paste through the stencil.  I set the card aside to dry and cleaned the stencil and my tools.

Next I stenciled the beautiful butterflies using Waffle Flower's Spread Your Wings Stencil and Mask set.  I used the same Distress Oxides as before.  I removed the stencil and placed the card in my MISTI.  I centered the coordinating Spread Your Wings stamps over the stenciled butterflies and picked them up with the MISTI door.  Then I stamped them with Intense Black Ink.  I used the Spread Your Wings dies to cut them out.

Then I inked some card stock in the ombré patterned and die cut it with the bottom layer of the Thanks die set.  The middle layer is 80# Neenah, and the top is glossy black card stock.  I stamped the rest of the sentiment, from Thanks stamp set, in Intense Black ink.  Then I arranged my elements, including pieces of the Lovely Layers: Heart Vine I had left over from making this card.

Next I decided to create a coordinating envelope.  I used a mask from the Rectangle Spotlight Stencils & Masks set to block off the addressee portion of the envelope and placed the Quilted Hearts stencil over it.  Again, I used the same Distress Oxides as before.  Then I used a couple pens to trace around the rectangle mask.  Here's a photo showing you the products, plus check out the new Waffle Flower Clear Acrylic 10-hold Brush Stand.  This is a really good stand for your brushes!

After I adhered my sentiments and butterflies, I added a few gem stickers from Honey Bee's Halloween Harvest set to the butterflies.  Gotta have just a bit more bling!  Haha!

Thank you so much for stopping by!  I sure hope you'll join us over on Instagram to see lots more inspiration--be sure to comment for a chance to win too!

Check out these awesome products I used:

Waffle Flower's mat comparison chart:


Wednesday, March 17, 2021

Springtime Floral Birthday Card | Honey Bee Stamps

Happy Wednesday crafty friends!  I am SO ready for spring time and to plant all of the flowers!!  This beautiful Farm Fresh Flowers stamp set suits my mood perfectly!


I began by stamping the flowers and vase from the Farm Fresh Flowers stamp set in Copic safe ink and coloring them with my Copic markers.  I have all the colors I used listed at the end.  I used the coordinating Honey Cuts to cut them out.  I added thin foam squares to the back of the vase and regular foam squares to the flowers and set them aside.

I stamped the sentiment, from the Buzz stamp set, in Versamark ink onto black card stock.  I sprinkled on some white embossing powder and heat set it.  Then I trimmed it down and added foam tape to the back.

Next I die cut the Quilted A2 Cover Plate from white card stock.  I adhered it to a top-folding A2 pink card base.  I adhered the vase, flowers, and sentiment to the card front.

Next I placed these sparkly, shiny pearl colored gem stickers at the intersecting points of the stitched lines.  I found these in the Sweet On You gem stickers.  I love all of the subtle sparkly fun!

I hope you've enjoyed my dose of springtime flowers today!  Thank you so much for stopping by!

Copic markers:

tulips: RV13, RV02, RV10
purple flower:     RV66, V06, V05, RV63, RV52
yellow flower:  Y19, Y18, Y13, Y00
hyacinth: RV66, RV17, RV04
greenery:  YG67, YG25, YG03, and G28, G07, YG09, YG07
vase:  B0000, B000, B00, C3, C1, C00

Wednesday, January 27, 2021

Hello Friend! | Honey Bee Stamps

 Hello my friends!  Today I'm sharing a card using Honey Bee Stamps beautiful Love You Bunches stamps and coordinating dies.  The sentiment I've used is one of 12 included in this set!  This sentiment makes the card so versatile for many occasions, depending on what you stamp, or write, inside!  I'm thinking of using this as a birthday card for a good friend!


To begin, I stamped the flower bouquet in Copic safe ink and colored it with my Copic markers.  I've listed the colors I used at the end.  Next I die cut it with the coordinating die and tied some twine around the stems.  I added foam tape to the back and set it aside.

For the bottom layer of my card I used the Quilted A2 Cover Plate die and die cut white card stock.  Did you know that the Quilted Hearts and Dots stencil set is made to coordinate with the cover plate perfectly?  Of course, the stencils can be used on their own as well!  I used the dot stencil from the set and a Background Blender brush to ink on some Squeezed Lemonade Distress ink.  While the stencil was in place, I spread some Nuvo Moonstone Glimmer Paste through the stencil and set it aside to dry.


Next I worked on the "table" I made using the Barn Wood Planks die set.  First I die cut the planks from Neenah Desert Storm card stock.  Then I inked them up with Tea Dye Distress ink using a foam tool.  I made sure to ink the edges with extra ink.  I wanted to create an illusion of dimension so I cut them down into thinner pieces.  The widest strip is about ¾", then the next size is ½" and the thinnest is ¼".  Be sure to ink up the cut edges!!

To make the piecing of the planks easy, I cut a piece of Neenah Desert Storm card stock to 5-½" x 1-7/8", then added a piece of double sided adhesive to the piece. I peeled the top liner off of the adhesive and then laid down the planks, cutting them to random lengths, and again, inking the cut edges.  To finish, I inked some Walnut Stain Distress Ink around the outside edges of the piece.  I adhered my "table" to the bottom of the Quilted A2 Cover Plate piece and adhered the panel to my top-folding card base.  I added foam tape to the back of the bouquet and adhered it to the card.

For the sentiment, I used the same three yellow Copic markers and colored an ombré pattern onto some white card stock.  Then I stamped the sentiment onto it with Versamark ink, sprinkled on black embossing powder, and heat set it.  I used the coordinating die to cut it out.  I die cut one more sentiment shape from black card stock and glued it offset to the back of the sentiment.   I added foam squares to the back and adhered it to the card.

To finish up with a touch of bling, I added a few Bee Pollen dew drops.  I love adding a touch of shine!


Thank you so much for stopping by today!  Have a wonderful day!


Copic markers:
Y19, Y15, Y02, V09, V06, V05, RV63, V000,
G29, YG67, YG25, YG17, YG03