Showing posts with label Happy Birthday #1 set. Show all posts

Tuesday, February 14, 2023

Happy Birthday To You!! & Creating Colorful Cards with Die Cuts

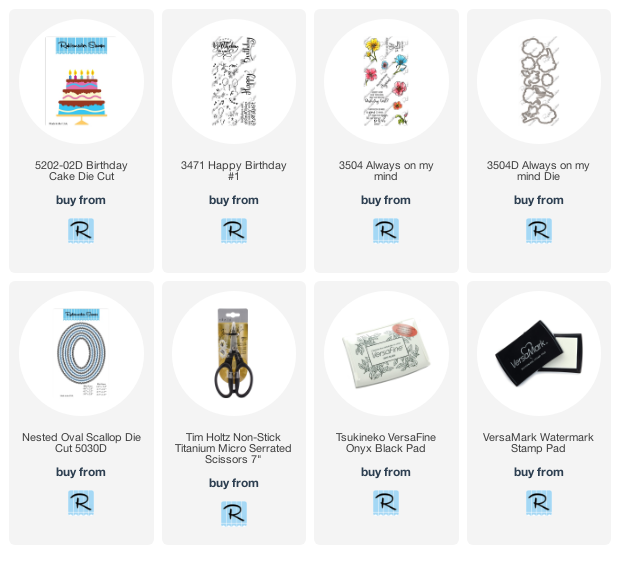
 Hello crafty friends!  Today my card features Rubbernecker Stamps' beautiful Birthday Cake Die!  It's a one piece die that makes it so easy to cut all of the cute pieces and parts of this birthday cake.  Check out the details below!

First I heat embossed the background layer with the Happy Birthday #1 background stamp and some sparkle embossing powder.  You can see it in the photos, but in real life, it's so sparkly and pretty!

While I had my MISTI out for the stamping, I stamped the sentiment in the Happy Birthday #1 set with Versafine Onyx black ink.  I used the third smallest Nested Oval Scallop die to cut it out.  I added foam tape to the back and set it aside.

Next I die cut 80# Neenah Solar white cardstock with the Birthday Cake Die set.  You can totally use this fun die with colored cardstock.  It would be perfect to use with your scraps by placing each color over that section of the die.  I used some Copic markers to color the layers of the cake.

I also stamped and Copic colored a few of the smaller flowers found in the Always On My Mind stamp set.  I fussy cut them out and adhered them to the base of the cake with glue and foam squares.

Thank you so much for stopping by today!  I hope it's a great one for you!

Check out these products I used today (affiliate links-never any additional cost to you)

v
Tuesday, February 15, 2022

Sprinkled With Stardust | Rubbernecker Stamps

 Hello crafty friends!  Today I have a fun shaker birthday card to share.  It's Rubbernecker Stamps birthday month and I've used their new Happy Birthday #1 set for my celebratory card!

Here is a step by step for creating this card:

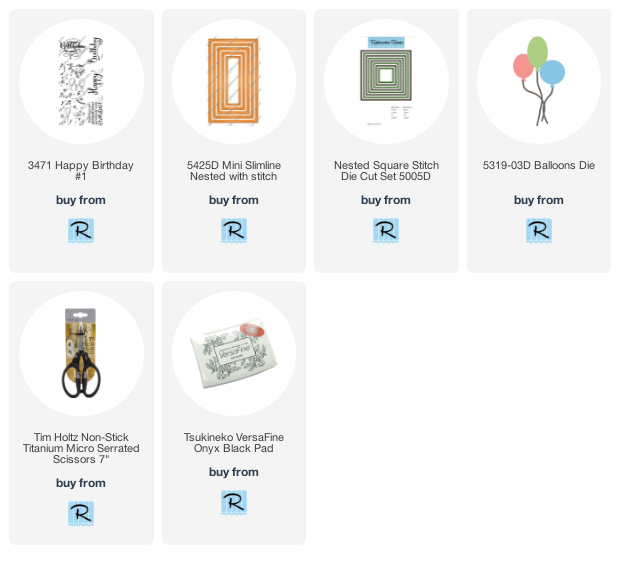
  • To create the shaker card frame, tape the two largest Mini Slimline Nested with Stitch dies together on the back.  I used a few pieces of removable masking tape.
  • Die cut the frame three times from 80# white card stock, saving at least one of the middle pieces to use in another step.
  • Adhere two of the frames with liquid glue.
  • Cut a piece of acetate to fit the window, just slightly less that 3-½" x 6".  Adhere to the top frame.  Adhere the third frame over the top of the acetate.  Set aside to dry.
  • Using the reserved rectangle from the frame, stamp the Happy Birthday #1 with Versamark clear embossing ink.  Be sure to use your anti-static pouch first.  Sprinkle on gold embossing powder and heat set.
  • Create a mini slimline card base by scoring some 7" x 6" 80# Neenah card stock at 3-½".  Add glue to the back of the Happy Birthday #1 piece and center it onto the card base to adhere.
  • Add foam tape to the back of the frame.  Then add your bling in the center of your card and adhere the framed window over the bling.  I used bling from my stash that I've had FORever!!! Haha!
  • Die cut the Balloons Die twice from two shades of pink card stock and once from gold mirror card stock.  I really like how this one one die that cuts three balloons with strings!
  • Stamp the sentiment from the Happy Birthday #1 set in Versamark ink.  Use the third smallest Nested Square Stitch die to partially cut it out.  (see photo)  Reposition the die to finish the cut.


Finally, arrange the balloons, strings, and sentiment and adhere to the window with liquid glue.

Thank you so much for stopping by!  Have a fabulous, and crafty, week!


Rubbernecker products used for this card: