Showing posts with label Birthday Wishes stamps and dies. Show all posts

Wednesday, March 1, 2023

Happy Birthday Card With Layered Tulips

Happy first day of March!! With spring just around the corner and tulips springing up, I was inspired to use the beautiful Lovely Layers: Tulips for my birthday card. There are so many pretty tulip colors and I had a hard time deciding what color(s) to use! So I decided to use one of my favorite colors for my monochromatic card!  I have a reel posted over on my Instagram showing some of the fun process too!

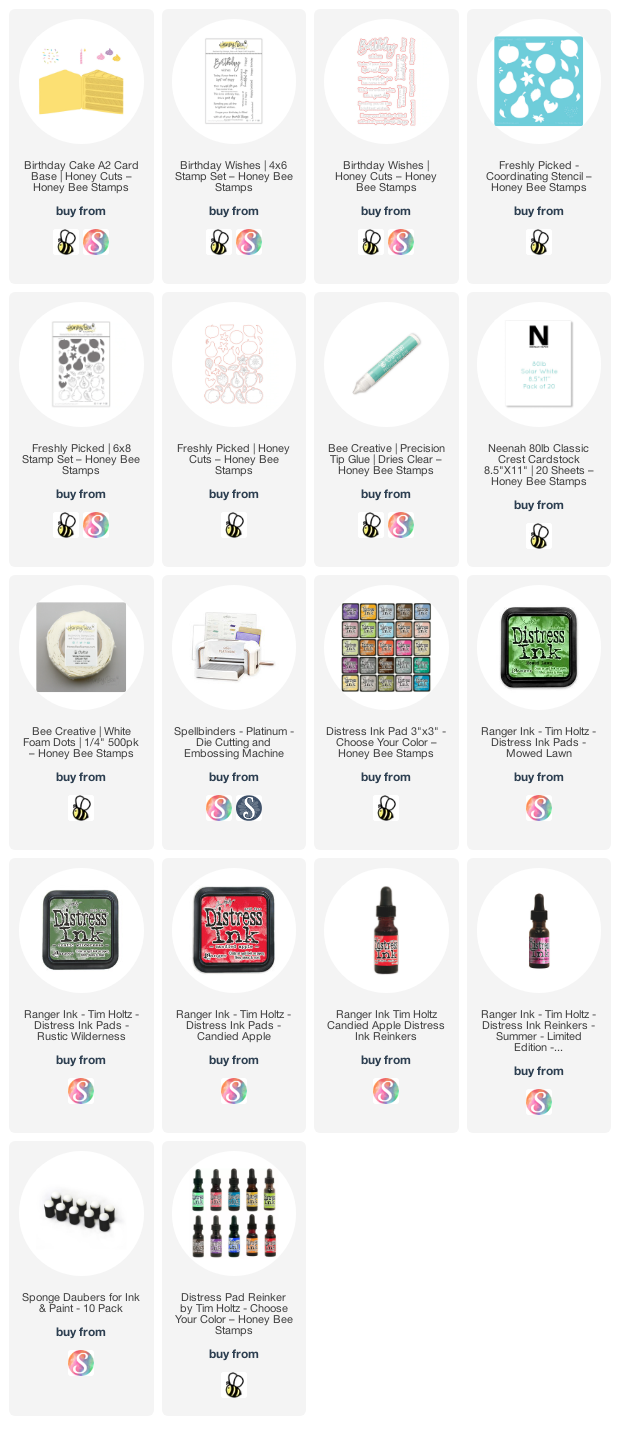
First I created my card base and layer. I embossed some mint green cardstock (linked below) with the Clover Petals 3D embossing folder. But wait! Before embossing, I used a brayer to add coordinating ink to the more flat side of the embossing folder. Using a brayer will give you the smoothest layer of ink versus inking directly with the ink pad. After embossing it may look a bit blotchy, but give it time to totally dry and the ink smooths out leaving the raised portions looking more highlighted. Trim the panel to 3-¾" x 5" and adhere to an A2 card base with glue.

Next I die cut three of the closed tulips and the buds in the Lovely Layers: Tulips Honey Cuts from textured white cardstock. I used the same mint green ink as above to add shading to the tulips. I die cut the stems and leaves from green cardstock. Then I used Bee Creative glue to adhere all of the layers together.

I arranged the tulips on the card then used a piece of Press N Seal to pick the arrangement up. I flipped it over and added foam dots and small square foams to the back of the flowers. Then I added glue to the stems and picked it all up (still adhered to the Press N Seal) and put it on the card front.

The sentiments are from the Birthday Wishes stamp set and stamped in mint green ink, followed by Clear Embossing Ink. Next I added clear embossing powder and heat set it. I cut them out with the coordinating Honey Cuts and then added foam squares to pop them up on the card.

I always have to have my sparkle, so I added some Crystal Glimmer Enamel Stickers to the flowers and near the sentiment.

This was such a super fun, quick, and easy card to make!! Thank you so much for stopping by today. Have a wonderful and crafty week!

Thank you for choosing to shop with my affiliate links (never any additional cost to you).
Wednesday, June 15, 2022

Strawberry-topped Birthday Cake Slice Card

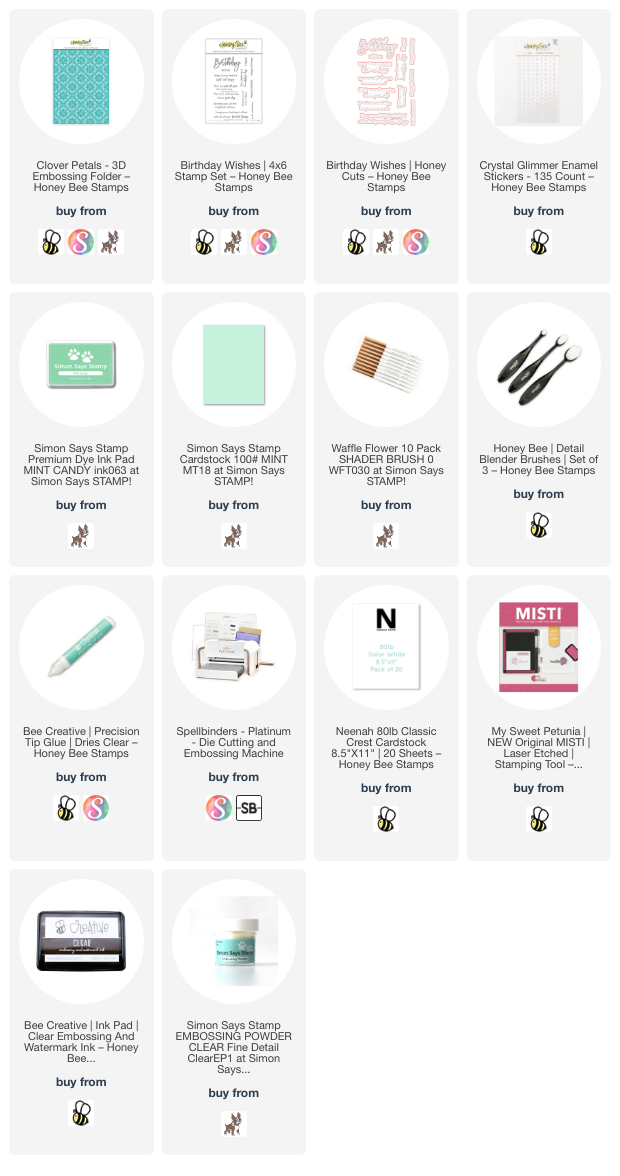
 Hello crafty friends! Today I have a beautiful piece of cake with strawberries on top on the desert menu! I've used the super fun Birthday Cake A2 Card Base Honey Cuts to create my slice of yum and the Freshly Picked Stencil for the strawberries!! I've even added "icing" with texture paste! Read on for the details!

The first thing I did was die cut the Birthday Cake A2 Card Base from 110# Neenah. Then I used my scissors to cut the top off along the scored line. Now for the fun part. You will need a craft mat, some texture paste, a few drops of Picked Raspberry Distress re-inker, one drop of Candied Apple re-inker. Put a good sized dollop of texture paste onto your mat. Then add the Distress re-inker drops. Then I used a palette knife to mix in the colors and spread it onto my die cut cake. I set the piece aside to dry and cleaned up my tools. Here's a photo of it after it was dry.

I die cut another Birthday Cake from 110# Neenah and adhered the texture paste layer to the card front with Bee Creative glue. I put a large stamp block on top of it to weight it down while the glue dried.

Next I die cut the cake layers die included in the Birthday Cake A2 Card Base set from 80# Neenah. I used my Copic markers to color each layer. I used E57, E35, E33, and E31. Then I used each marker again to add dots of color to add texture to the layers. This makes such a difference in the look of the slices!

Next I made the strawberries with the Freshly Picked stencil, sponge daubers, and some Distress Inks. The strawberry is Candied Apple Distress Ink and Versafine Onyx Black (seeds) and Mowed Lawn and Rustic Wilderness for the leaves on the berries. I love that the stencil includes the little seeds on the berries! Then I used the leaf stamp from the Freshly Picked stamp set and stamped it in Rustic Wilderness Distress Ink. I used the Freshly Picked stencil to color them in with sponge daubers. I used the coordinating Honey Cuts to die cut the pieces.

I arranged them on the top of the cake slice and adhered with Bee Creative glue and foam dots. Then I stamped the sentiment from the Birthday Wishes set in Versafine Onyx black ink, sprinkled on clear embossing powder, and heat set it. I used the coordinating dies to cut them out. I added foam dots to the back to adhere them on my card.

Check out the inside of the card!

The sentiment is also from the Birthday wishes set.  I stenciled on some strawberries for a cute decorative touch!

I hope you've enjoyed my treat of a card today!  Thanks so very much for stopping by!

Thank you if you shop with my links! (affiliate links at no additional cost to you)