Showing posts with label Birds and The Bees. Show all posts

Wednesday, March 31, 2021

Wishing You A Hoppy Easter | Honey Bee Stamps

 Hello crafty friends!  It's almost Easter and I just had to use Honey Bee Stamps' adorable Easter Buddies set for one last Easter card!  I had lots of stencil fun creating my background!  Keep reading for the details!


First I created my background.  I have a few photos below showing my steps.  All of my inks are Distress Oxide inks and I used Honey Bee's Blender Brushes for my stenciling, which makes it really easy!  First I laid out the Oak Tree and Grassy Hill Borders stencil sets and placed them on my A2 80# Neenah card stock to kind of make a plan for my stenciling.  I used Gathered Twigs and Ground Espresso for the tree trunk.  Next I stenciled the tree and leaves with Mowed Lawn, Twisted Citron, and Rustic Wilderness.  The grass and hills are Mowed Lawn with a touch of Twisted Citron.

When I was finished, I realized I had a white sky!  So I used my Blender Brush for blue Oxides (without adding more ink) and lightly stenciled in some clouds with the cloud stencil that's in the Outdoor Scene Builder stencil set.  (TIP:  I keep one Blender Brush for each Oxide color family.  I just wipe it off on a clean, dry paper towel between each shade of that color and it works great!)


I decided to add a few water splatters to the grassy area and covered up the other parts before sprinkling on the water drops.  I took a clean paper towel and blotted it dry.  I wanted to add water drops to the tree, but I was too afraid of messing it up!  LOL!  I die cut the panel with the largest Deckle Edge A2 Honey Cuts.

Next I stamped all of the adorable little images from the Easter Buddies set in Copic safe ink and colored them with my Copic markers.  Then I cut them out with the coordinating Honey Cuts.  As I was planning on where to put everything on the card, I thought that the tree looked like it needed something more.  I remembered the cute little birdhouse and bird in the Birds and The Bees set and stamped, colored and die cut them with their coordinating Honey Cuts.


I decided to fussy cut the little grass pieces so they wouldn't cover up the eggs as much.  I added foam tape to the back of the birdhouse, bunny, chick and flower group and adhered them to the card front.  I adhered the other images with Bee Creative Glue.


I had a hard time choosing from all of the fabulous sentiments in the Hoppy Easter stamps, but finally decided on two.  I stamped them in Onyx Black ink and die cut them with the coordinating Honey Cuts.  I LOVE having dies for sentiments and Honey Bee does them so well!


I had so much fun creating this card!  The stencils sure do make creating backgrounds so easy!  I hope you have a wonderful weekend and a very blessed "Hoppy" Easter!  Thank you so much for stopping by!

Supplies:
Distress Oxides:  Mowed Lawn, Twisted Citron, Rustic Wilderness, Ground Espresso, Gathered Twigs


Thursday, August 8, 2019

Cottage Window Scene, Honey Bee Stamps

Hello!  It's my turn over on the Honey Bee Stamps blog today.I had so much fun last week with Honey Bee's 6x6 paper pads that I made another card that uses at least one sheet from each of the four pads!

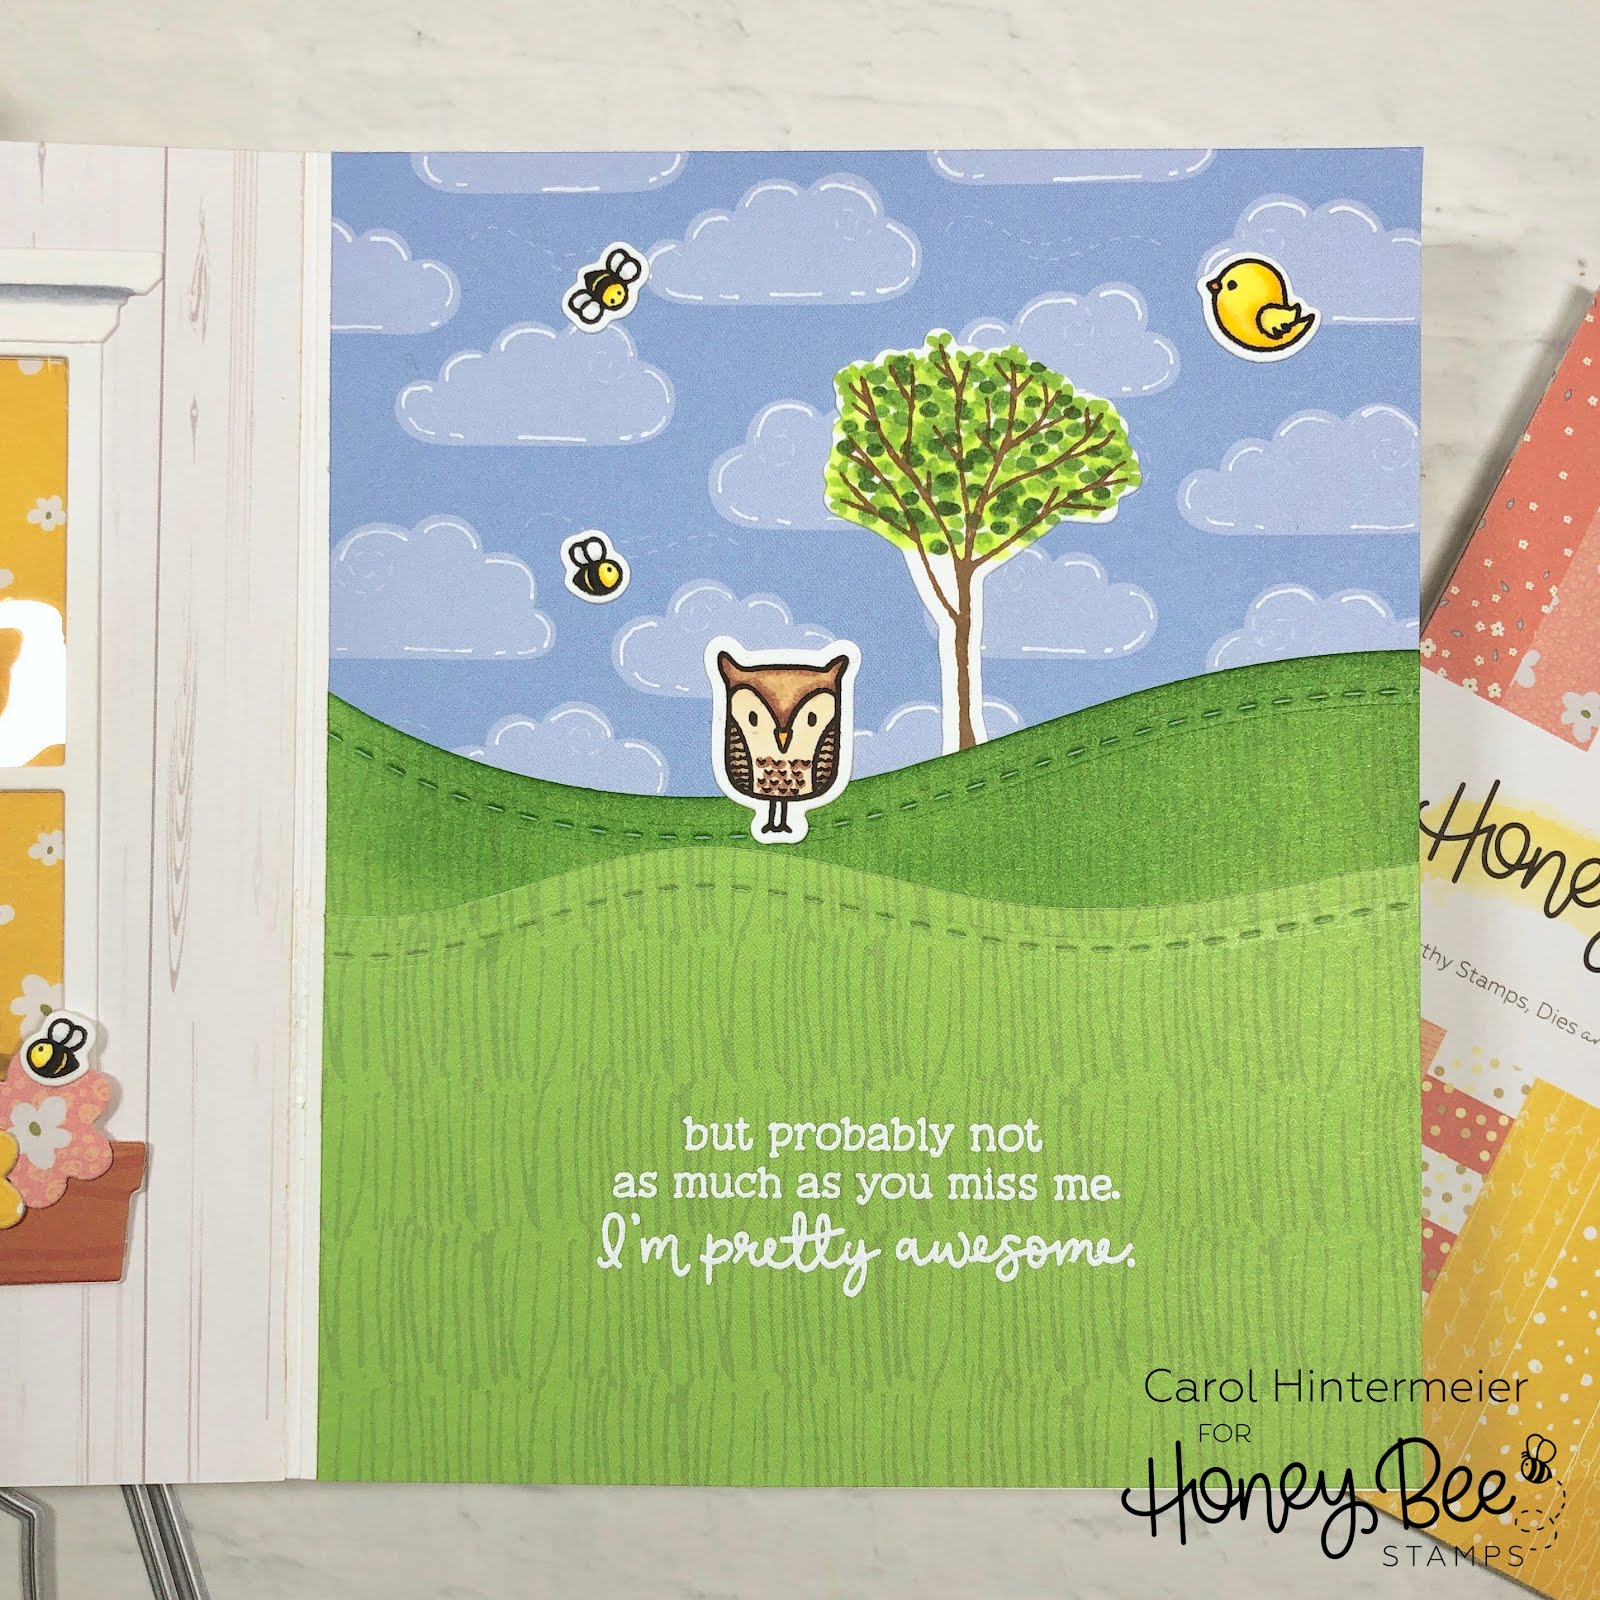
For this card, I used the Cottage Window Honey Cuts and left off the shutters and created a "looking from the inside out" window.  This cute little bunny is looking out the window at his owl friend leaving and missing him already!  That's my story!  Haha!


The patterned papers on the card front are from the Spring Fling pad.   I liked these two florals for the "wallpaper" and the curtains.   To have the curtains double sided, I die cut four of each; and since they are symmetrical, I could adhere them back to back. I stamped and Copic colored the bunny, owl, and tree that are from the Silent Night stamp set (yes, a Christmas set can also work anytime!)  The sentiment is from the Missing You stamp set, and I layered the sentiment onto a leftover strip of yellow paper.


Here is a look at the scene inside.  I layered a piece of acetate between the two window pieces and used a wood-look patterned paper from The Bee's Knees pad for the outside around the window.  I die cut the hills with the Hill Borders Honey Cuts from paper in the Over The Rainbow pad.  I lightly inked the hill in the back for some dimension.  The cloud paper is from Over The Rainbow.  I used a white gel pen to add some accent lines on the clouds.


Here you can see the cute little bunny's nose peeking through the window.  I mirror stamped him and just colored that tip that was showing.  For the flower box I used the Bunch of Bouquets Honey Cuts. I used three of the flower dies a die cut some of the flowers on a piece of paper from the Spring Fling pad.  The window box paper is from the Great Outdoors pad.


I just love this sentiment that's also from the Missing You set.  That surely would make anyone smile!  I stamped it in Versamark and heat embossed it with white embossing powder.  I didn't really plan on what size to make this card--somehow it turned out to be 6" x 5"!


Here are a couple different views of my card.


The two bees and the bird are from the Birds and The Bees stamps and Honey Cuts.


I totally love how this card turned out!  I hope you do too!  Thank you so very much for stopping by! Have a wonderful, crafty rest of your week!  Carol :)

Supplies:
Honey Bee Stamps products:
Other supplies: