Showing posts with label Altenew Crafty Creator Team. Show all posts

Sunday, December 15, 2024

You Are Always On My Mind Stenciled Card

Happy Sunday crafty friends!  I'm sharing photos of my card I made for Altenew's December 2024 release Instagram hop.  There's still time to head over to my Instagram and leave comments on the hop (until December 18) for your chance to win an awesome prize!

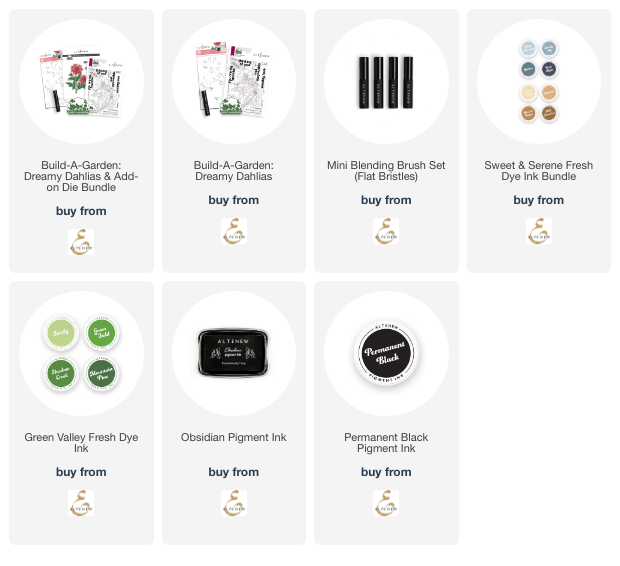
This card features the new and so beautiful Build-A-Garden: Dreamy Dahlias set!

I used all of the inks in the new Sweet & Serene Fresh Dye Ink bundle, plus the green inks in the Green Valley ink bundle with the stencils in the Dreamy Dahlias bundle to color the flowers and leaves.

The sentiments I used are two of several included in the Dreamy Dahlias stamp set.  The larger sentiments also have coordinating dies in the Dreamy Dahlias Add-On die set.

Join me over on Instagram to watch me make this beautiful card!  Have a wonderful day!

Thank you for choosing to use my affiliate links to shop (never any additional cost to you)!
Wednesday, November 13, 2024

Altenew Stampwheel 2.0 Blog Hop & Giveaway ($300 in total prizes!)

I'm so thrilled to be part of the blog hop to feature the brand new and totally awesome Stampwheel 2.0!

Thank you for joining us on this fabulous hop!  If you would like to start at the beginning, please head over to the Altenew blog.  You can check out all of the details of the larger, new Stampwheel 2.0 here.

Be sure to check out the prize details below!  You won't want to miss out on your chance to win either a $100 gift certificate or one of four $50 gift certificates!

For the first time using the Stampwheel 2.0, I used the beautiful, and large, stamp set from the Build-A-Garden: Magnificent Branch collection.  Check out the photos of the Stampwheel 2.0 in use and compared to the original Stampwheel (which I do still use!).

This card is a slimline card I made with the awesome Build-A-Garden: Magnificent Branch in black.  I used the coordinating stencils and blending brushes to color the image.  Because of the size of the Stampwheel 2.0, I was able to keep the stamped image on the sticky mat, remove the side piece, and color through the stencils with ease!

As you can see in this photo, there is a significant difference in the sizes of the original Stampwheel and the new Stampwheel 2.0!

When you remove the detachable side, you can stamp on a full 8-½" x 11" piece of cardstock.

I really enjoy being able to keep the sticky mat in place and use the coloring stencils by removing the side.

I have used the Stampwheel 2.0 many times recently, and I highly recommend it as part of your crafting tools necessities!

Be sure to leave a comment here on my blog, and at all of the other stops, to increase your chance to win a prize!

Click this link to continue on each stop of the hop and leave your comments!  You don't want to miss the awesome inspiration from the designers!

You are invited to the Inlinkz link party!

Click here to enter

Thursday, September 26, 2024

I Used One Set of Inks to Stencil A Card! Sisters Of The Heart

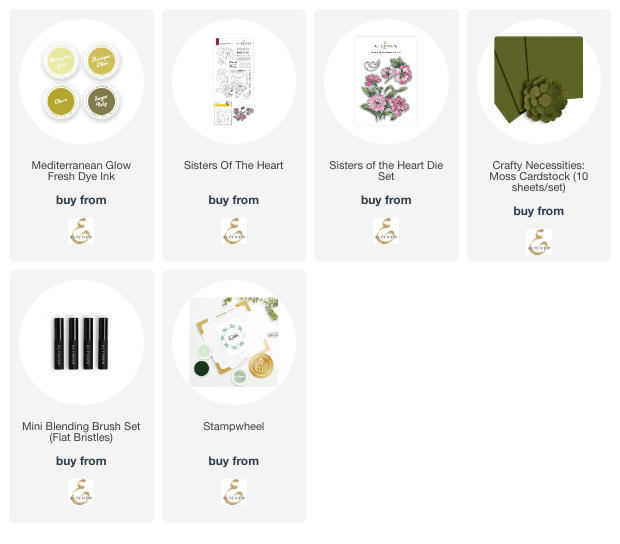
Hello crafty friends!  Sometimes when I am using a previously released product I feel a bit stumped on ideas so the project doesn't look just like any other.  I have Altenew's Mediterranean Glow Fresh Dye Ink set and I wondered if I could make a card with just those four ink colors.

These colors are so pretty, but also very unique, I think, and I am quite pleased with how this card turned out!

I used the Sisters of the Heart stamps and coordinating stencils for this card.  I colored the flowers using the stencils and blending brushes with the two lightest shades in the Mediterranean Glow set, Honeydew Glow and Antique Olive.  The leaves are colored with the two darkest shades, Olove (not a typo :) and Sugar Kelp.

I stamped the sentiment from the Sisters of the Heart stamp set in Sugar Kelp ink.

Then I trimmed the panel to 4" x 5-¼" and adhered it to an A2 sized piece of Moss cardstock.  These layers were then glued to an A2 card base.

This card was super quick to make, I love the sentiment, and the colors too!  Thanks so much for stopping by.

I know you have many choices for shopping and I so appreciate you using my affiliate links (never any additional cost to you)!

Thursday, September 5, 2024

Elegant Berry Branch Holiday Card

I'm sharing a bit here about this card that my reel over on Instagram features!  I've used the beautiful Berry Branch Layering Die Set for the third time with a totally different look!

I die cut two of each of the three Berry Branch dies.  I used Parrot, Olive, and Brushed Silver cardstocks shown in the list below.

After I glued the layers together, I added them to my card that has an embossed panel with the Layered Snowflakes 3D embossing folder.  I trimmed off the parts of the branches that were overhanding the edge.  Don't toss those!  Tuck them in here and there to fill in around the sentiment and ends of the branches.

The sentiment is from the Timeless Sentiments: Holiday Edition die set.  The shadow layer is the silver metallic cardstock, and the top is two layers of 110# white cardstock.

This card was really that easy!  I love making quick cards that look so beautiful and elegant!  Thanks so very much for stopping by!

I know there are many shopping choices and I thank you so much for choosing to use my affiliate links (never any additional cost to you)!

Monday, August 5, 2024

Big Exciting News + An Autumn Stenciled Card

I'm so thrilled to be sharing my first reel on my Instagram as part of Altenew's new Crafty Creator Team!  Everyone on this team will be sharing card making reels with lots of tips, tricks, and inspiration!

My reel was all about how I salvaged the stenciled piece after a crafty accident and I thought I would share a bit of that here!

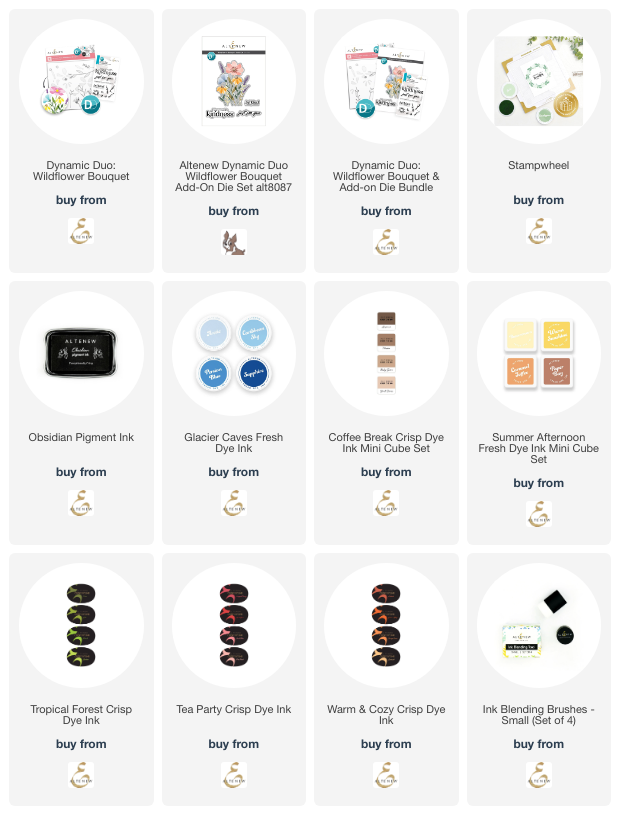
I began by using the Dynamic Duo: Wildflower Bouquet layering stencil set with a beautiful autumn palette of ink colors.

I finished the stenciling and was getting ready to use the coordinating Wildflower Bouquet stamp set to add the stamped details to the flowers.

You may be wondering what is the big deal?  Well, just look at this:

Now you see it, right?!  The lid to the ink pad was not secure and the ink pad landed upside down onto my stenciling!

However, you can't tell it from the other photos because, after staring at it in dismay for a while, I thought to myself, "what can I do to save this?"

First I decided to try a sand eraser.  Well, that helped just a bit.  I didn't want to rough up that spot too much with that eraser.

Next I decided to make the flower a darker shade of yellow.  I got the Wildflower Bouquet stencil out and added a darker more golden yellow.  While that helped, those little spots were light bright glaring headlights to me!

After more thinking, my thoughts were that there are flower petals with dots on them.  So, I embraced those accidental dots by using some Prismacolor pencils to add more dots!  The dots I added are subtle but effective a totally hiding the accidental dots!

The card was saved!

I created the masked blue background with blue splatters.  Then I cut out the flowers with the Wildflower Bouquet die.  The sentiments are also in the Wildflower Bouquet stamp set.

So, my moral here is, don't give up on a card, ever!  I'm quite pleased with how this turned out and hope you've been inspired too!  Thanks so much for stopping by!

Thank you for using my affiliate links to shop (never any additional cost to you)!