Hello crafty friends! Today my card features Honey Bee Stamps beautiful Daisy Layers Bouquet along with the coordinating stencils and Honey Cuts! Have you ever been inspired by just a piece of colored cardstock? Well, that's what inspired these colors for this special birthday card!
The soft yellow cardstock that is behind the Garden Lattice cover plate layers was my color inspiration. I die cut both the Garden Lattice top and base from 80# Neenah. After adhering the layers together with Bee Creative glue, I glued them to the A2 sized yellow cardstock. Then I added the layer to a top-folding A2 card base.
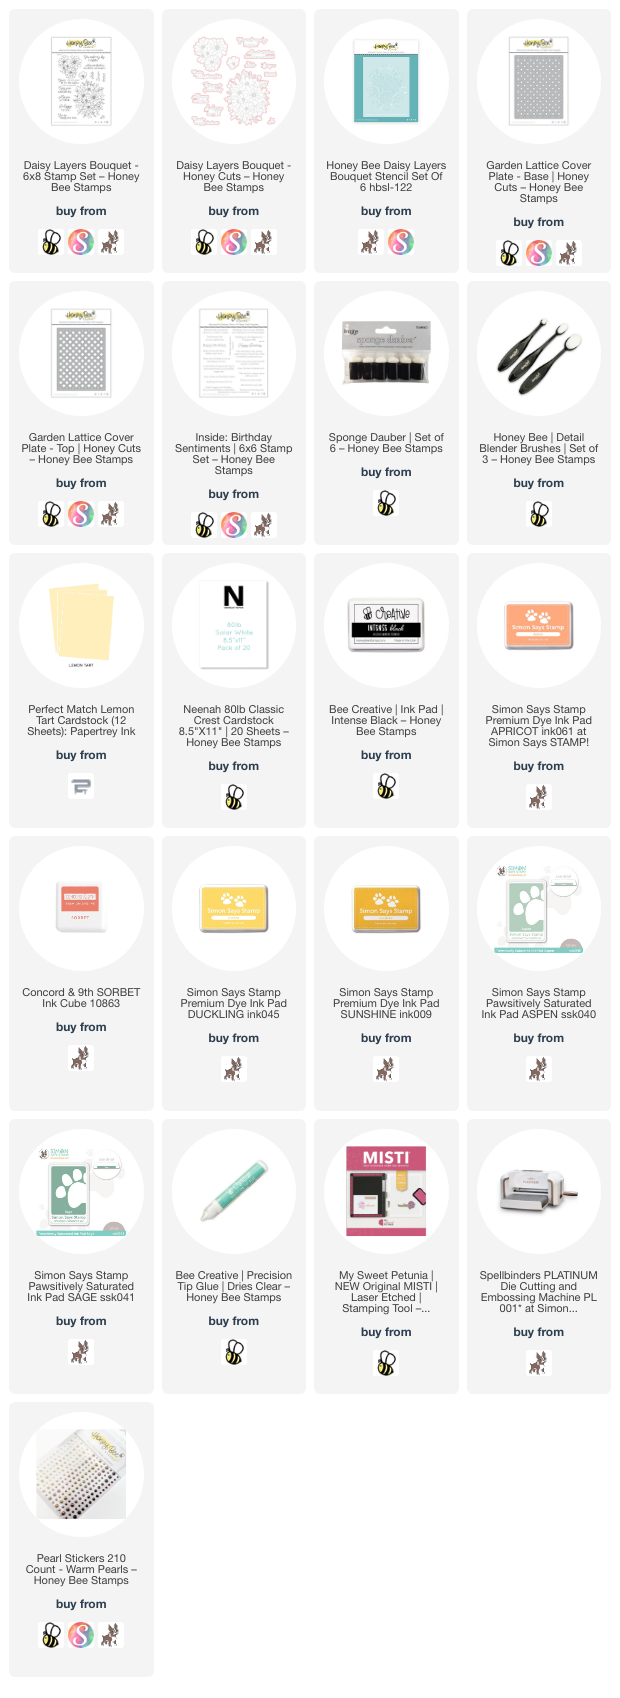
Using the cardstock I held it up to various inks in my stash and found a yellow that blended with the cardstock, then a couple of coral oranges, and the sage greens. Check out the supply list below for the specific inks. I used the Daisy Layers Bouquet stencil set and sponge daubers to add my chosen ink colors. This is a set of six easy-to-line-up stencils where you can build your flowers and leaves. I used a lighter and darker ink of each color in order to create a bit of depth in the coloring.
When I was finished with all of the stencils, I placed the image in my MISTI. Then I lined up the Daisy Layers Bouquetoutline stamp with the colored image and stamped it with Intense Black ink. When possible, I always stamp the image after using coloring stencils. Maybe it's just me, but I always smear the ink otherwise! It's not hard to line it up and you can always test out your alignment by first stamping onto a piece of acetate that covers the stenciled image.
Next I cut it out with the coordinating Daisy Layers Bouquet Honey Cut. I added foam tape to the back to adhere it to the card base.
Check out this next photo to see the inside of the card! I stamped the smaller image in the Daisy Layers Bouquet stamp set in the yellow ink in two corners. Then I stamped a sentiment from the Inside: Birthday Sentiments set with Intense Black ink. (And yes, in spite of me using my MISTI to stamp the flowers, the card shifted so that flower in the bottom left corner isn't perfect. But it actually doesn't bother me. What do you think?)
For the sentiment on the card front, I chose one of the several in the Daisy Layers Bouquet stamp set. After stamping it with black ink, I cut it out with the coordinating Honey Cut.
I added a few pearls from the Warm Pearls sticker set for a touch of bling!
I really enjoy using stencils to color these images! It's really fun too! Have you tried coloring stencils? I hope you've found my card to be your inspiration to give them a try. Thank you so much for stopping by. Have a wonderful day!
P.S.: Check out my Instagram reel to see some of the card making process!
Thank you so much for using my affiliate links to shop (never any additional cost to you)!


I get so happy when you post a new card. I adore your work. Hope you consider it a compliment that I often try to adapt your ideas.
ReplyDeleteBeautiful! Your colors are making me yearn for warmer weather, and this definitely fills the gap until then
ReplyDelete