
Hello! I'm thrilled to share with you today this card featuring two of the beautiful sets in the collection called Bibi's Hummingbirds by Spellbinders! I absolutely love hummingbirds, and could not wait to create with these gorgeous sets! Keep reading to see the big surprise inside the card!
The card front features the stunning Delicate Floral Hummingbirds Etched Dies!

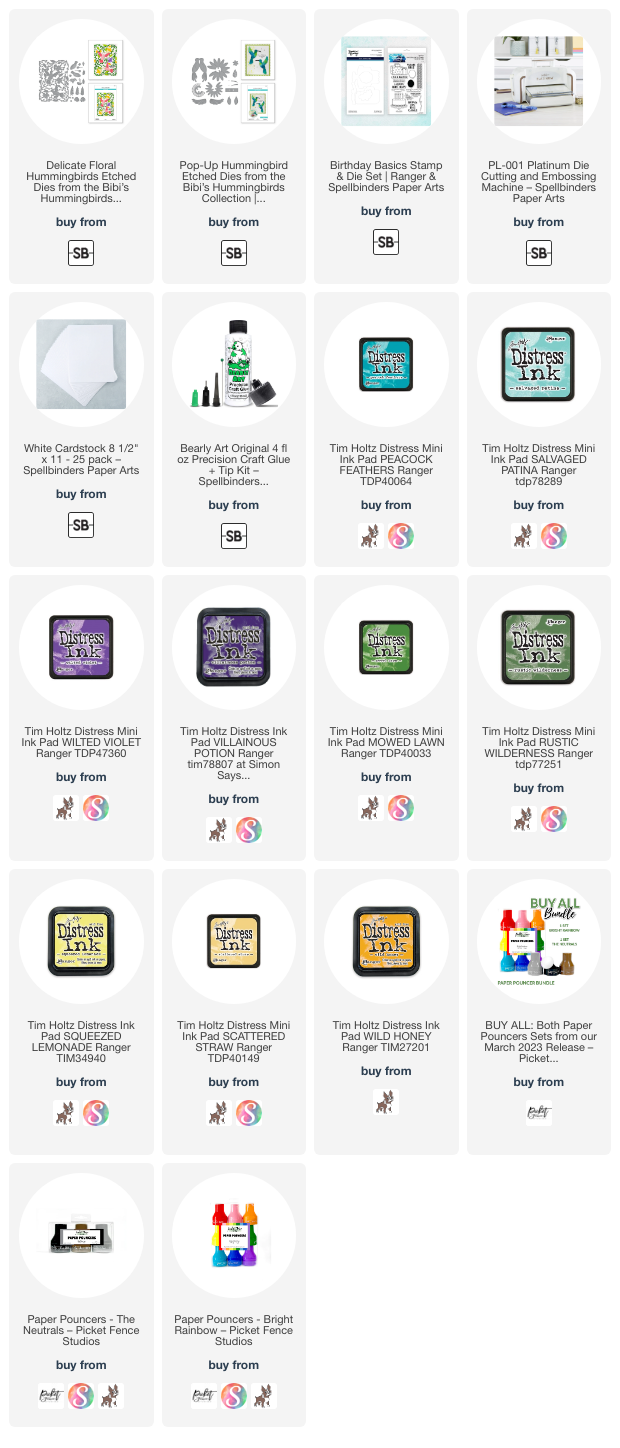
I used my Spellbinders Platinum die cutting machine to cut out all of the pieces of the Delicate Floral Hummingbirds Etched Dies from 80# Neenah. (FYI, I have found that Spellbinders dies cut perfectly in the Platinum machine in one pass with no extra shims.) It's the only large die cutter I use, and have!
I have all of the colors of Distress Inks I used in the supply list below. I used Paper Pouncers (linked below) to color 90% of all of these pieces! The more I use these, the more I love them! I did a blog post review not too long ago, if you'd like to read more about these.

The image on the packaging is all you need to guide you through the assembly of this gorgeous die! I used glue to adhere the pieces. I inked up coordinating teal cardstock around the edges leaving the center without ink. I adhered the die cut piece to the teal layer and added gem stickers to the flowers for a bit of sparkle.
Oh, the overall size of my card measures 5-½" x 7-½"! But that's okay! I'll either mail it in a padded envelope, or tuck it inside a gift bag.

All right, are you ready to see the inside of the card??? I purposely left a sentiment off of the front to show off that image better and to make the surprise inside even better!

There she is!! The gorgeous Pop-Up Hummingbird Etched Dies (now retired) gives a fun 3D surprise when the card is opened!
I used the same Distress Ink colors for the Pop-Up Hummingbird and included flower/leaves. I die cut the flower from the same teal cardstock I used for the outside card layer.

As you can see, you need to be sure to color the back sides of the hummingbird and flower! I followed the very helpful PDF Instructions that you can download and find in the product description.
I stamped a sentiment from the Birthday Basics set before I attached the hummingbird and flower to the card inside layer. Note: I used a piece of 60# white cardstock for the inside panel that has the die cut slits (die included). These slits are where you insert the tabs of the bird and flower for the pop-up effect. I could tell the flower would add a good bit of bulk to the folded card so that's why I used the lighter weight cardstock.
After I stamped the sentiment, I followed the instructions to assemble the pop-up elements. Then I glued the piece to the inside of the card.

I absolutely love how this turned out!! I've never made a pop-up card before, but this won't be the last. I hope you've enjoyed this post and card and that you've found inspiration to give these a try! Have a wonderful day!
Thank you for using my affiliate links to check out the products I used (never any additional cost to you)!
What a gorgeous card -- love the hummingbird, but the colors you used are just so striking!
ReplyDelete