Saturday, May 4, 2024

Fresh Picked Angel Trumpets Birthday Card

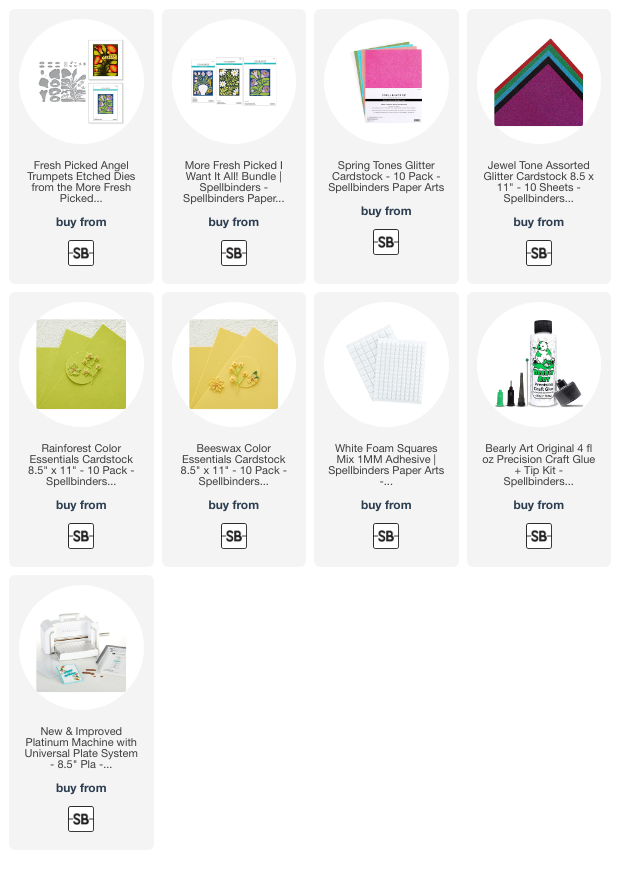
Hello crafty friends!  Today I'm sharing my card featuring the beautiful Fresh Picked Angel Trumpets die set by Spellbinders.  This is one of the sets in the new More Fresh Picked Collection.

I've also used some of Spellbinders glitter cardstock for the flowers and the background layer of the card.  The only ink used on this card is where I added green ink for shading on the leaves die cut!

I die cut the flower pieces from two shade of blue glitter cardstock.  The smaller pieces are die cut from yellow and more green cardstock.  The assembly is easy and I used glue for this step.

I used a sentiment from the Be Bold Glimmer Sentiments that I had saved from a previous project.  I popped it up with some foam squares for a bit of dimension.

I just love the Fresh Picked Collections and how the die fills up an entire A2 card front!  Thank you for stopping by today!  I hope you have a wonderful, and crafty weekend!

Thank you for shopping with my affiliate links (never any additional cost to you)!

Wednesday, May 1, 2024

Birthday Card with the Gorgeous Layering Iris Die Set

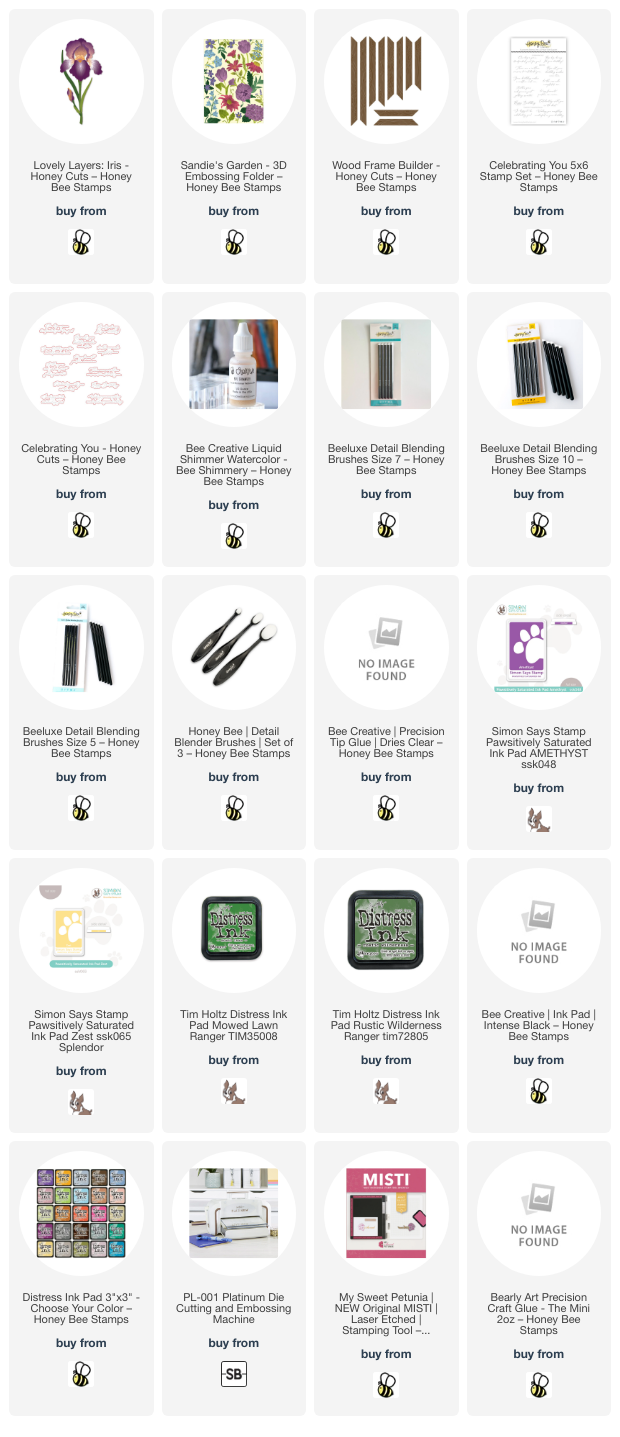
Hello my friends! Happy first day of May! One of my most favorite flowers to bloom in spring is the bearded iris and my goodness, the Lovely Layers: Iris is just as gorgeous as real irises!!

First I die cut all of the pieces of the Lovely Layers: Iris from 80# white cardstock. Then I used the new BeeLuxe Detail Blending Brushes to add yellow and purple inks to the layers. Let me say this, I was so very pleased with how these brushes swiped on the color! I wanted to imitate real irises I've seen that have that dark edge of color fading to white. These brushes made it way easier than I imagined!

When I'm coloring any of the Lovely Layers sets, I always begin with the bottom layer, placing the next layer over it to check it, and adjusting the coloring as needed. To smooth out the purple edges just a bit, I used a Detail Blending Brush to add a bit more purple ink. I used the Layering Guide to assist in the assembly as this is my first time to use these. All of the layers are adhered with glue.

Next I embossed 80# white cardstock with the beautiful Sandie's Garden 3D embossing folder. I added splatters of purple ink and diluted with water. When the droplets dried I added splatters of Bee Shimmery Liquid Shimmer Watercolor. When that was dry, I adhered the panel to my A2 card base.

Then I pulled out one of my older favorites, the Wood Frame Builder Honey Cuts, and adhered the die cut frame with foam tape. I trimmed the stem of the iris just a bit so it would fit under the frame. Next I added foam dots to the back of the flower and glue to the bottom of the stem to adhere it to the card.

I stamped the sentiment from the Celebrating You stamp set in black ink. Then I cut it out with the coordinating die and popped it up with foam strips.

I will have my reel posted over on Instagram soon and you'll be able to see the amazing coloring I did with the BeeLuxe brushes. I hope you will check it out! Thanks so very much for stopping by today. Have a wonderful day!

Thank you for shopping with my affiliate links (never any additional cost to you)!
Monday, April 29, 2024

Find Me By The Sea

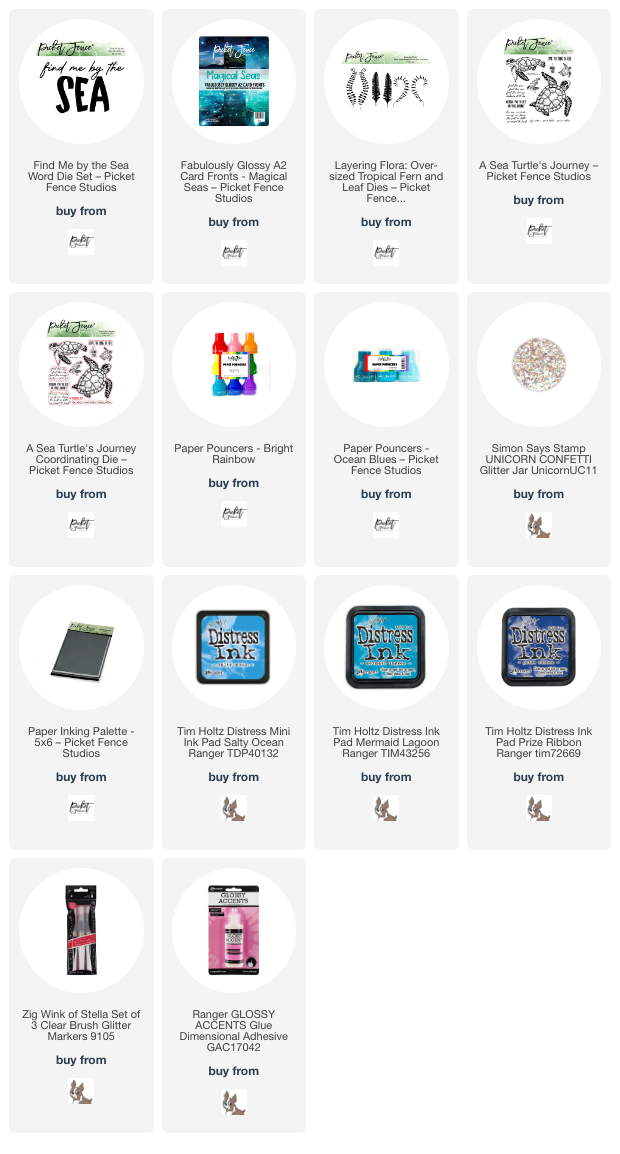
Happy Monday crafty friends!  Today I've shared my reel over on Instagram for Picket Fence Studios showing details of this gorgeous ocean scene card.  I'm just amazed at how beautiful the Magical Seas A2 card fronts are!  All three of the patterns are awesome and there's not much you need to add to create a stunning card!

This post is primarily to share the still photos, and I hope you will check out my reel on my Instagram feed.

After choosing one of the Magical Seas A2 card fronts, I die cut the sentiment from the Find Me by the Sea die set.  Before I layered the inked sentiments together, I added some beautiful chunky glitter to the bottom of each letter and let it dry.  Then I adhered the ombre inked and four-layer stacked sentiments to the card with glue.  Paper Pouncers made the inking process so quick and easy!  The inks I used are in the list below.

I had two leftover turtles (A Sea Turtle's Journey) from a previous card I made and added them amongst the Tropical Fern and Leaf Dies that were cut from black cardstock.

To help the smaller words of the sentiment stand out, I added Glossy Accents to each word.  Then I sparkled up the Ferns with a Wink of Stella glitter pen.

Thank you so much for stopping by!  I hope you have a wonderful week filled with lots of crafty time!

Thank you for shopping with my affiliate links (never any additional cost to you)!

Sunday, April 28, 2024

Your Smile Brightens My Day!

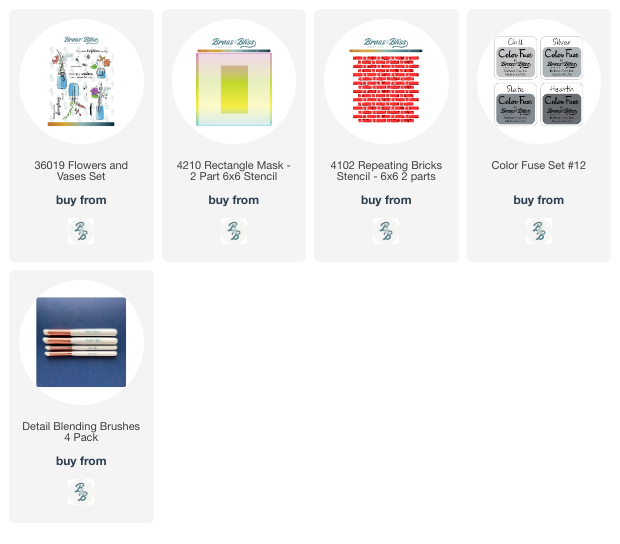
 Today I'm over on the Brass & Bliss Craft Co. blog to share all of the details of my card using the beautiful new Flowers and Vases Set.  (Edit:  B&B had a computer crash, so my post there will be up asap!)

If you would like the detailed step-by-step directions to make this card, please join me over on their Blog!

There are three other lovely vases with flowers to choose in the Flowers and Vases set.  I used my Copic markers to color the image.

If you know me, you will know that I love using stencils with texture paste!  The Repeating Bricks stencil set makes a beautiful frame around the image.  There is a stencil with the brick texture (inked first with gray ink) and an open brick stencil.  I was surprised at how well the inked texture shows after I added the texture paste!  The Rectangle Mask was used to mask off first the image, and after all was dry, the frame.

After stamping one of the three sentiments from the Flowers and Vases set, I trimmed it into a strip and adhered it with foam strips.

I really love how this card turned out!!  Adding the textured brick frame really steps up the interest of this card.  Thanks so much for stopping by today!

Thank you for shopping with my affiliate links (never any additional cost to you)!


Wednesday, April 24, 2024

Birthday Card Filled With Sweetness!!

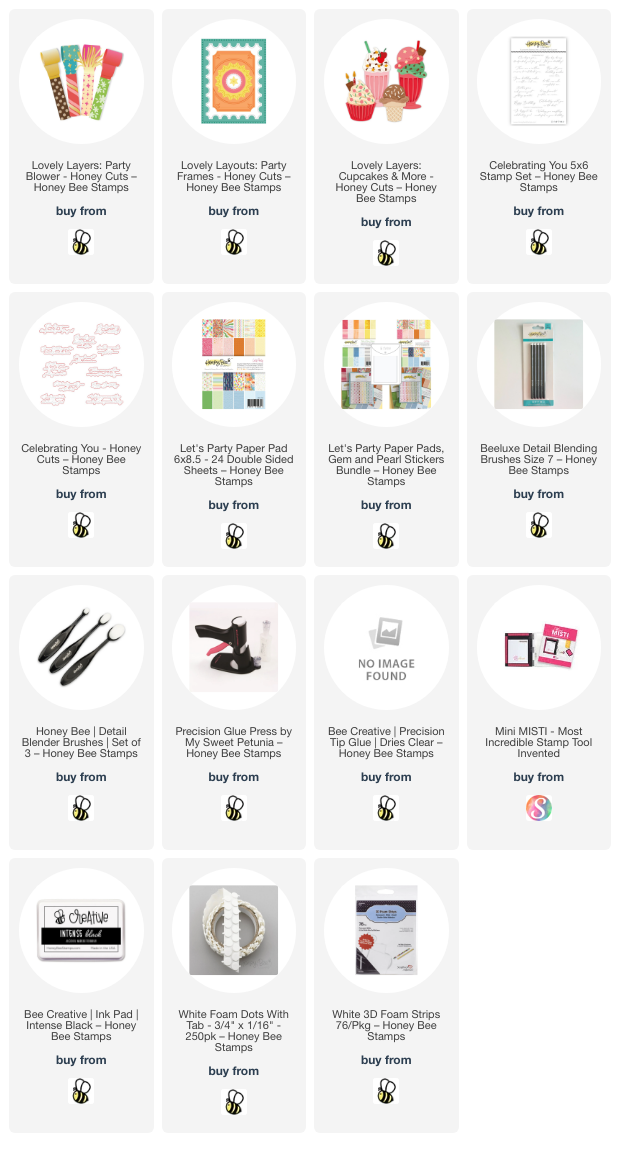
Happy Wednesday friends! Today I'm sharing my sweet birthday card featuring a few of the new products from the awesome Honey Bee Stamps Celebrate release! Ice cream is my favorite dessert so I just had to use these dies from the Lovely Layers: Cupcakes & More Honey Cuts!

First I created the card base and layers by die cutting a piece of patterned paper from the Let's Party paper pad with the largest Lovely Layouts: Party Frames die set. I adhered it to an A2 card base with Bee Creative glue. I die cut vellum with the next largest die and set it aside to work on the other card elements.

Next I die cut 80# white cardstock with the ice cream cone and ice cream scoop dies (x 3) from the Lovely Layers: Cupcakes & More set. Then I used Detail Blender Brushes to add inks to the die cuts. I used various inks in my stash to imitate chocolate and strawberry ice cream. I used the new BeeLuxe Blending Brushes to add darker shading to the ice cream scoops. These small angled brushes make it easy to keep the ink just where I wanted!  I added shading to the vanilla scoop with Copic marker E50, blending it some with the 0 marker.

When I first saw the Lovely Layers: Party Blower Honey Cuts, I had a thought wondering if it would work to die cut tissue paper with the two fringe dies. I was delighted to find that it works great and creates a fun and fluffy fringe for the party blower! I die cut three layers of tissue paper with the two dies and glued the layers together. I coordinated the die with the background by cutting more paper from the Let's Party paper pad. If you need assistance assembling the party blower, be sure to check out the handy and downloadable layering guide found in the product description.

I stamped the sentiment from the Celebrating You stamp set with black ink. Then I cut it out with the coordinating die and added foam strips to the back.

When I first saw the Lovely Layers: Party Blower Honey Cuts, I had a thought wondering if it would work to die cut tissue paper with the two fringe dies. I was delighted to find that it works great and creates a fun and fluffy fringe for the party blower! I die cut three layers of tissue paper with the two dies and glued the layers together. I coordinated the die with the background by cutting more paper from the Let's Party paper pad. If you need assistance assembling the party blower, be sure to check out the handy and downloadable layering guide found in the product description.

I stamped the sentiment from the Celebrating You stamp set with black ink. Then I cut it out with the coordinating die and added foam strips to the back.

This sweet card was quick and easy to make, and I'm happy to add another birthday card to my stash!  Thanks so much for stopping by!!  I appreciate you!

Thank you so much for shopping with my affiliate links (never any additional cost to you)!

Friday, April 19, 2024

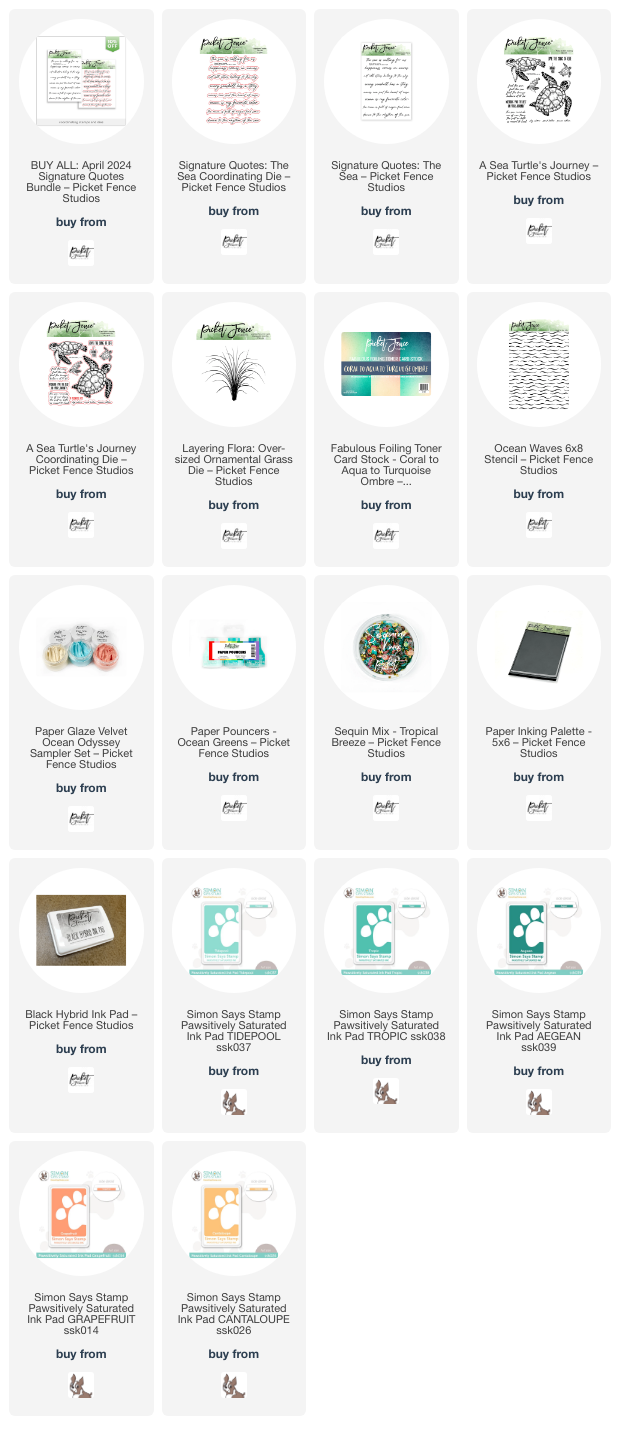
A Beautiful Ocean Themed Card with Stencils, Paper Pouncers, & Paper Glaze

Happy Friday!  Today I'm sharing my card I made with Picket Fence Studios new A Sea Turtle's Journey stamps and coordinating dies.  I used several other fun new products to make this card that you can read about below.

The background is a panel from the new Coral to Aqua to Turquoise Ombre Toner Card Stock.  The cool thing about this cardstock is that it can be used as is like I've done, or since it is a toner paper, you can add foil and run it through your Minc or laminator!  

I added Cream Puff Paper Glaze Velvet, from the sampler pack called Ocean Odyssey, through the Ocean Waves 6x8 stencil.  I set it aside to dry and cleaned up my tools.  There are two other gorgeous colors in the sampler pack too!

Next I stamped all of the turtles from the A Sea Turtle's Journey stamp set with Black Hybrid ink.  Then I cut them out with the coordinating dies.  I used one turtle for this card and will save the others for another project.  Next I used these new Paper Pouncers to add three shades of ink to the turtle.  (Inks are in the list below.)

I added two die cuts of the Layering Flora: Over-sized Ornamental Grass Die.  These were cut with white cardstock and then quickly colored with Paper Pouncers.  A TIP I forgot to mention above is to use a Paper Inking Palette to hold these intricate die cuts while you color them!  These are so helpful!!

The sentiment is from Signature Quotes: The Sea stamp set, stamped with black ink, and then cut out with the coordinating die.

I added just a touch of bling with a few sequins from the Tropical Breeze sequin mix.

I really love how this card turned out.  It was so fun to make with all of the different techniques too!  Thanks so much for stopping by.  I hope you have a wonderful and crafty weekend!

Thank you for shopping with my affiliate links (never any additional cost to you)!

Wednesday, April 17, 2024

Rainbow Balloons Congratulations Card

 The Simon Says Stamp Celebrate release is available now!  Check out the Celebrate release graphic below to see the awesome variety of products included in this release.

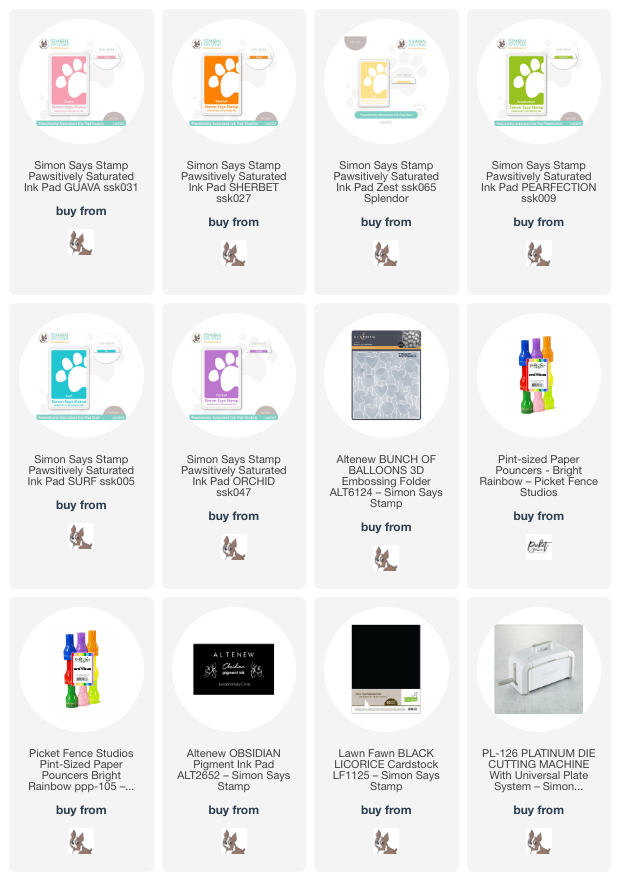
My fun card features the new Grad Balloons stamp set.  I used Pint-sized Paper Pouncers to add the ink to the stamp.  Using my MISTI allowed me to ink up and stamp one color at a time for the rainbow colors.  All of the Pawsitively Saturated Inks I used are in the list below.

When I finished stamping, I used my scissors to cut out the image.  I went digging through my stash of ribbons and twines and found bits of bakers twine in a variety of colors to use for the balloon strings.  This is why we hoard those little bits, right?!  LOL!

I popped up the Grad Balloons image with foam tape and adhered it to the panel I embossed with Altenew's Bunch of Balloons 3D embossing folder.  Then I gathered the strings together and adhered the sub sentiment over it.

This stamp set has two graduation cap images that could be added for the upcoming graduations.  I made mine more generic to be able to use for multiple occasions.


Click the image to check out the entire collection included in Simon's celebrate release!  Thanks so much for stopping by!

Thank you for using my affiliate links to shop (never any additional cost to you)!