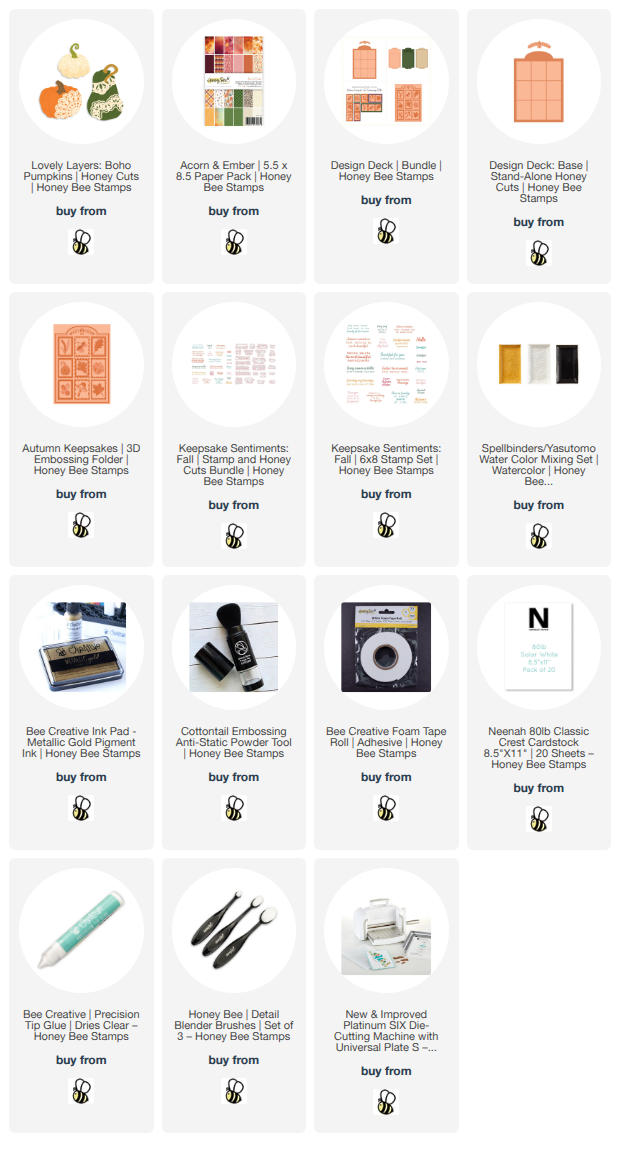
Hello, crafty friends!! I'm super excited to share my first project with products from Honey Bee Stamps new Acorn & Ember release! I'm in love with everything in this release and had a hard time choosing what to create with first! I ended up choosing the beautiful Lovely Layers: Boho Pumpkins Honey Cuts for this card.
- Please check this out! I'm featuring this card for Honey Bee's Instagram Hop today, which begins at 9 am CDT. I strongly encourage you to come on over to my Instagram to get started as there will be prizes! Honey Bee is giving away one $25 gift card to two winners! Just leave "hearts" and comments on each stop in the hop for more chances to win!
Now on to the fun details of my card!

I started out by creating a side-folding A7 card base from white cardstock. I chose this beautiful leafy green paper from the new Acorn & Ember paper pad for the first layer and glued it to the card base.
Next I used the largest die in the Design Deck: Base die set to cut a piece of brown cardstock. It's so cool that there's an embossing folder to coordinate with this die cut! I just lined up the brown cardstock die cut in the Autumn Keepsakes 3D embossing folder and ran it through my die cutting machine. I inked up the edges using blending brushes and Tea Dye and Vintage Photo Distress Inks.
Then I added gold splatters with a paint brush and gold metallic paint from Gansai Tambi Starry Colors watercolors! (P.S.: This set is my MOST favorite gold tones!). Then I swiped a gold metallic ink pad along the edges and glued it to my card base.

Next I chose three more papers from the Acorn & Ember paper pad and cut out the pumpkins with the dies in the Lovely Layers: Boho Pumpkins dies. I die cut the lace from watercolor cardstock, the leaves from green cardstock, and the stems from brown cardstock.
I smooshed Antique Linen and Tea Dye Distress inks onto my silicone mat. Then I spritzed the ink with just. bit of water. Next I dipped each die cut layer into the ink, drying between colors and layers of ink with my heat tool.
I inked up the edges of each pumpkin using a blending brush and Tea Dye and Vintage Photo Distress inks along with some orange inks from my stash. I used Rustic Wilderness for the leaves. Before I glued the Boho Pumpkin layers together I inked the edges with gold metallic ink.

The sentiment is from the Keepsake Sentiments: Fall stamp set. Before I stamped it, I die cut watercolor cardstock with the die in the Design Deck: Base dies. Then I ink smooshed it as described above. When the piece was dry, I patted an anti-static tool on the paper then stamped the sentiment with clear embossing ink.
I sprinkled copper embossing powder over the stamped sentiment, then heat set it with my heat tool. I used a blending brush to ink the edges with Vintage Photo Distress ink then swiped the gold metallic ink pad along the edges. (Of course, there is a coordinating Keepsake Sentiments: Fall die set, but I didn't need it this time.)
I adhered the Boho Pumpkins and the sentiment to the card using glue and some foam tape.

This was such a fun card to make. I love these Acorn & Ember papers and the Boho Pumpkins too! Be sure to check out the entire release on Honey Bee's website.
Thank you so much for stopping by. I hope you have a wonderful and crafty day!
I so appreciate that you use my affiliate links to shop! (Never any additional cost to you.) It helps me with the expenses of posting my creative content, thank you!