Showing posts with label Tree Branch stencil. Show all posts

Sunday, May 12, 2024

Just A Note To Say Hello!

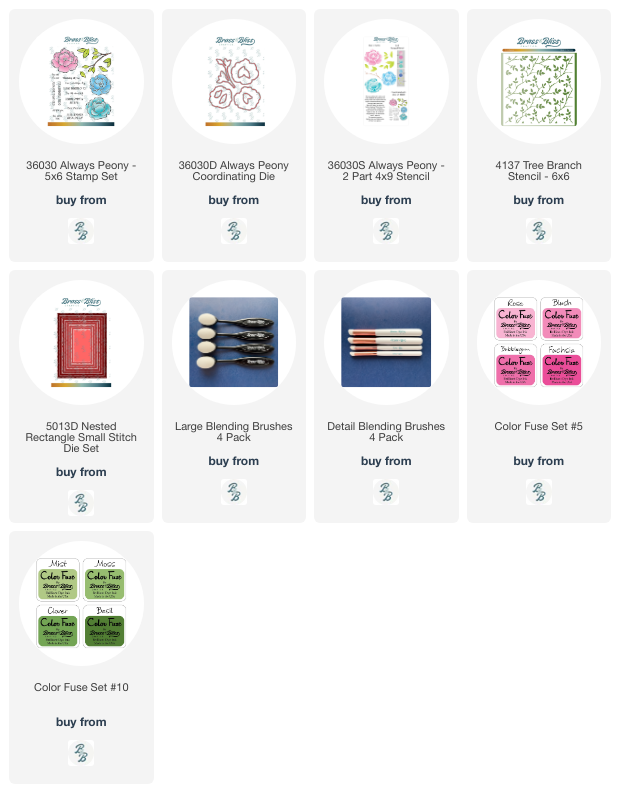
 Happy Sunday, and happy Mother's Day to all celebrating!  It's a short post today to let you know I'm up on the Brass and Bliss blog with my sweet card featuring their Always Peony stamps, stencils and dies.  Please join me over there for all of the specific details!

I started out with their Tree Branch Stencil to create a soft background layer for the card base.

I used their new Large Blending brushes and Small Detail brushes with all of the stencils today.  It's great to have another source for ink blending brushes!

I love that the Always Peony set has coordinating stencils to make coloring the beautiful flowers so easy!  After using the blending brushes to color the images, I cut them out with the Always Peony dies.

Check out more details over on the Brass and Bliss blog!  Have a beautiful day!
Thank you for shopping with my affiliate links (never any additional cost to you)!

Sunday, March 10, 2024

Wishing You A Beautiful Day

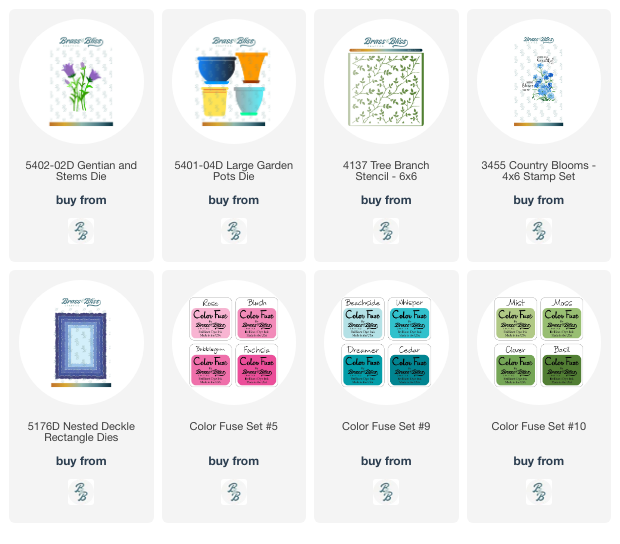
Hello friends!  Today I'm over on the Brass & Bliss Craft Co. blog (formerly Rubbernecker Stamps) with my card featuring their Gentian Blooms dies with the Tree Branch stencil.  The Brass & Bliss Craft Co. website went live last week and it's a new improved and lovely site--be sure to check out the products, including the latest release!

All of my card details are on the Brass & Bliss Craft Co. blog.  Please click HERE to check it out!  After I die cut and colored the Gentian flowers I added them to one of the four flower pots from the Large Garden Pot die set.  I used small ink blending brushes and Color Fuse ink sets #5, 9, and 10.  I die cut it with a Deckle Rectangle die before adhering it to my A2 card base.

The stenciled background is the Tree Branch stencil colored with the Color Fuse ink set #10.

I chose a sentiment from the Country Blooms set and hand trimmed it.  The flower pot is adhered with glue to a deckle cut rectangle piece of vellum.  I added foam tape to the back of the vellum to pop it up.

I have many more details and photos over on the Brass & Bliss blog, and I hope you will join me there!  Thanks so much for stopping by!

Thank you so much for shopping with my affiliate links (never any additional cost to you)!