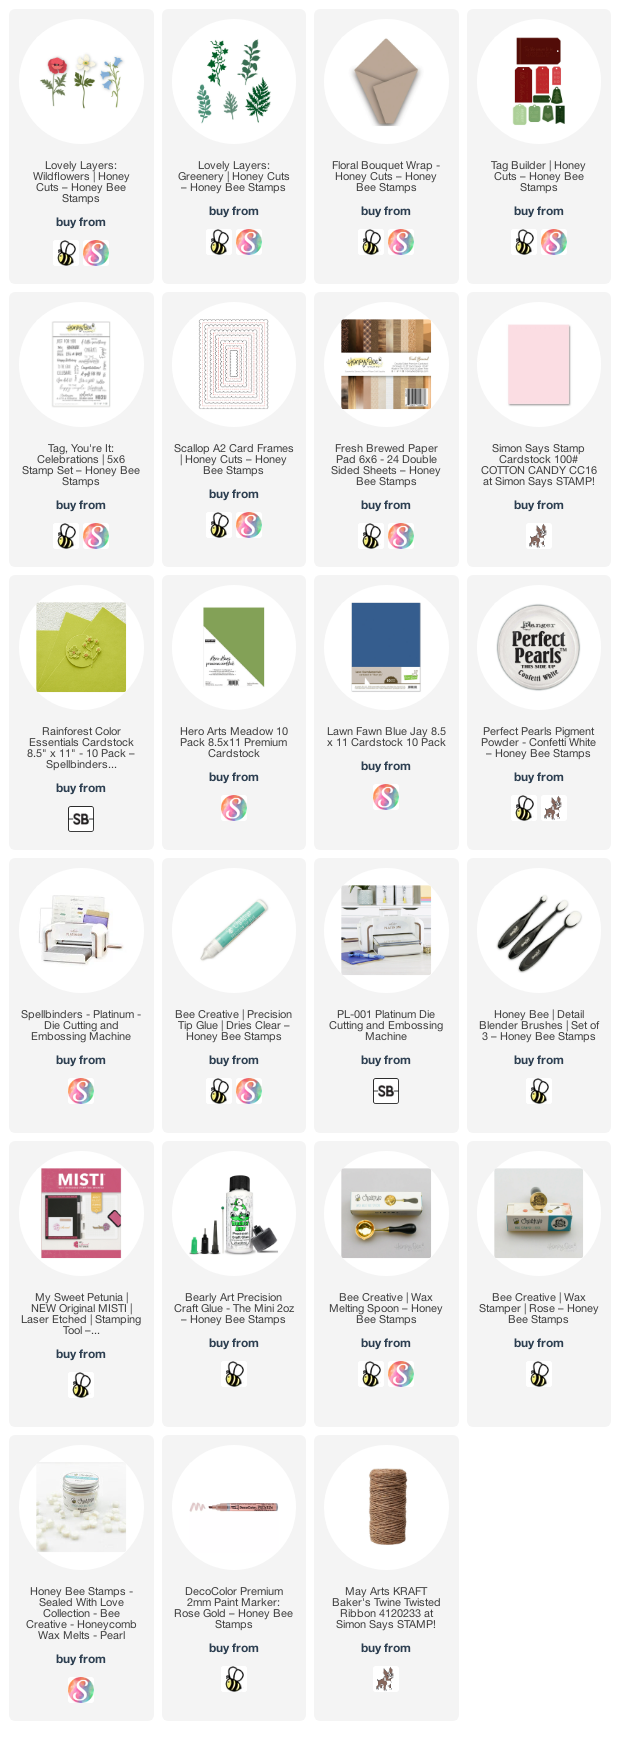
Hello my friends!! Today I'm sharing a sweet birthday card I made using the Honey Bee Stamps Lovely Layers: Wildflowers, Lovely Layers: Greenery, and the Floral Bouquet Wrap. This was lots of fun to make and I even added a wax seal! I have all of the fun details below.

First I die cut some dark blue cardstock with the second largest Scallop A7 Honey Cut. Then I mixed a bit of Confetti White Perfect Pearls with water and added splatters to the panel. When it was dry, I used Bee Creative glue to adhere it to an A7 card base.
Next I die cut the Floral Bouquet Wrap from a piece of paper in the Fresh Brewed paper pad. I folded it at the score lines and glued the edges to form the wrap. To make it easier to add the jute twine, I added double sided tape to the back of the wrap. The tape will hold the twine in place as you wrap it. Next I stamped the sentiment from the Tag, You're It: Celebrations stamp set with Worn Lipstick Distress ink. I used my MISTI to stamp it a few times and then die cut it with a tag from the Tag Builder Honey Cuts.
I added a little piece of ribbon (from my stash) to the tag and slipped the ends under the twine. Then I made my wax seal by heating Pearl Wax Melts in the Melting Spoon. Note: I used my heat tool to melt the wax--so much faster than a tea light! I poured it onto the twine and stamped it with the Rose Wax Stamper. While it's not a perfect circle, I am totally okay with it! I used a DecoColor Rose Gold paint pen to color the rose.

Next I die cut the poppy from the Lovely Layers: Wildflowers and the greenery pieces from the Lovely Layers: Greenerywith pink, green, and black cardstock in my stash. I used a small detail blender brush to add shading to the poppies and greenery with Worn Lipstick and Rustic Wilderness Distress ink. After I glued the poppy layers together, I did snip off some leaves from the bottom of the stems and also from the greenery stems to make it easier to arrange them in the Floral Bouquet Wrap. I used Bee Creative glue to adhere the stems in the wrap as I arranged them all.

I used all of the leaves I had snipped off and tucked them here and there with some glue. To adhere the bouquet to my card, I added foam dots to the back of the bouquet and the poppies.

I really love how this turned out and hope that you've found some card making inspiration here! Thank you so much for stopping by. Have a fun and crafty day!
Thank you for choosing to use my affiliate links (never any additional cost to you).