Happy 11th anniversary to Altenew!! I have been a huge fan of Altenew's for many years and I'm so thrilled to be joining in the Day 1 blog hop to celebrate one of my most favorite companies!

Please keep reading to learn more about the awesome prizes to be awarded by not only Altenew, but also lots of different sponsors of this hop! Please be sure to leave a comment here, and at each stop on the hop, for your chances to win! I have the hop list below, but if you'd like to start at the beginning, please head over to the Altenew Card Blog.
To celebrate Altenew's milestone, I've used one of my favorite type of products: layering stencils! I can't believe how you can get such beautiful images from this Stencil Art: Romantic Roses stencil set!

I'll try keep my descriptions of my card brief, as I know you want to keep hopping along the way! If you have questions, please use the "contact me" form in the left column of my blog.
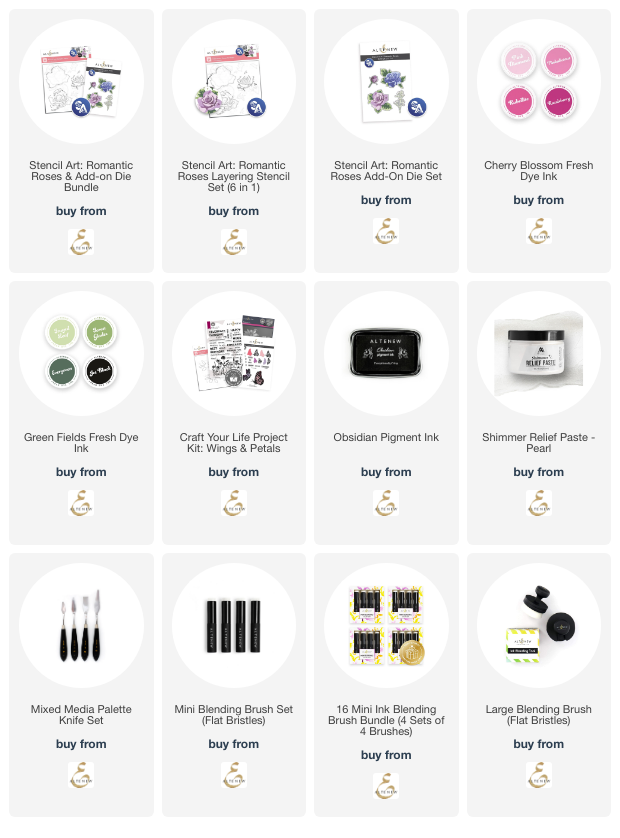
To color the beautiful images of the Stencil Art: Romantic Roses stencils, I used two Fresh Dye Ink collections: Cherry Blossom and Green Fields; Mini Blending Brushes (my most favorite brushes ever!) and a Large Blending Brush to color the inks through each layer of stencil. (Tip: Using a Large Blending Brush to color the first layer made it super easy and fast!). All products are in the list at the end of my post.

When I got to the script stencil that is also in the Romantic Roses set, I decided I wanted to used some of Altenew's gorgeous Pearl Shimmer Relief Paste and custom color it with pink ink. It's so simple to do! First smoosh the Pink Diamond ink pad onto your craft mat. Then used a pallet tool to scoop out a bit of the Relief Paste and mix it into the ink!
I spread the tinted Relief Paste through the script stencil at the top left and bottom right corners of a white cardstock panel. I had plenty of paste leftover and didn't want to waste it. So I decided to create a couple more of the sweet sprigs but spread the paste through the stencil layer with the buds. First I stenciled the green stems, then die cut the pieces, and then added the relief paste.
When the stenciled script panel was dry, I used the large blending brush to ink on a bit of Pink Diamond ink around the edges. I glued it to my card base that is 5" x 6". Yes, an odd size, but I will mail the card in a 5" x 7" envelope and it will be just fine!
I used glue and foam tape to adhere the flowers to my card. I tucked the branches around the roses, trimming off bit of the branches that were hidden behind the flowers. I was able to use all of the small trimmed bits to fill in around the roses, securing each one with glue.

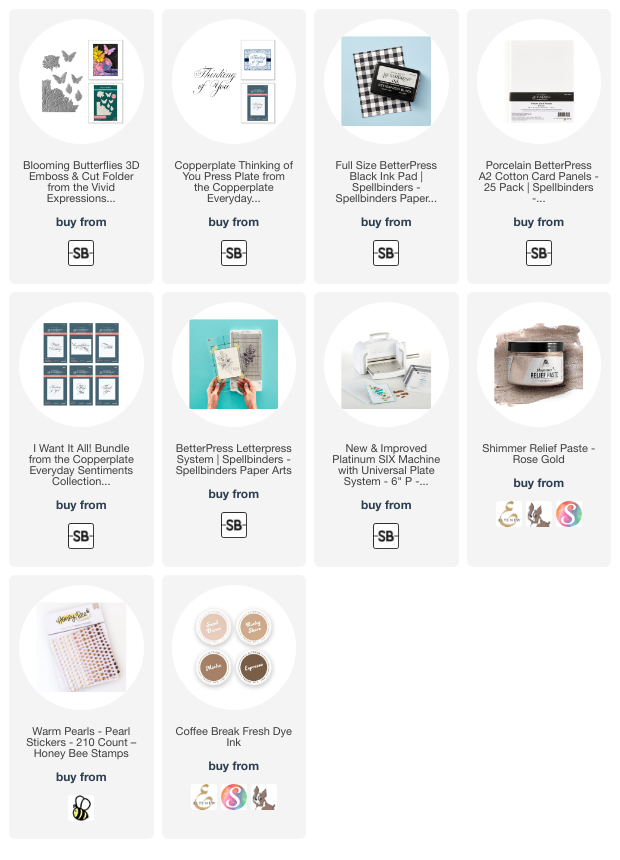
The sentiment is from the Wings & Petals Silhouette stamp set. I love that there is a coordinating die for this sentiment!
Now for the best part! The giveaway information! Take a look at all of these amazing sponsors!

Giveaway Info:
Over $3,600 in total prizes! Altenew is giving away a $50 gift certificate to 11 lucky winners. There are also 35 awesome companies/crafty friends who are celebrating with us, and they are offering the following prizes:
|
Anniversary Special Offers:
04/14/2025 - 04/17/2025: Get a FREE brand-new Lace 3D Embossing Folder (worth $11.99) on orders over $89 from 04/14/2025 at 12:01 AM EDT until 04/17/2025 at 11:59 PM EDT. The free gift will be automatically added to eligible orders—while supplies last. Shop here:

04/14/2025 - 04/18/2025: Get FREE U.S. Shipping on orders over $29 (no code needed) or $10 off International Shipping with code ALTENEW@11 at checkout from 04/14/2025 at 12:01 AM EDT until 04/18/2025 at 11:59 PM EDT. Shop here: https://altenew.com/collections/all-altenew

BLOG HOP LIST:
Be sure to leave comments by April 29, 2025 for a chance to win one of 76 prizes! To make the hop more exciting, start your comment with "Hi from (city or country where you're from)!" 76 winners will be chosen at random from the comments left on any of the blogs listed below and will be announced on the Altenew Blog on May 4, 2025.