Showing posts with label Scallop A7 dies. Show all posts

Wednesday, June 1, 2022

Watercoloring a Rainbow & Hydrangea Birthday Card

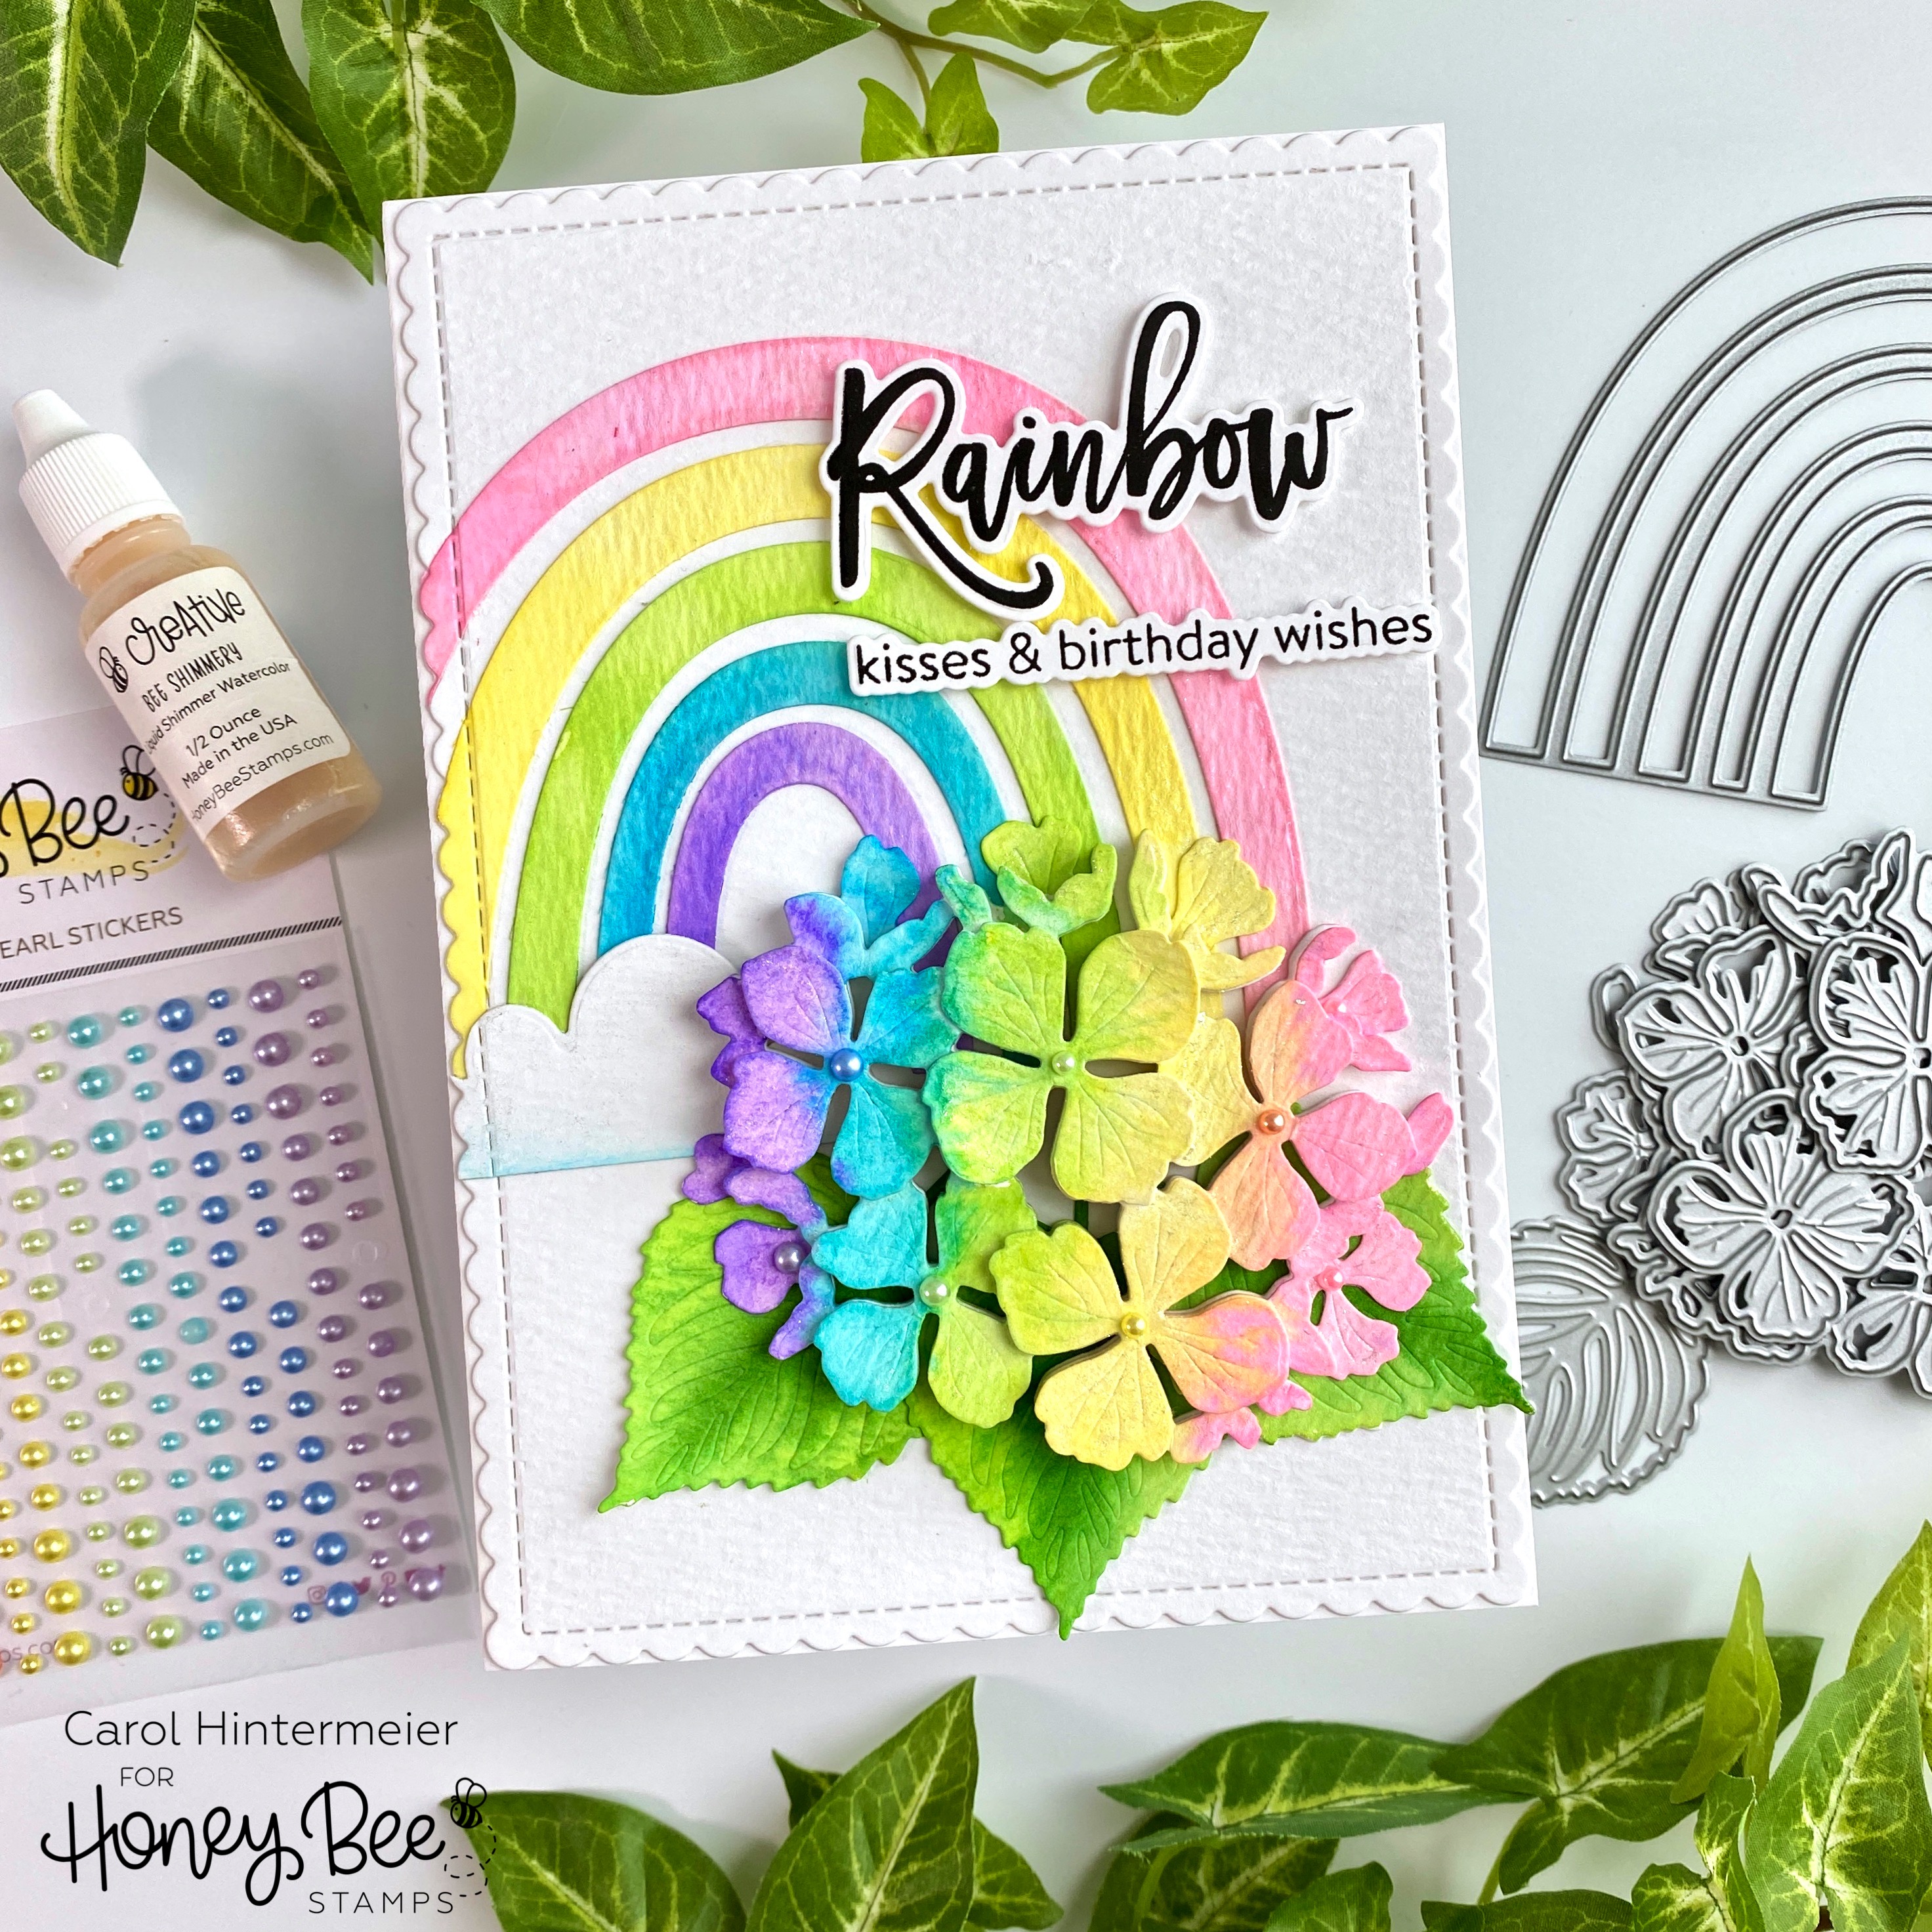
Hello crafty friends, and happy first day of June! Today I'm sharing a birthday card I made with some of Honey Bee Stamps new Rainbow Dreams release products plus the beautiful Lovely Layers: Hydrangea! I had an idea for this card in my mind, and I'm always thrilled when I'm able to create what I envisioned! 


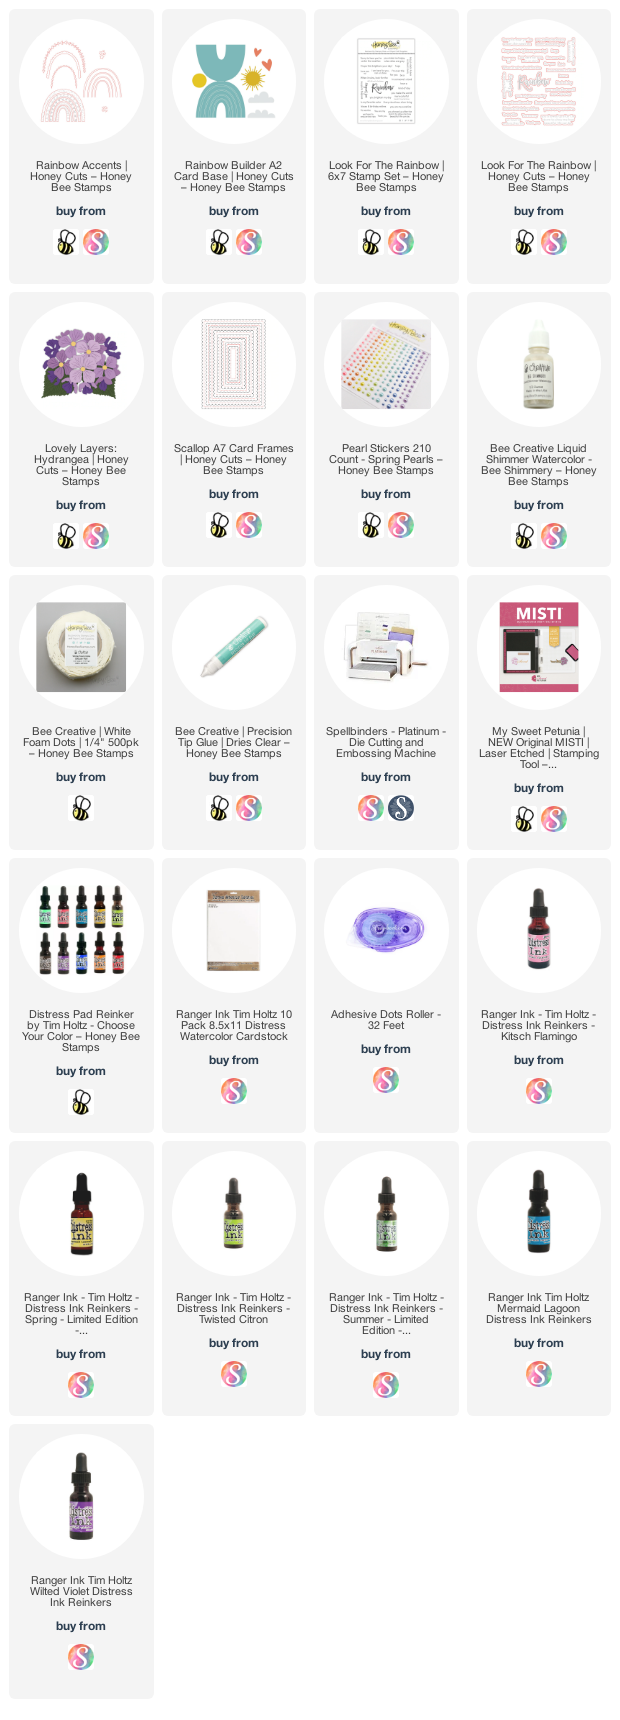
All of my layers, except the sentiments and card base, are die cut from this bright white watercolor paper. I die cut the rainbow from the Rainbow Accents Honey Cuts, the cloud from the Rainbow Builder A2 Card Base, and the flower from the Lovely Layers: Hydrangea.

Then I used several Distress Ink re-inkers to color the rainbow and hydrangea. My colors are inspired by the gorgeous new Spring Pearls stickers! The colors I used are Kitsch Flamingo, Squeezed Lemonade, Twisted Citron, Mowed Lawn, and Wilted Violet. I put drops of each re-inker onto my mat and used my paint brush with water to pick up the colors. As I colored the pieces, I found that with this watercolor paper it helped to dampen the paper with a bit of plain water first, then add the color.

Before I began to color the hydrangea, I adhered all of the layers with some repositionable adhesive. Then I was able to just add the color to the pieces that were on top.

For all of the rainbow and hydrangea pieces, I added some Bee Shimmery Liquid Shimmer Watercolor to them with my paintbrush and a drop or two of water. I wish the photos showed the beautiful sparkle!

I created my 5" x 7" card base by scoring a 10" x 7" piece of Neenah at the 5" mark. Then I die cut more watercolor paper with the largest Scallop A7 Card Frames Honey Cut. Next I adhered my rainbow pieces and the cloud with Bee Creative glue. I placed the Scallop A7 die back over the piece (secure it with temporary tape) and ran just the left edge through my die cutting machine. I like how the rainbow now has the same scallop edge!

I added foam dots between each layer of the hydrangea and adhered it and the leaves with glue. Then I stamped the sentiment from the Look For The Rainbow set with black ink. I used the coordinating Honey Cuts to die cut them and popped them up with foam tape.  To finish up, I added some Spring Pearl stickers to the flower centers.
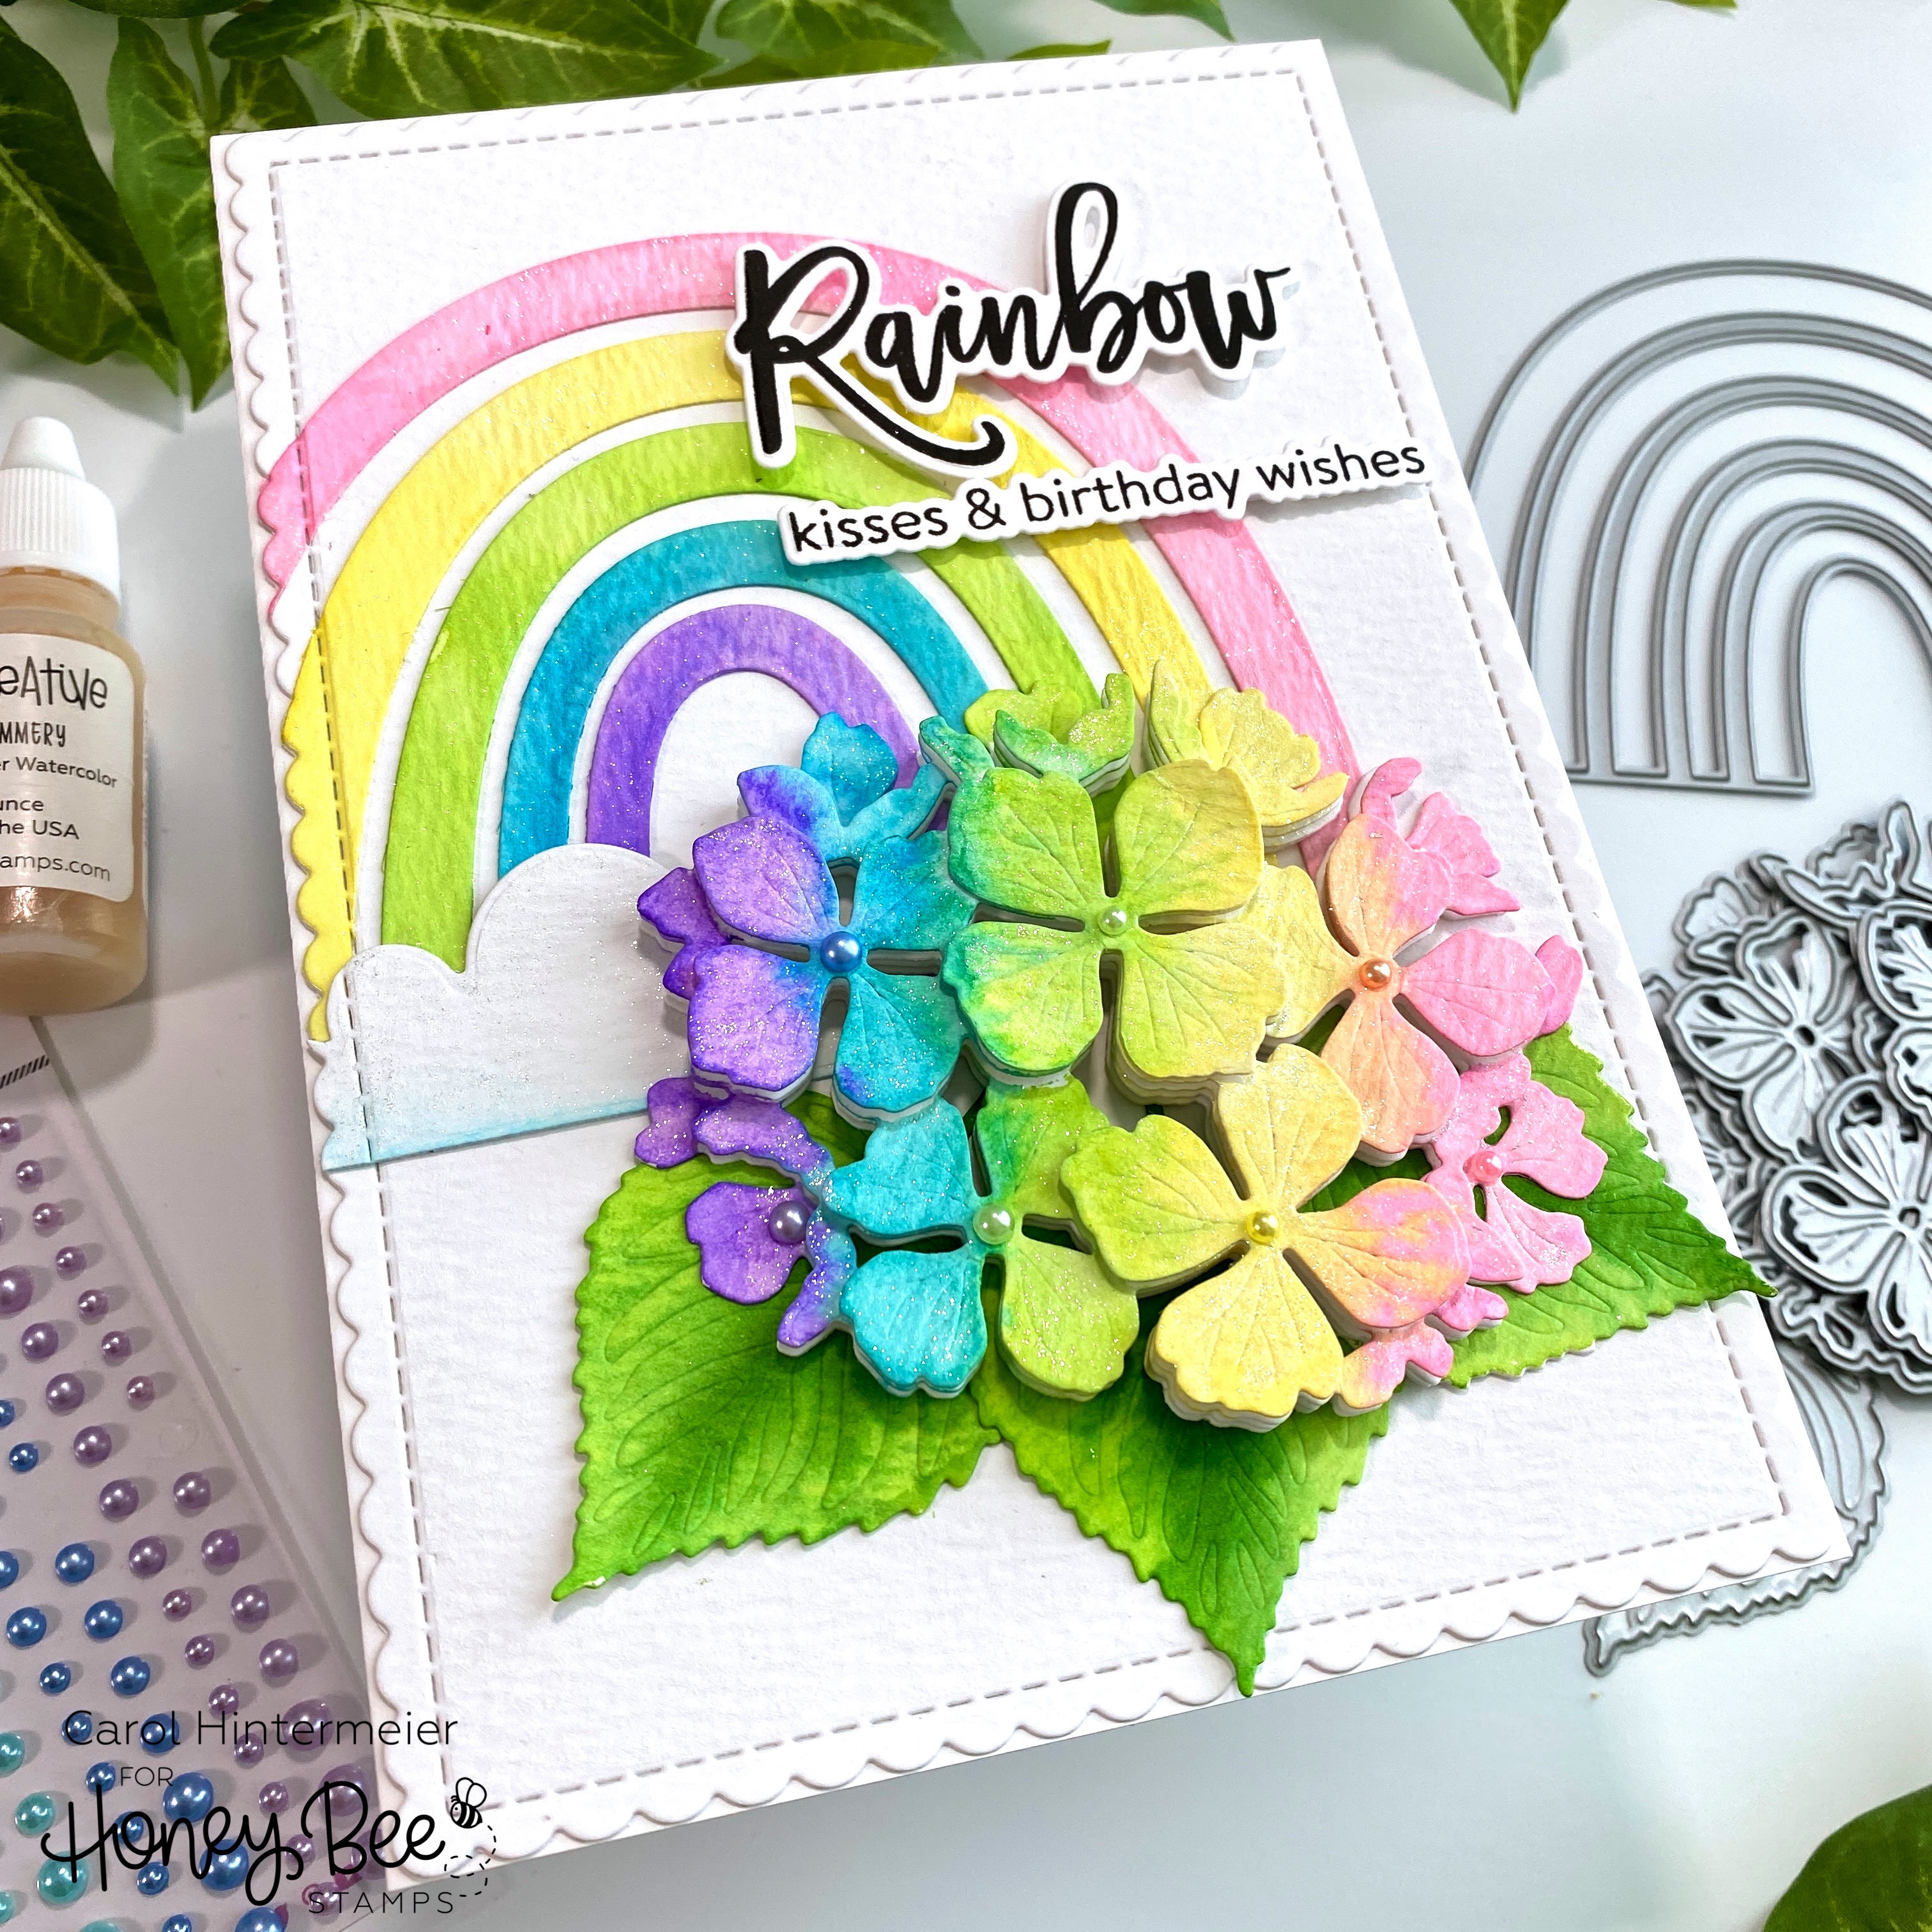
I absolutely love how this turned out, and hope you do too! If you are over on Instagram, check out my Instagram feed later today for a reel I'm making to show some of the card making process. Thanks so much for stopping by. I hope you have a wonderful day!
Wednesday, December 2, 2020

Big Pickup Merry Christmas Card | Honey Bee Stamps

Happy December my friends!  Today I'm sharing a card I made using Honey Bee Stamps SO adorable Big Pickup Cab stamp set and Honey Cuts.  I'm sure you've seen how some people add tinsel, wreaths, or reindeer accessories to their cars and trucks for the holidays, right?  I've never done that, but I love it when I see the decorated automobiles!  So now you know the inspiration for my card! :)


Here are my steps, in list form, for this card:

  • Die cut the largest Scallop A7 Card Frames Honey Cuts and adhere to a side-folding A7 card base.
  • Die cut the Birch A2 Cover Plates top and base, adhere together and adhere to a panel inked with blue ink. Trim the edges to fit the upper portion of the scallop layer.  I used the Bee Creative glue to adhere it to the panel.
  • Die cut the Hills Borders to fit within the stitched lines of the scallop layer.  Add thin foam tape to each layer.  Here's a photo to help you visualize the work in progress.  Adhere the layers to the card.

  • Next I stamped the Big Pickup Cab and die cut the Pickup Cab Honey Cuts and the wreath from the Threshold Card Builder with white cardstock.  I colored them with Copic markers.
  • After I built the wreath, I adhered it to the front of the pickup hood.  Then I added some red gem stickers from the Holiday Cheer gem stickers set.
  • I had a bow that I made and saved from a few weeks ago and added it to the wreath.  This bow is in the Lovely Layers: Pinecone Honey Cuts.  Of course, you can use ribbon or twine for a beautiful look too.
  • I added foam tape to the back of the cab and adhered it to the card.
  • Next I die cut cardstock that I colored to match with the top layer of the Merry Honey Cuts.  I die cut two of these from white cardstock and adhered them together.  I stamped and die cut the sentiments in the Merry stamp set with the Sentiment Banners.
  • I skipped the middle layer and die cut the base with some white sparkle cardstock.  Then I added the other layer with glue.


To finish it off with more sparkle, I used a clear glitter pen to sparkle up the hills the bow, and headlights on the truck.


Did you know there's a coordinating Big Pickup Tailgate to make a double-sided card with?  I can't wait to try that out!  Thank you so much for stopping by!  I sure hope I've inspired you to give this awesome set a try.  Have a wonderful, and crafty, day!