Showing posts with label Picnic Blanket Builder stencils. Show all posts

Wednesday, July 22, 2026

Serving Up Smiles -- Fun Picnic Scene Card

Hello crafty friends!  Today I'm sharing this fun "picnic-in-a-park" card where I've used two awesome stencil sets along with two Lovely Layers sets, all from Honey Bee Stamps new Perfect Picnic release!  It's so fun to combine products in this way to make a card that makes me want to go on a picnic!  Want to join me?

I first started out by using the Summer Scene Builder stencils.  This is a set of seven stencils that create a wonderful scene to be used for many card occasions!  I used some green and brown inks from my stash with blender brushes to ink the scene onto white cardstock.  My card panel is 4-¼" x 5-½".

I used glue to adhere the stencil to an A2 card base.

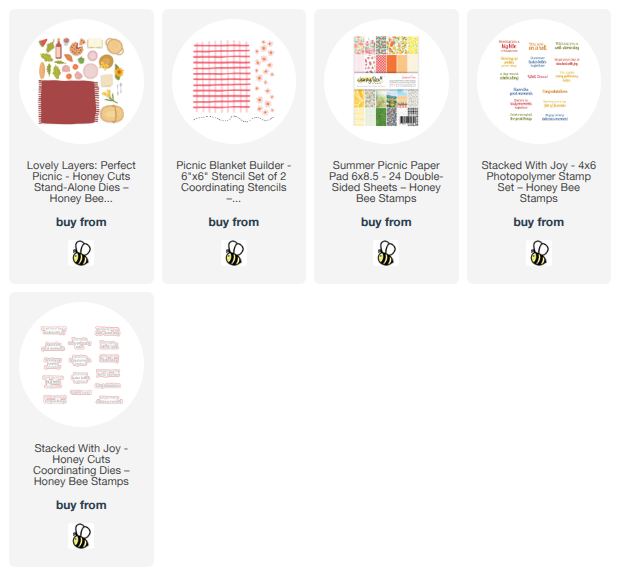
Next I used the blanket die from the Lovely Layers: Perfect Picnic Honey Cuts to cut white cardstock into this blanket shape.  Then I used the Picnic Blanket Builder stencils to color my picnic blanket with Black Soot Distress Ink. I used my scissors to cut a rectangle of one corner of the blanket for my picnic scene.

I die cut the umbrella and picnic food with the dies in the Lovely Layers: Picnic Table Honey Cuts.  I die cut two of the umbrella top from white cardstock and one from black.  I cut apart the black die cut and glue the pieces to a white cardstock die cut.  Next I used the decorative floral portion of the Picnic Blanket Builder stencils to stencil the flowers onto the other white umbrella die cut.

I took my scissors, again, to cut apart the stenciled umbrella.  I glued those onto the black and white umbrella to create this fun floral and black umbrella.  Then I added foam adhesive to the umbrella top to adhere it to the card.  I cut off the overhang with my scissors.

I used various Copic markers to color the basket, sandwich, bread, wine, and glasses.  After I glued the layers together, I adhered them onto the Picnic Blanket.

The sentiment is from the Stacked With Joy stamp set.  I stamped it with black pigment ink and cut it out with the coordinating Stacked With Joy die.

This card definitely makes me want to go on a picnic!  Sadly, it's way too hot here right now!  I hope you've been inspired by picnic scene card!  This was so fun to make!

Thank you for stopping by!  I hope your day is great and filled with lots of crafty time!

I so appreciate your using my affiliate links to shop (never any additional cost to you)!
Wednesday, July 1, 2026

Sneak Peek of the Perfect Picnic Release by Honey Bee Stamps

Hello crafty friends, and happy July 1!  Today I'm super excited to be sharing with you a sneak peek of Honey Bee Stamps' available now, Perfect Picnic release!  The Perfect Picnic products will be available on July 6, after the end of the release party on Honey Bee's YouTube channel.  This release is filled with all things yummy for summer, plus a gorgeous floral stamp set and a summer fruit stamp set.  Stayed tuned--I think you're going to love it!!

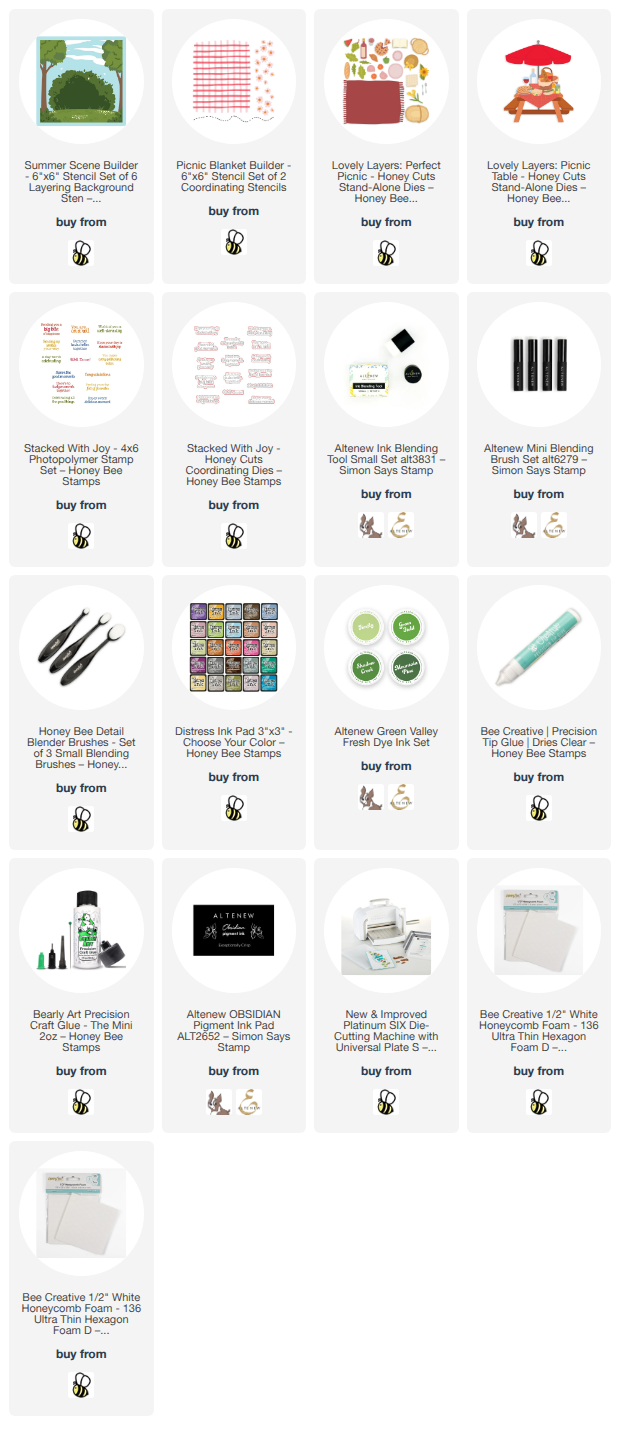
These are the new products I've used on my card:

As you can see from my photo, I've used some paper from the new Summer Picnic paper pad to add a grass layer underneath my picnic scene.  Trust me, you will love the gorgeous papers in this pad!  I will certainly be ordering another paper pad for my stash!!

The Lovely Layers: Perfect Picnic Honey Cuts not only has a die for the blanket, but also dies for all of the yummy picnic food you see + more!  I started out by die cutting my chosen pieces from white cardstock.

Next I used the Picnic Blanket Builder stencils and used blender brushes to ink on Spun Sugar and Kitsch Flamingo Distress Oxide inks.

I also used the flower section of the Picnic Blanket Builder stencils to add flowers to the napkin die cut layers.

For all of the other fun pieces I used my Copic markers to color them.  It was fun choosing what colors to used for the breads and the basket!  Of course, you could also die cut your pieces from colored cardstock and/or use your ink blending brushes too.

For the wine bottle label and the book pages, I really wanted to have a hint of words.  I thought about handwriting on them, but, I truly didn't think I'd be pleased with that!  Can you relate?  I searched through all of my Honey Bee sets and found the perfect stamp!  It's in the Postmarked: Holiday stamp set (retiring and at a great price!) to lightly stamp a hint of words with Hickory Smoke Distress ink.  I really like how it turned out!

After I assembled the layers with Bee Creative glue (there's an awesome layering guide, of course) I adhered a few things to the basket and plate with foam adhesive and/or some glue.

I added some awesome patterned paper from the Summer Picnic paper pad to my A2 card base.

Next I glued the Picnic Blanket to the card.  Then I used my scissors to trim off the parts hanging beyond the edges of the card.  Then I used ½" x ¼" Honeycomb Foam pieces to adhere the other items to the blanket.

The sentiments are from the Stacked With Joy stamp set.  After I stamped them with black pigment ink, I cut them out with the coordinating Stacked With Joy Honey Cuts.

This was SUPER fun to make and it makes me want to go on a picnic.  However, it is SO hot where I am and it's not so fun to be outdoors, haha!  I'll just stay inside and make more fun picnic cards with the new Perfect Picnic release!

Keep your eye out for more sneak peeks this week!  If you'd like to see some of the process of me making this card, please join me on my Instagram where, later today, I'll have a fun reel for you.

Thanks so much for stopping by!  Have a wonderful and crafty day!

Here's all the links to the new products.  Thank you so much for using my affiliate links to shop!