Showing posts with label Lovely Layers: Cherry Blossom. Show all posts

Wednesday, August 20, 2025

Antique Sewing Table Friend Card

Hello crafty friends!  Today I'm sharing my card that features Honey Bee Stamps awesome Lovely Layers: Antique Sewing Table.  I plan on using this for a birthday card to give to someone that is an amazing seamstress!  Fun fact:  I actually have a very old Singer sewing machine (that works!) that was gifted to me by my sweet mother-in-law.

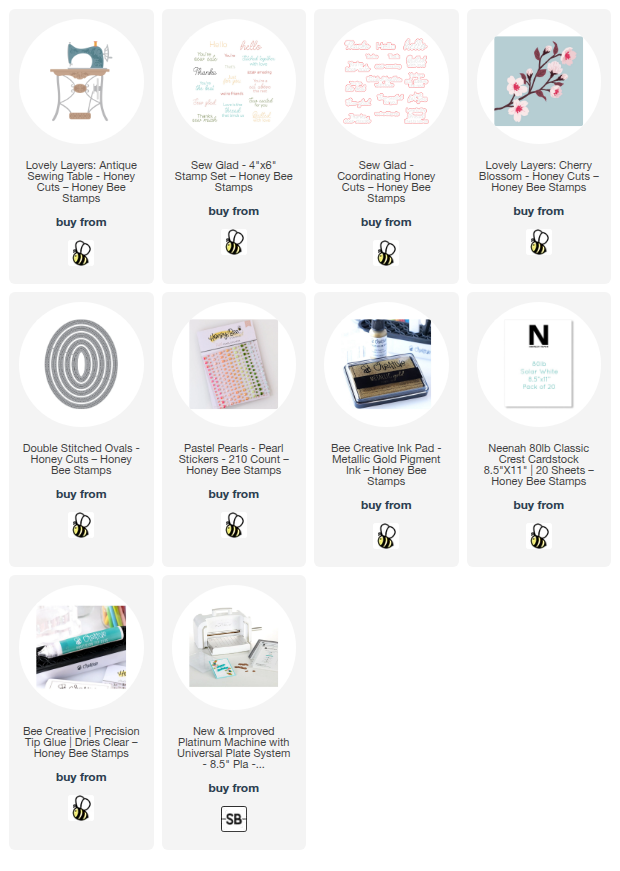
I REALLY wanted to try to replicate the look of the Singer sewing machine I have with the machine die in the Lovely Layers: Antique Sewing Table.  After trying a couple ideas that failed, I decided to try tapping gold ink onto the raised portion of the sewing machine die.  I used Metallic Gold ink and took the corner of a paper towel to wipe away as much of the excess ink that I could.

I carefully placed the die cut side down onto black cardstock and ran it through my die cutting machine.  I have to say, I am quite pleased with the way it came out!  Next I die cut all of the other pieces of the Sewing Table from white and metallic cardstocks.  I colored the white cardstock with a few Copic markers and then adhered the layers with glue.

I colored in the de-bossed areas of the sewing table with two fine line pens.  If you have a pen with a very fine point, this is quite easy. 

Next I die cut pink and green cardstocks with the Lovely Layers: Cherry Blossom dies.  I used ink blending brushes to add a bit of ink to the pieces for dimension.  I used glue to assemble the layers of the Cherry Blossom branch.

With my card elements complete, I created an A2 card with a pink layer of paper.  This paper is one that is in the "FreeBee" paper pack that you will receive with a qualifying Honey Bee Stamps purchase of $100 or more.

I die cut a piece of vellum with the second largest Double Stitched Ovals die.  Then I used glue to adhere the Antique Sewing Table and the Cherry Blossom branch to the vellum.  On the back of the vellum, I added foam tape behind the the die cut pieces so it wouldn't be visible and adhered the piece to my card.

I stamped a sentiment from the Sew Glad stamp set in black ink and then cut it out with the coordinating die.  To finish up, I added a few pearls from the Pastel Pearl Stickers.

I truly love how this turned out!  Especially the sewing machine!  Do you think you would try making one like this?  I sure hope I've inspired you to give it a try.  Thanks so much for stopping by today!

Thank you for using my affiliate links to shop (never any additional cost to you)!
Wednesday, April 9, 2025

Springtime Inspired Birthday Card with Cherry Blossoms and a Bluebird!

Hello crafty friends! Today I'm sharing my springtime inspired card that features a few of my favorite previously released products! My inspiration comes from the gorgeous cherry trees I saw in full bloom on my recent trip to Oregon for the Honey Bee Stamps 10th Anniversary Retreat! These trees won't grow where I live and I had never seen them in real life! I was awed!

If you are wondering about my inspiration for the bluebird, while I was sitting in the dental hygienist's chair last week, I saw one outside the window!

It was a 'no-brainer" to use the beautiful Lovely Layers: Cherry Blossom set today!

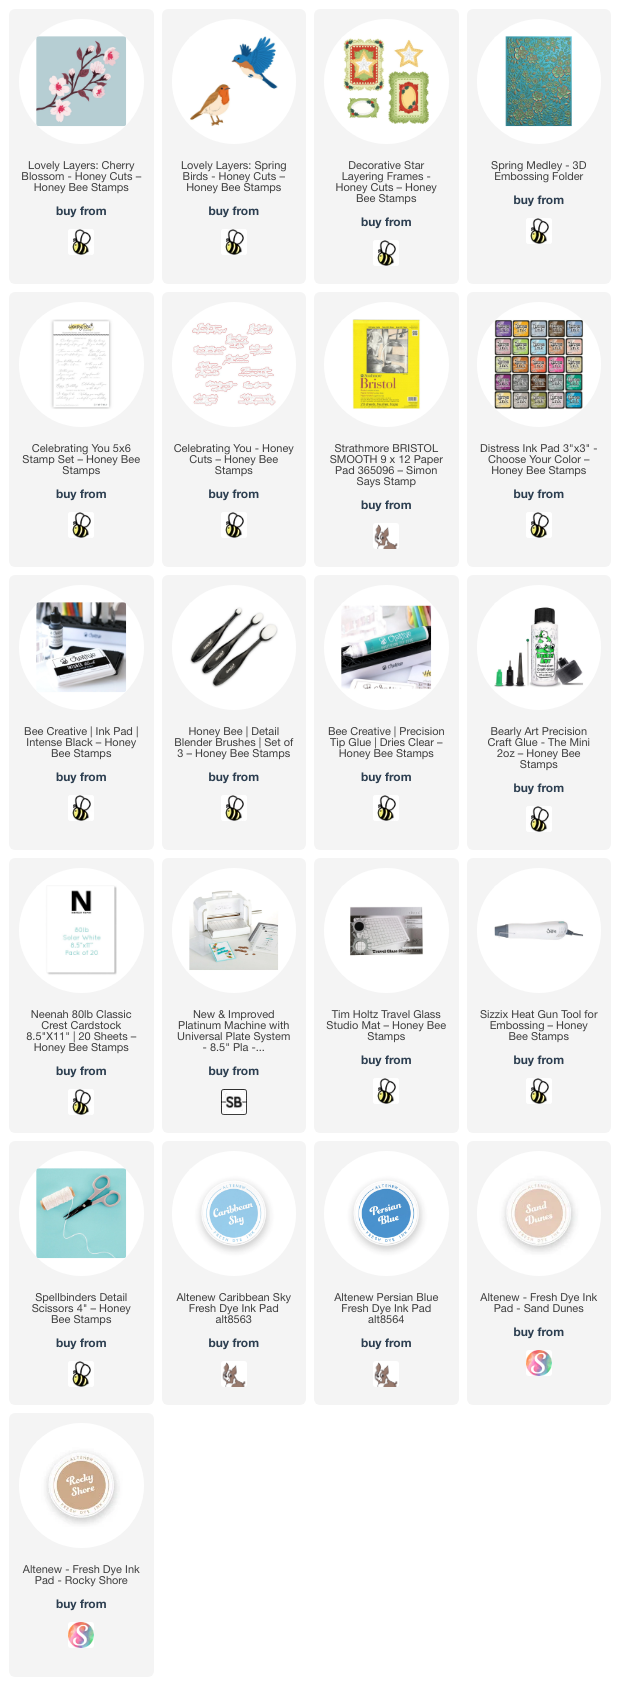
I began by taking three pieces of Bristol Smooth cardstock and having some ink smooshing fun! I smooshed Mowed Lawn and Twisted Citron Distress Inks onto my glass craft mat and spritzed them with some water. I pressed one piece of Bristol into the inks. Then I dried it with my heat tool and repeated the steps 2-3 more times.

For the two remaining pieces of Bristol, I used Picked Raspberry, Kitsch Flamingo, and Spun Sugar Distress Inks and went through the steps mentioned above for one panel. I decided I wanted a lighter pink panel and pressed the remaining cardstock into Kitsch Flamingo and Spun Sugar Distress Inks.

I used the dried inky panels and the Lovely Layers: Cherry Blossom to die cut all of the layers in the set. I used glue to adhere the layers and set the piece aside.

Next I die cut white cardstock with the dies from the Lovely Layers: Spring Birds Honey Cuts. I used a light and medium blue ink along with two brown inks to color the layers. I glued them together according to the Layering Guide.

I die cut white cardstock with the largest die in the Decorative Star Layering Frames die set. Then I used a blender brush to ink on blue ink. Then I pressed the ink pad onto my craft mat, sprayed a bit of water into the ink, and used a paint brush to splatter the diluted ink onto the panel.

When the Decorative Star piece was dry, I glued it to an A2 card base that I layered with the Spring Medley 3D embossing folder. I trimmed the overhang off with my scissors.

I stamped the sentiment from the Celebrating You stamp set with black ink and cut it out with the coordinating die. I added foam tape dots and squares to the sentiment, Cherry Blossom branch and Spring Bird to adhere them to the card.

I'm so thrilled to have finally seen Cherry Blossom trees!  I hope you are finding lots of inspiration around you this spring.  Thanks so much for stopping by!!!

Thank you for using my affiliate links to shop (never any additional cost to you)!

Wednesday, April 5, 2023

You're In My Thoughts featuring Lovely Layers Dies

Hello friends! The Lovely Layers line by Honey Bee Stamps is one of my favorites, and today I'm using three Lovely Layers sets on my card! And I'm also using some of the gorgeous floral paper from the Simply Spring paper pad. Check out all of the details on how to make this easy, but beautiful, card below.

First I die cut two of the Spring Vine Layering Frames from 80# Neenah. I adhered those together with Bee Creative glue and adhered the frame to the blue floral paper from the Simply Spring paper pad. (Note: I made sure leave that space where the branch tucks under without glue.) Then I added the layers to an A2 card base.

Next I die cut the pieces of the Lovely Layers: Nest from 80# Neenah. I used Copic markers to color the layers. The colors I used are E79, E59, E57, and E55. The feathers are colored with W7, W5, W3, and W1. I used glue to adhere the layers and set it aside to work on the other card elements.

The branch for the nest is the Lovely Layers: Cherry Blossom. I die cut it and the layers from 80# Neenah. (Note: I only die cut the layers that would not be hidden from the nest.) I wanted the flowers to coordinate with the beautiful floral paper, so I used Copic markers to add shading in the flower centers. I used B93 and B91, going over those colors with C1 and C0 to tone down the blue a bit. The green leaves are G85, G43, and G24. The flower centers are Y19, Y15, and Y11. I used E55 to color the branch.

After I adhered the Cherry Blossom layers I tucked the end of the branch under the frame using glue and a few foam dots to adhere it.

The final element is the Lovely Layers: Spring Birds. I die cut the blue bird pieces from 80# Neenah. This time I used a couple of blue inks in my stash to color the bird. The rusty color is Rusty Hinge Distress ink. I did color the beak, eye, and feet with a black marker. I used Bee Creative glue and my reverse tweezers for easy assembly. If you need help with the layers, be sure to check out the link for the handy layering guide found in the product description.

I stamped the sentiment from the Daisy Layers Bouquet stamp set with black ink. I cut it out with the coordinating die and popped it up with foam tape onto the card.

I love how this card turned out and it will be perfect to have for sending to someone that needs a smile. Thank you so much for stopping by. I hope you have a wonderful and crafty day!

Using my affiliate links helps to support my blog-thank you! (never any additional cost to you)