Showing posts with label Gingham Happy Hearts paper pad. Show all posts

Thursday, April 16, 2026

A Little Something For You

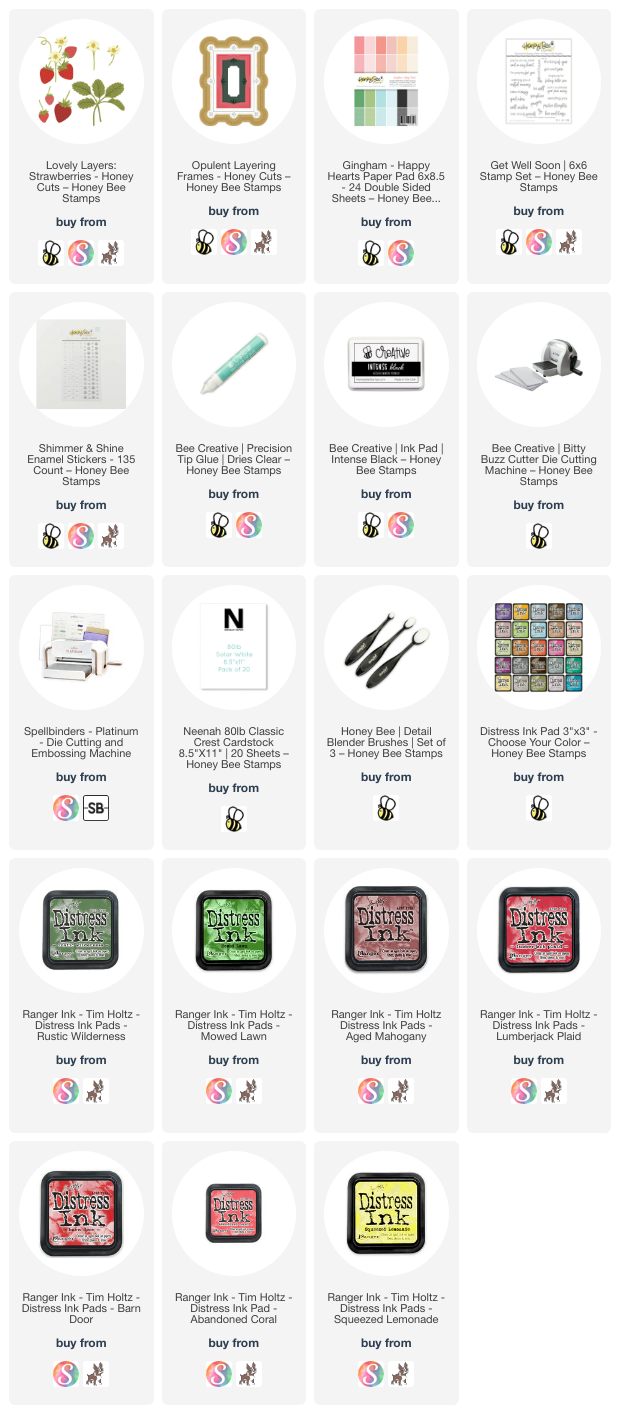
Hello friends!  Today I'm sharing this card that is part of Honey Bee Stamps' Instagram Hop to celebrate their new Style In Bloom release!!  This card features the beautiful, and so very versatile, Lovely Layers: Wrap It Up die set.

If you came here from the hop, thank you!!  If you'd like to join in to see more awesome inspiration, and your chance for a prize, hop on over to my Instagram!!

I created a heat embossed panel using the floral from the Bloom and Buzz stamp set.  The embossing is a pretty pale sparkling pink, and unfortunately, the sparkle doesn't show in the photos.

This panel is adhered to an A2 card base with glue.

I die cut some pretty checked patterned paper from the Gingham Happy Hearts paper pad with the dies from the Lovely Layers: Wrap It Up dies.  These dies make the cutest bow!!!!!  There are also dies that cut the same bow but without scalloped edges.

For the sentiment, I first die cut a tag from the Accessorize It: Tagged die set.  Then I stamped the sentiment from the Luxurious Friend stamp set in black pigment ink.

I used the ½" Honeycomb foam adhesive dots to adhere the tag, tucking the edge just under the bow.

This sweet Lovely Layers: Wrap It Up bow dies can be used for any occasion!  How pretty this would be in a mirror cardstock for the holidays?!

I'm so happy you stopped by today.  I hope you will join me over on my Instagram to check out the details of the hop!

Thank you so much for using my affiliate links to shop (never any additional cost to you)!
Wednesday, February 22, 2023

Get Well Wishes Card with Springtime Strawberries

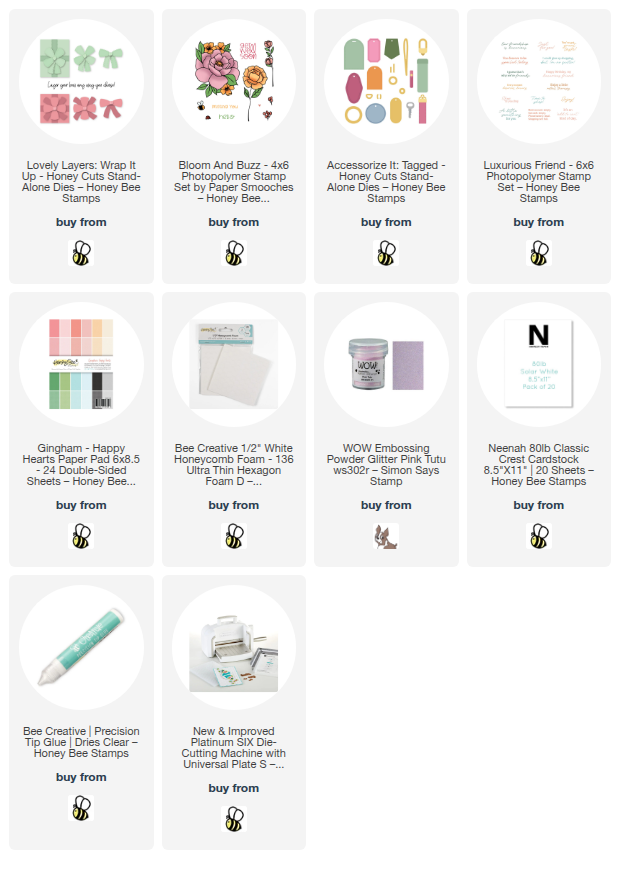
 Hello crafty friends! Today I'm sharing a card to send that, depending on what you put on the inside, could work for a get well, a birthday, or any "well wishes" occasion! I have a friend that I'm going to send it to as she will need a get well card. I've used the beautiful Lovely Layers: Strawberries as the main element with some pretty paper and layering dies in the background.

First I die cut two each of the strawberries and other pieces in the Lovely Layers: Strawberries set. To make it easy to ink blend the die cut pieces, I left them in the negative space and added removable tape to the back to hold them in. I used ink blending brushes to add these Distress Inks: Aged Mahogany, Lumberjack Plaid, Barn Door, Abandoned Coral, Mowed Lawn, Rustic Wilderness, and Squeezed Lemonade.

I adhered the strawberry layers together with Bee Creative glue and set them aside to work on my card base.

I cut a piece of gingham paper from the Gingham Happy Hearts paper pad to 4" x 5-¼" and adhered it to an A2 card base. Then I die cut a vellum layer and white cardstock layer with two dies in the Opulent Layering Frames Honey Cuts. I added adhesive to the center of the vellum piece and foam tape to the white cardstock layer to adhere them to the card. Then I cut a label with the smallest die in the Opulent Layering Frames. I stamped a sentiment from the Get Well Soon stamp set with Intense Black ink.

To adhere the elements to the card I added foam tape where the strawberry bunches hung off of the label. I used a few thin foam squares here and there behind the other strawberries and then adhered it all with a dot of glue in the center of each bunch. I trimmed off the overhanging pieces with some scissors. The sentiment is also popped up with thin foam squares.

For a bit of shine, I added some clear enamel stickers from the Shimmer and Shine Enamel Stickers set.

There's nothing like sweet strawberries to remind us that spring is just around the corner! Thank you so much for stopping by today. I hope you have a wonderful and craft day!

Thank you so much for choosing to use my affiliate links (never any additional cost to you).