Showing posts with label Funfetti Birthday paper pad. Show all posts

Wednesday, September 29, 2021

Grapevine Wreath Halloween Card | Honey Bee Stamps

Hello friends!  Today I'm sharing my first Halloween card of the season featuring a few of Honey Bee Stamps latest products with some older favorites!  I don't make a lot of Halloween cards, but the ones I do make need to be cute--not scary!  The Grapevine Wreath Honey Cuts makes a fun Halloween wreath, but I'm sure I'll be using this awesome set year round!

First I created my card base by using the three largest Sweet Stacks: Rectangles dies to cut a purple layer, a black mirror card stock layer, and the top patterned paper layer from the Funfetti Birthday paper pad.  I adhered all the layers together with Bee Creative glue and then adhered them to a top folding A2 card base.

Next I die cut the Grapevine Wreath twice, once from some black glitter card stock, and another from black mirror card stock.  I glued these together and then adhered them to my card.  I die cut the bow from the Grapevine Wreath set from black mirror card stock and purple glitter paper.  Then I adhered them together and glued them to my wreath.

I die cut the sentiment from the Boo Honey Cuts.  I die cut the layers from vellum, black mirror card stock, and purple glitter paper.  I adhered them with Bee Creative glue and set a thick stamp block on it to weight it down while it dried.

Then I die cut the large ghost found in The Name's Jack die set.  I stamped the face from The Name's Jack stamp set with Intense Black ink and added Glossy Accents to it and let it dry.

I die cut the small ghosts and the bats found in the Haunted House Add On Honey Cuts.  The bats are black glitter card stock.  I glued a small scrap of black mirror card stock behind the ghosts' eyes and mouths.  To finish up, I adhered the sentiment, ghosts and bats to the card with glue and a few foam squares too.

As if I didn't have enough sparkle (haha!) I added bling to the wreath with some coordinating gems from the Playful Pastel gem stickers set!  

This card was so much fun to make and I am 100% sure I'll be using this Grapevine Wreath on some Christmas cards!!!  Thank you so much for stopping by!  I hope you have a wonderful day!

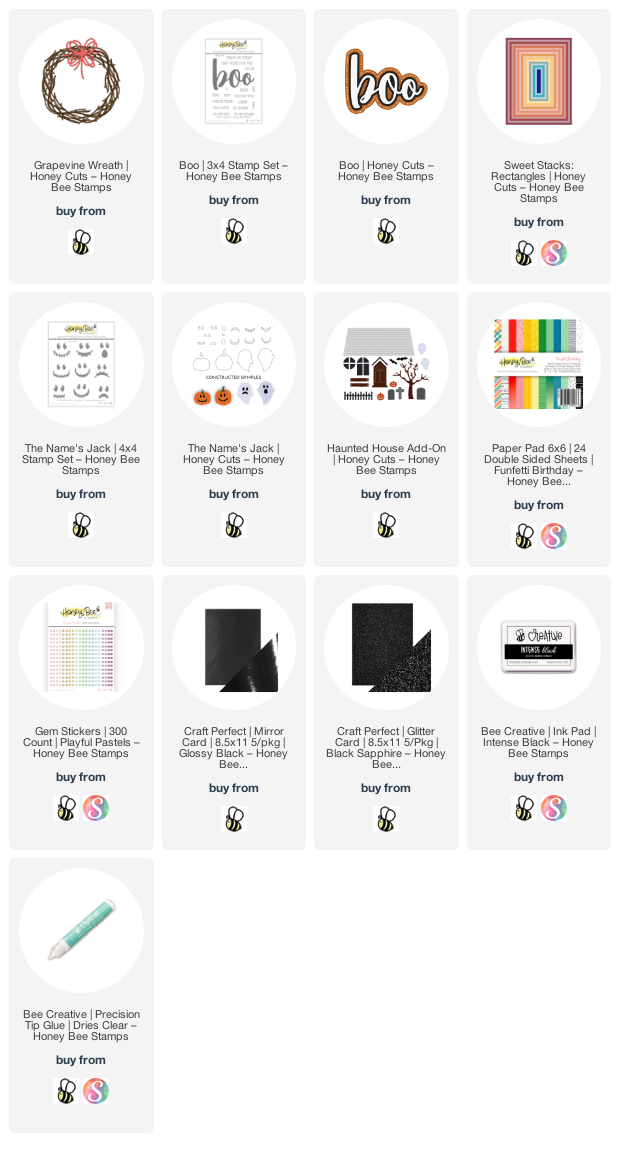
Here are links to the products I've used, if you'd like to check them out:
Wednesday, May 5, 2021

Hydrangea Birthday Card & Treat Box | Honey Bee Stamps

Happy Wednesday crafty friends!  Today I'm sharing a card I made with some NEW products from Honey Bee Stamps newest release called Let's Celebrate!  I'm using the gorgeous Lovely Layers: Hydrangea Honey Cuts!  I have lots of photos for you and hope it helps you to see how I created this gorgeous set!

To begin I created some inky watercolor background pieces.  I used watercolors in my stash in shades of a pinky red, purple and lavender on two pieces of watercolor card stock.  On a third piece, I watercolored in two shades of green.  I set these aside to dry.

Then I used the same pinky red watercolor and added droplets to my card front.  While that was drying, I cut a strip of black striped paper from the new Funfetti Birthday 6x6 paper pad and added it to a black layer.  Then I adhered that to my card front.

Next I die cut the same black striped paper with the Hexagon Box Cover die.  I centered and taped the window dies in place before die cutting the paper.  Next I trimmed the tabs so they wouldn't show in the windows and adhered them together.  You can add acetate to the windows, but Honey Bee now carries these heavy weight acetate boxes that coordinate perfectly with the die cuts!  I assembled the acetate box and slipped my decorative cover over it.  To hold it in place I added dots of glue along the top inside edge of the paper.

Now it's time to have fun creating the hydrangeas!  There are four layers for the hydrangea and I die cut the pink watercolor background with these.  I also die cut the three extra single flowers from the pink paper.  I die cut several leaves and the flower centers from the green watercolor background.

After you have the layers die cut, if you look at the center of each layer, you will see a shape that all of them have in common to help you in your layering.  Check out this next photo to see what I mean.

I added foam squares between each layer to give it lots of beautiful dimension!  I adhered the hydrangea and the leaves to my card front with Bee Creative glue.  I glued the little flower centers on and added a drop of Nuvo Sunlit Meadows Glitter Drops.

Next I created the little floral topper for my treat box.  I used the single flowers and snipped a few apart. For the base I die cut the lid from the Hexagon Box Cover die set from white card stock and cut the tabs off.  Then I intertwined a few of the petals and gluedthem together.  I adhered these to a 1" circle of white card stock and added a foam circle to the back.  Then I adhere it to the hexagon.  I arranged the remaining flowers, snipping some apart, and gluing them around the top piece until I was happy with the look.  Here's a look at my pieces and the top flower cluster.

I adhered the flower piece to the treat box with Bee Creative glue.

I used the new Bitty Buzzwords stamp set and coordinating Honey Cuts for my sentiment.  These are the same buzzwords that Honey Bee has but in a smaller size!!  I love these!!

I absolutely love the dimension you can achieve with this Lovely Layers: Hydrangea!


I hope you've enjoyed the process of making this beautiful dimension card!  Be sure to check out the full Let's Celebrate release!  Thank you so much for stopping by!