Hello friends! Today is the first day of the 2021 Spring/Summer Coffee Loving Card Makers blog hop! Rubbernecker Stamps is one of their "super sponsors" and I've created two coffee cards for the occasion! When you are finished here, be sure to head over to Rubbernecker's blog to get started on the hop and get the details for how to win a $50 gift certificate from Rubbernecker! Also, be sure to check out the Coffee Loving Cardmaker's blog for how to win one of many prizes!!!!

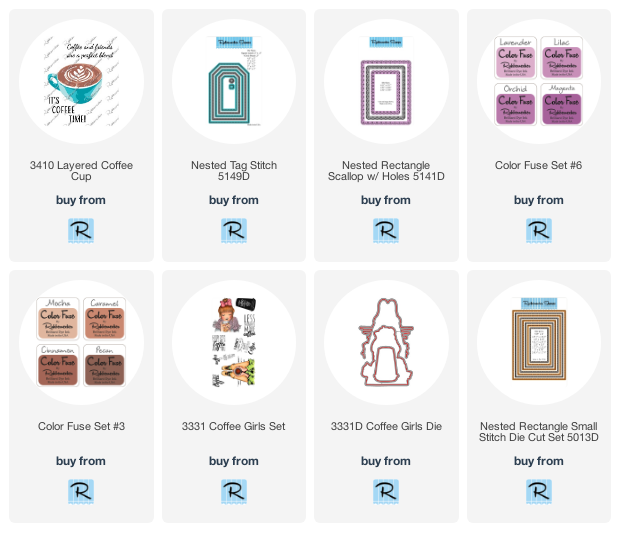
For my first card, I've used Rubbernecker's new Layered Coffee Cup stamp set! This is a cool layered stamp and it's very easy to line up each layer following the included guide!

To start, I created the background by inking up the edges of a 4-¼" x 5-½" white card stock panel with Lavender ink (from Color Fuse Set #6). I just swiped the ink pad along the edges. I cut a 2-¼" strip of patterned paper from my stash and adhered it to another A2 sized white card stock. I cut a thin strip of card stock and it with Lavender ink. I adhered it above the patterned paper. Then I die cut the piece out with the largest Nested Rectangle Scallops w/Holes die. I adhered this to the inked panel and attached it to a top-folding A2 card base.

Next I stamped the beautiful Layered Coffee Cup with Lilac, Orchid, and Magenta inks. I stamped the coffee layers with Cinnamon and Pecan inks (Color Fuse Set #3). To add shine to the coffee, I used the base layer to stamp on some Versamark ink. I sprinkled on clear embossing powder and heat set it. I fussy cut the cup out, added foam tape to the back, and then adhered it to the card front. I love how the embossing shines on the coffee!
I stamped the sentiment from the set in black ink and die cut it with the smallest Nested Tag Stitch Die. I used a pencil to trace around the outside of the tag die, trimmed it along the pencil lines and then inked the edges with Lavender ink. I adhered it to the sentiment and popped it up with foam tape.

My next card features the beautiful gal from the Coffee Girls Set.

This is a very easy and quick card! I stamped her in Copic safe black ink and colored her with my Copic markers. Then I used the coordinating die to cut her out and added foam tape to the back. I stamped the sentiment in Versamark black ink and trimmed it into a rectangle shape and added foam tape to this too.

For my card base, I chose two pretty patterned papers from the Carta Bella Flora #3 6x6 paper pad. I die cut both papers with the largest Nested Rectangle Stitch die. Then I trimmed the floral paper into a triangle and adhered it to the bottom of the rose colored paper. I added a thin strip of black card stock to the cut edge. Next I adhered the paper to a top-folding A2 card base. I added a few gems here and there for some sparkle!

Thank you so much for stopping by! Be sure to go to Rubbernecker's blog to see more beautiful inspiration from the team!
Here are links to the Rubbernecker products I've used: