Friday, February 2, 2024

You're Simply The Best -- 3D Embossing Folder, Stencils & More

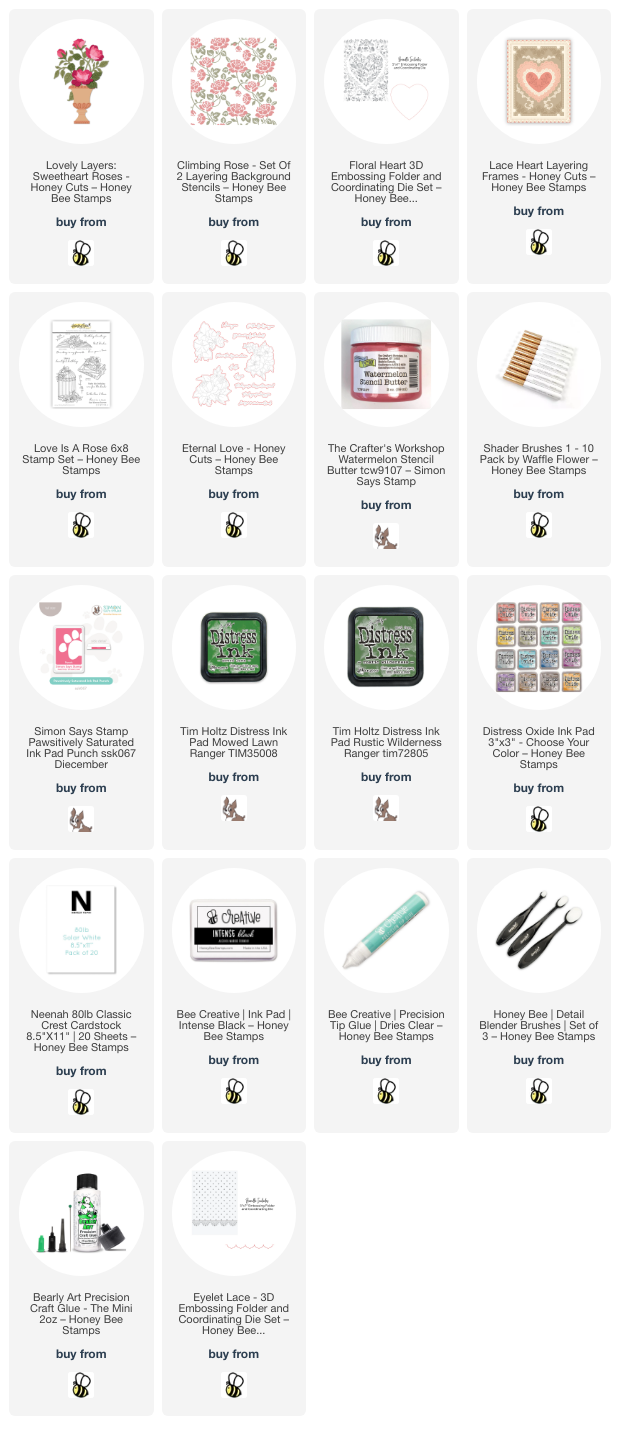
Hello friends!  Today I'm doing a quick post for my card that is part of the Honey Bee Stamps Vintage Love Instagram hop.  I can't even pick a favorite from this release but the Lovely Layers: Sweetheart Roses and the Floral Heart 3D embossing folder are surely amongst the top favorites!

The two new embossing folders in this release are different in that they will embossing a panel for a 5" x 7" card and both have a coordinating die!  Underneath the beautiful stenciled background is a heart that could be die cut with the die that coordinates with the Floral Heart 3D embossing folder.

I hated to cover that heart up, but the stenciled panel I made with the Climbing Rose stencil set makes up for that.  I used some beautiful Stencil Butter for the second layer after coloring the first layer using blender brushes and two green Distress Oxide inks.

You may think that the Lovely Layers: Sweetheart Roses are too fiddly, but I can tell you, the layers are SO worth the bit of extra time it may take to assemble them.  These are absolutely gorgeous!!!  Using the layering guide in the product description is so helpful too.

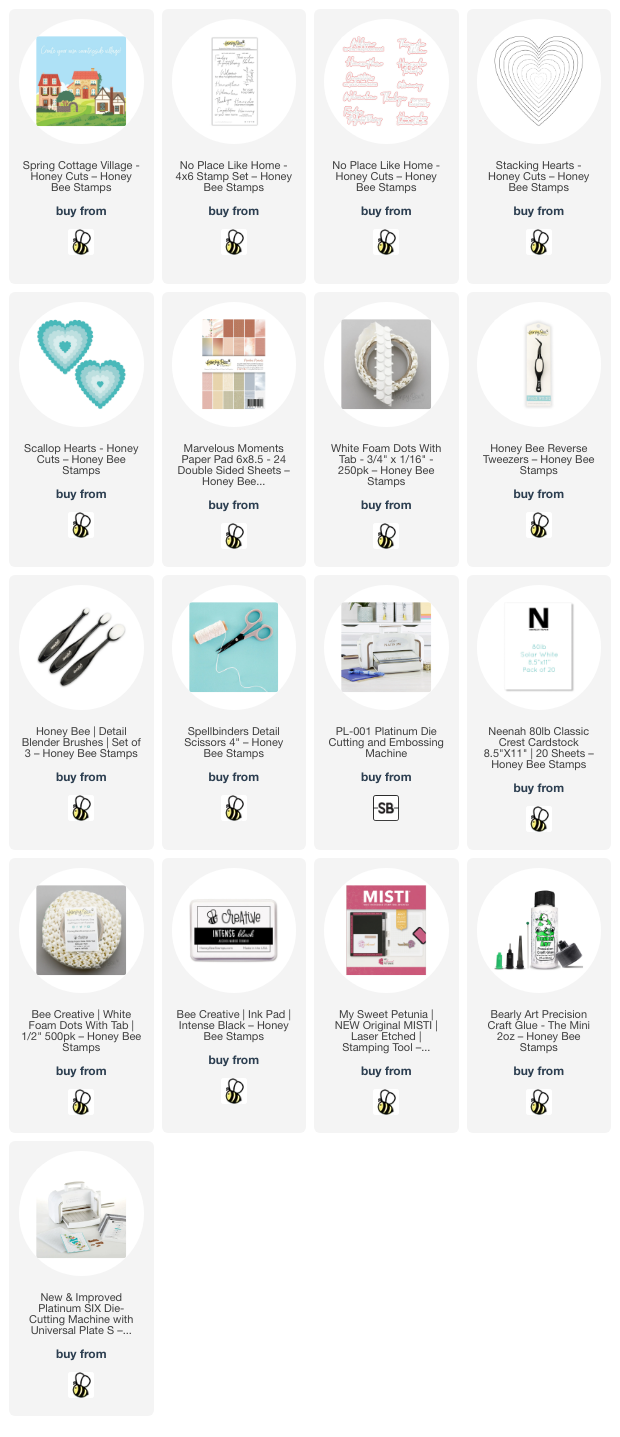
I cut the Sweetheart Roses layers from 80# Neenah and used small ink blending brushes to color them.  Just one shade of pink ink was used here!  I just blended some layers darker than others.  I added foam tape squares behind the top three roses to adhere them to the die cut heart.  This heart is part of the Lace Heart Layering Frames die set.  I love the details around the edges!

Honey Bee is giving away two $50 gift cards to be chosen from commenters on the hop!  I hope you'll join me on my Instagram and hop along with us for lots of amazing inspiration for the Vintage Love release!  

Thank you for using my affiliate links to shop (never any additional cost to you)!

Wednesday, January 31, 2024

Birthday Card Featuring New Lovely Layers: Sweetheart Roses

 Hello crafty friends! Today I'm sharing my card featuring some of the gorgeous new products from Honey Bee Stamps Vintage Love release that is available now!!

This card features the gorgeous Lovely Layers: Sweetheart Roses set along with the Vintage Flora background stamp, the Lovely Layouts: Posted dies, Love Is A Rose stamps (for the sentiment) and the Textiles & Texture: Vintage paper pad. As you can see in the photo background, I've also used some new Vintage Love wax melts and the Rose Stem Wax Stamper to create a pretty seal for the envelope.

First I stamped the Vintage Flora background stamp with light brown ink onto paper from the Textiles & Texture: Vintage paper pad. Then I die cut the piece with a die from the new Lovely Layouts: Posted die set. I set that aside to work on the other card elements.

I die cut the Lovely Layers: Sweetheart Roses from 80# Neenah. Then I used ink blending brushes to color the rose layers and stems with dusty pink ink and some green inks from my stash.

As this was my first time to use these gorgeous dies, I printed the layering guide to assist me in assembling the flower layers with glue. You can view, and download for printing, this layering guide found in the product description.

Next I created my perfectly coordinated ribbon by dying it with the same dusty pink ink I used on the flowers. I smooshed the ink pad onto my craft mat, spritzed the ink with a bit of water, and the pressed the ribbon into the ink. You can repeat the steps until you're happy with it. Then I dried the ribbon with my heat tool by holding it with my reverse tweezers. Be careful to not hold the heat tool too closely to the ribbon so it doesn't scorch!

I tied the ribbon around the Vintage Flora background panel and added foam tape to the back. I adhered it to a coordinating pink A2 card base.

Next I adhered the Sweetheart Roses to the card front with glue. I chose a sentiment from the Love Is A Rose stamp setand stamped it with black ink. I cut it out with the coordinating die and popped it up with foam tape strips.

Next I used the Vintage Love wax melts and the Rose Stem wax stamper to create the seal. Honey Bee has a wax melting spoon and a wax melting furnace in their shop to create these pretty seals with.  I actually use my heat tool to melt the wax in the spoon--I'm kind of impatient.  LOL!   I really like to use this silicone mat when making seals as it is extra thick and you can pour the hot wax onto it and set the hot spoon on it to protect your crafting surface.

This was the first time I tried this two-tone seal. I saw someone on Instagram make them this way and have been wanting to try it. Your wax stamper needs to be very warm and then you pour the melted wax from the spoon directly into the rose portion. Having it warm allows you to use a straight edge to scrape off the excess and level it to just leave wax in the rose. Then melt another color, pour it onto your surface and press the stamper into the wax. Wait a half minute or so and you will have a beautiful two-color seal!

Be sure to check out all of the other beautiful new products of the Vintage Love release over on Honey Bee's website.  Thanks so much for stopping by!

Thank you for using my affiliate links to shop (never any additional cost to you)!

Sunday, January 28, 2024

Only In The Darkness Can You See The Stars -- with Pear Blossom's EZ-Lights

I'm back as a guest on the Pear Blossom Press blog with this night scene light-up card!  I have all of the specific details to make this beautiful card over on their blog and hope you will join me there!

I have wanted to make a night scene card with Pear Blossom's EZ-Lights Twinkle since I first saw the lights!  I thought this Mountain Circlescape die set by Honey Bee Stamps was perfect for my scene.

You may think it's too complicated to make a light-up card, but I promise if you make one, you will find out that it's not hard at all!

These next two photos show my planning process for where to place the battery pack of the lights.  As I mentioned, all of the details over at Pear Blossom.

I must mention the World's Best Foam Tape by Pear Blossom.  It truly is amazing!!!  You really can pull off the layer to reposition it!  (The packaging says within 30 minutes.)  I did need to that, and it came right off.  I would love this foam tape in a regular depth--I can wish!!


In my Instagram post, you can slide through the photos to see a short video of the lights.  It's so pretty when lit up!


After holding the button, the lights begin to alternate lighting up to look like twinkle lights!

I absolutely love this sentiment which I perfect for my card!

Thank yo so much for stopping by!  Please click over to the Pear Blossom blog to check out my post.  I'd love for you to leave me a comment if you do!  Have a wonderful and crafty week!

Thank you for shopping with my affiliate links (never any additional cost to you)!

Saturday, January 27, 2024

Beautiful Cosmos Backdrop Press Plate & New Wax Bead Colors

Hello friends!  Have you jumped on the BetterPress Letter Press train?  Well, it's been a minute since I've had mine out, and let me tell you, creating these cards reminded me of why I love it!!!  The new Spellbinders Cosmos Backdrop BettterPress Press Plates with the coordinating coloring stencils are just absolutely beautiful!!!

I've combined both Cosmos Backdrop cards with the Sealed Cord & Faux Seal Sentiments BetterPress Press Plates and Die set in two different ways here.  The sharp and crisp image impressions you get with the Press Plates is just amazing!

First I cut a strip of masking paper to 1-½" x 4-¼".  I placed it across the center of a Porcelain Cotton Card panel.  I used removable tape to adhere the piece to the Platen (clear top plate).  Then I placed the Cosmos Backdrop onto the magnetic Chase platform and inked it up with BetterPress Black Ink.

Please note:  After running this through my Platinum die cutting machine, the masking paper was really, really stuck to the cotton card!  In all honesty, I had to use Un-Do to get it off!!!  Did you know this product will remove anything adhered with sticky adhesive (not liquid glue), without damaging the image?!!  Next time I will just use a strip of thin printer paper!

I repeated the steps with the Sealed Cord and purple dye ink to impress the image into the area that was masked.  Yes!!  The ordinary die ink worked!!!  The Sealed Cord also includes six sentiment press plates and I pressed one with purple ink.  I cut it out with the included circle die.

I really was curious about how the ink blending with the stencils would work with the Cotton Card.  It is a specialty cardstock that impresses beautifully with the Press Plates.  I used ink blending brushes and a few shades of purple and green inks through each layer of the stencils that come with the bundled Cosmos Backdrop set.

At first I thought that the inks blended pretty good, if not totally smooth.  However, after the ink settled into the paper and dried, I couldn't believe how smooth the blends looked!!!  My photos are NOT retouched at all.

As you can see from the photos, I created a few different wax seals with the new Purple Wax Bead Mix.  I adhered the die cut pressed sentiment into the center of one of the wax seals with an Adhesive Circle.

Here are a couple of process photos for you:

I really like how you can see the de-bossing of the press plate in the area that was masked.

Now for the details of my second card!

For my second card with the Cosmos Backdrop Press Plate I inked up the Press Plate with a gold pigment ink.  On a separate piece of Porcelain Cotton Card I pressed the Sealed Cord with the gold ink.  I used my scissors to cut it out and set it aside.

For this card I used three shades of teal ink and some green inks to color the Cosmos Backdrop through the stencils.

Another new wax mix is the Teal Wax Bead Mix.  I had fun experimenting with the various colors in this mix.  I chose this one pressed with the Sweet Happy Birthday wax seal stamp--I really like how the two colors are kind of separate here!  I used a silver metallic marker to go over the details of the wax seal to make them stand out more.

Thank you so much for stopping by today!  I your weekend is filled with lots of crafty fun!

Thank you for shopping with my affiliate links (never any additional cost to you)!

Thursday, January 25, 2024

Using Oversized Dies On Cards -- Hooray Die by Picket Fence Studios

 Happy Thursday crafty friends!  Today I'm sharing my reel over on Instagram showing how I made this super fun card featuring Picket Fence Studios Hooray Word die!

All of the products I used are in the list below--just click the link to check it out!  I used three shades of pink ink for the Birthday Confetti stamp.  I was able to easily blend the ink onto the stamp by using the fabulous Paper Pouncers!

I die cut the stamped Birthday Confetti piece with the Hooray Word die.  What I really like about the oversized Hooray Word die is that 1) it makes a super quick card; and 2) just change the colors to create a quick and easy masculine card!

The sentiment from the Lick The Bowl stamp set works perfectly, I think.

I added some Iridescent Moonstone sequins for a bit of subtle sparkle.  Again, easily change it up for a guy's card.

I hope you will check out my Instagram Reel and leave me a comment over there.  Have a wonderful and crafty day!

Thank you for shopping my affiliate links (never any additional cost to you)!

Wednesday, January 24, 2024

Hearts, Home, & Patterned Paper Card

 Hello crafty friends!! While we await the new Vintage Love release from Honey Bee Stamps on January 31, it gives me the chance to pull out previously released favorite sets to create with. Today my card is all about heart and home and features the Spring Cottage Village dies and No Place Like Home sentiments.

Often, when I am using products that I've used before, I like to try to think of something different to do. This time I used a sheet of beautiful paper from the Marvelous Moments paper pad. I chose the paper that has a flower border around three sides. I trimmed one end of the paper to 4-¼" x 5-½" and glued it to an A2 card base. My "something different" is to use my scissors to trim around the flowers of the remaining piece of the paper. When I had it all trimmed, I added thin foam dots to the flower border and adhered it in the bottom left corner of the card.

Next I chose a cottage from the Spring Cottage Village dies and cut the pieces from 80# Neenah. I used various inks in my stash that coordinate with the patterned paper colors to color the cottage elements. I used glue with a fine tip, and my reverse tweezers, to assemble the cottage.

I die cut a Stacking Hearts die from 80# Neenah and used removable tape to mask off the bottom so I could add green ink with a blender brush. Before I removed the mask, I added ink splatters in the same green ink diluted with a drop or two of water. Then I masked off the green and repeated the steps with blue ink.

I used glue to adhere the cottage and tree to the ink blended heart. Next I chose a coordinating solid paper in the Marvelous Moments paper pad and die cut a Scallop Hearts from it. I glued it to the card base and the other heart on top with foam dots.

The sentiment from the No Place Like Home set is stamped in black ink and die cut with the coordinating die.

Have you ever trimmed part of your patterned paper to pop up on your card? This was my first time, and I really like the look and hope you do too! Thank you so much for stopping by today! I hope you have a wonderful and crafty day!

Thank you so much for using my affiliate links to shop (never any additional cost to you)!

Saturday, January 20, 2024

Fill Your Card with Fresh Picked Anemones

So say that I am wow'ed by this Fresh Picked Anemones set is an understatement!!  The card-front-filling size of these beautiful dies by Spellbinders really creates a gorgeous card.  

These two cards featuring the Fresh Picked Anemones have all of the same colored cardstocks.  To create two different looks I just die cut the elements out of different colors each time.  I've linked all available cardstocks and inks I used below.

After I die cut the leaves and flower pieces, I used ink blending brushes and shades of ink that were darker than the cardstock to add some depth.

For the background of both cards I used the January Embossing Folder of the Month called Branching Out.  These monthly clubs really are a good bargain, and can be cancelled at any time.

The sentiments are from the Fresh Picked Sentiments die set.  This set includes nine different words to use for a variety of card occasions!

I offset the sentiments with another die cut of a different color.  I think this helps it to stand out from the rest of the card.  I cut pieces of narrow foam tape for both sentiments to pop them up onto the card.

Honesty, I'm not sure which of these color combinations is my favorite!  Do you have a favorite?  Let me know in the comments below.

I absolutely love the oversized size of these Fresh Picked Anemones!  Be sure to check out the other sets available in the Fresh Picked Collection.  Thank you so much for stopping by!  I hope you have a wonderful weekend!

Thank you for using my affiliate links to shop (never any additional cost to you)!