Next I trimmed the stenciled panel 4” x 5-½”. Then I die cut the hat and present from the leftover strip with the coordinating It’s A Party Honey Cuts.
For the panel to lay flat in the new Bee Creative A2 Shaker Pocket, I trimmed just a bit more of the top and one side of the stenciled piece. Then I removed the protective film from the shaker pocket and placed the panel face down onto the pocket. Next I removed the adhesive backing from the bottom and sides of the pocket and pressed the tabs over into the card panel.
Use your bone folder, if needed, to firmly press the tabs down and crease the fold. Then I poured in some pretty sequins from my stash through the top opening and sealed the top tab. I used ¼" double-sided Sticky Red Tape to adhere the shaker to my A2 card base.
I die cut the top layer of the Big Birthday die from white cardstock three times. I colored one of the layers with Peacock Feathers Distress Oxide ink using a blender brush . I die cut two more from white cardstock and layered them all together with glue. Then I glued the stack to the shadow. I added red tape to the back to adhere it to card front.
I chose this sub sentiment from the Mini Messages: Sassy Birthday stamp set to go along with the Big Birthday die. I think this sentiment is so funny with this large die cut! After I stamped it in black ink I used my paper trimmer to cut it into a strip. I adhered it with some foam strips. The extra party hat and gift are adhere with foam.
I sure hope you've enjoyed my shaker card making process today! Thank you so much for stopping by. Have a wonderful and crafty week!
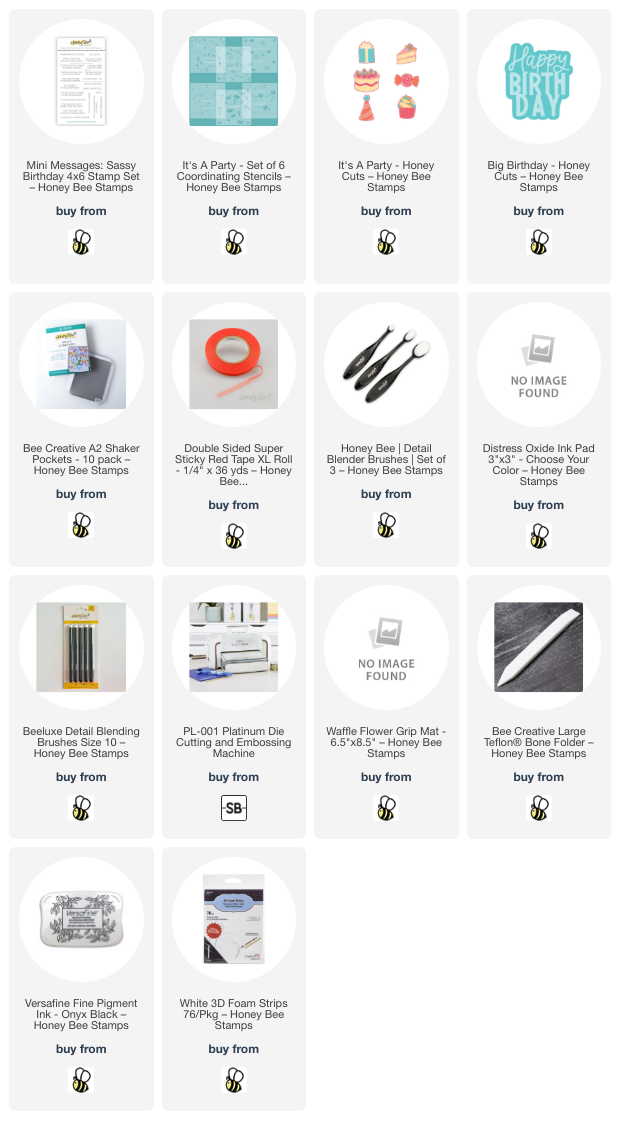
Thank you so much for shopping with my affiliate links (never any additional cost to you)!


No comments:
Post a Comment
Thank you so much for using my product links to shop. Some of the product links I've provided may have what is called an "affiliate" link. By using my links to purchase products, I may earn a bit of a commission, at absolutely no additional cost for you. Thank you for supporting my blog.