
Hello friends! Today I'm sharing this fun light-up card I made as part of a collaboration with Picket Fence Studios and Pear Blossom Press. We are having an Instagram hop and each company will give away a $25 gift card to a randomly chosen commenter!
I made this card with Picket Fence Studios' adorable Home For The Bees stamp set and one of Pear Blossom Press's EZ-Light.

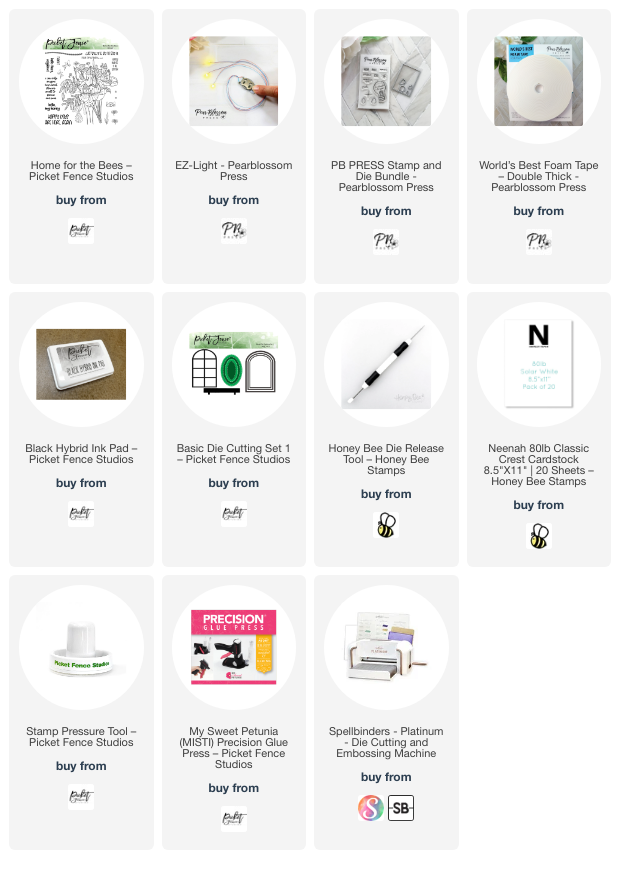
I stamped the Home For The Bees image onto white cardstock with Picket Fence's Black Hybrid Ink. Then I used an assortment of Copic markers to color it. I colored the flowers with these markers: RV69, RV66, RV17, RV55, R83, R81. The leaves were colored with a ridiculous number of YG and G markers--LOL. For the bee house roofs, I used a yellow colored pencil and a black Micron pen. These was much easier than trying to use my markers! I also used a green pencil on some of the thinner stems.
I wanted to make a shaped card with the arched dies from the Basic Die Cutting Die Set 1. But let me tell you, after I spent the time coloring the image, I was pretty nervous to cut into it like this!! What if I messed it up?!!

Thank goodness it worked out just fine! After I used the largest arched die to cut a folded card base I glued on the outer piece of the die cut image and began to plan the placement of the EZ-Light.

I stamped the tiny "press here" stamp in a light gray ink in the lower right corner, as you can see in the photo above. This is in Pear Blossom's Stamp and Die Bundle. Then I used my die pick tool to poke a hole in three of the windows. I placed the piece over the card and made a pencil mark through the holes to indicate where I will need to tape down the lights.
After I inserted the battery into the battery pack and tested it, I added a piece of red line double sided tape to the back of it to adhere the pack to the card. Then I taped the lights where the pencil marks are. I added pieces of Pear Blossom's Worlds Best Foam Tape. It REALLY is the BEST as the tape is temporary for about 30 minutes which allows you to get perfect placement of anything you put onto it!

I removed the backing from the tape and placed the die cut image onto the card. Take a look at how pretty it looks all lit up!

I have a short video included in my Instagram post showing the lights in action, if you'd like to check it out.

I stamped one of the sentiments from the Home For The Bees stamp set and trimmed it into a strip. I added thin foam squares to the back to adhere it to the card.

Have I inspired you to try making your own light up card? These are so fun and will be a surprise to your recipient too. I hope you will join my over on Instagram for the hop. You will see so many awesome light up cards!
Thank you so much for using my affiliate links to shop (never any additional cost to you)!
What an amazing and pretty card, Carol! I love the lights, though I haven't played with any due to the cost but it seems these are less expensive than I've seen before. I love your light-up cards!
ReplyDelete