Next I die cut the bell pieces of the Layering Holiday Bells Honey Cuts from 80# Neenah. (Be sure to check out the downloadable layering guide in the product description.) The center piece of the bells, the ringer, and berries are die cut from some white glitter cardstock from my stash. I also die cut six of the mistletoe leaves and one of the berry clusters that are in the Lovely Layers: Winter Greenery Honey Cuts.
I used my blending brushes and the Distress Inks again to color the bells and leaves green with the same Distress Inks. I kept going over them until I had the shading the way I wanted.
I added foam tape to the back of the stenciled piece and adhered it to an A2 card base. Next I played around with the arrangement of the leaves and bells. When I had the pieces arranged I picked them up with a piece of Press N Seal and added dots of glue to the back of the leaves. I laid the Press N Seal back down to adhere the leaves to the card.
I used thin foam tape on the bells to pop them up a bit. I topped the bells with a red die cut bow (also in the Layering Holiday Bells set).
Next I stamped the sentiment from the Jingle All The Way stamp set with Lumberjack Plaid Distress Oxide ink. I added some clear embossing powder to it and then heat set it. I cut the sentiment out with the coordinating die. A thin foam strip pops it up onto the card!
I love the bright green color with the pops of red on my card and hope you do too! If you are in the States, I'm sending wishes to you for a very happy Thanksgiving! And to all, happy crafting!! Thank you for stopping by today!
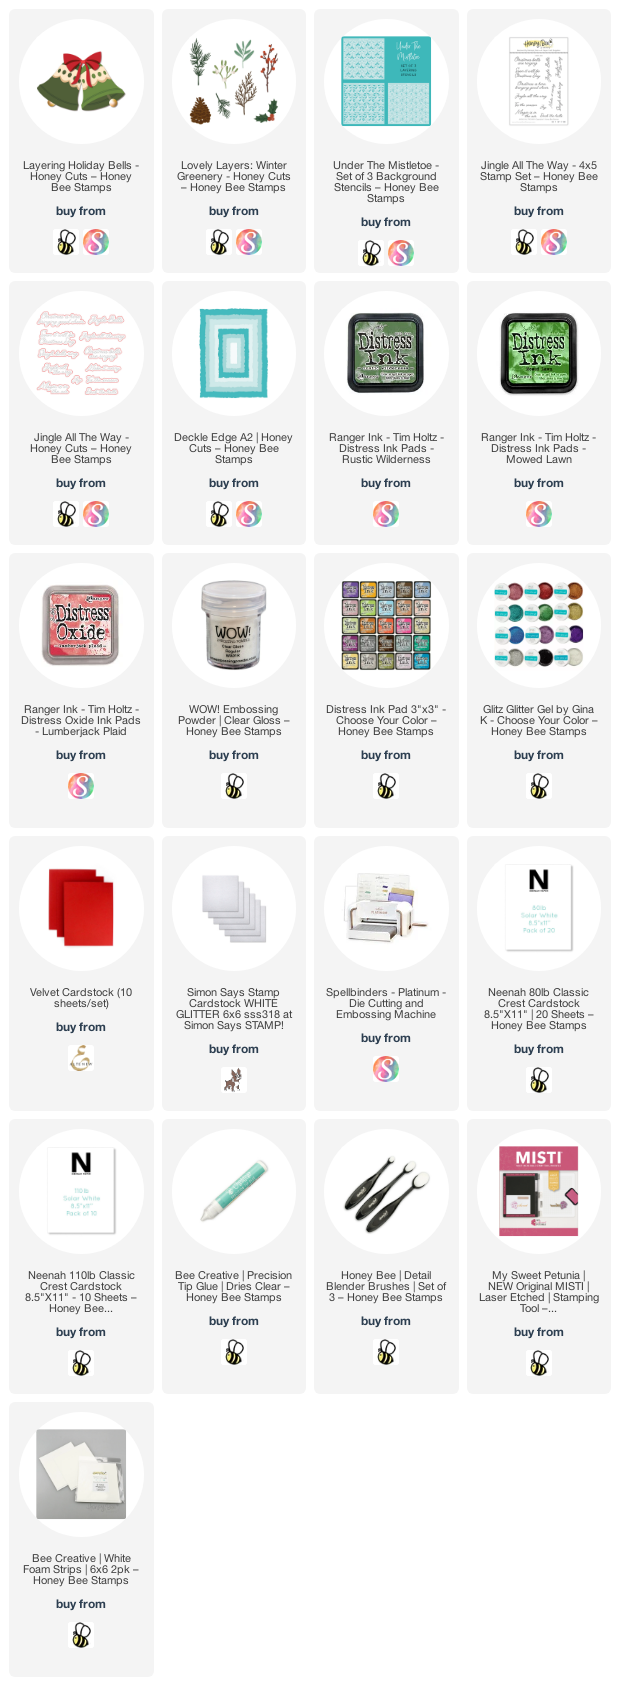
Thank you for using my affiliate links to shop (never any additional cost to you).


Really pretty, Carol! Love the colors and all the elements -- perfection. Happy Thanksgiving
ReplyDeleteCarol these bells are gorgeous! I started my Christmas cards this afternoon after the dishwasher was loaded. Love this set, beautiful job. Hope your Thanksgiving was wonderful.
ReplyDelete