Happy December, and happy Simon Says Stamp DieCember®!!!! Simon's release this month is all about the dies! I'm thrilled to be a part of Simon's Blog Party to celebrate all the wonderful new dies! Check out the list of designers over at Simon Says Stamp Blog.
I had lots of ink smooshing fun with this beautiful new Whirl Fancy Leaf die! See the "shadow" prints in the background? I made those with one of the die cuts! Read on for details.
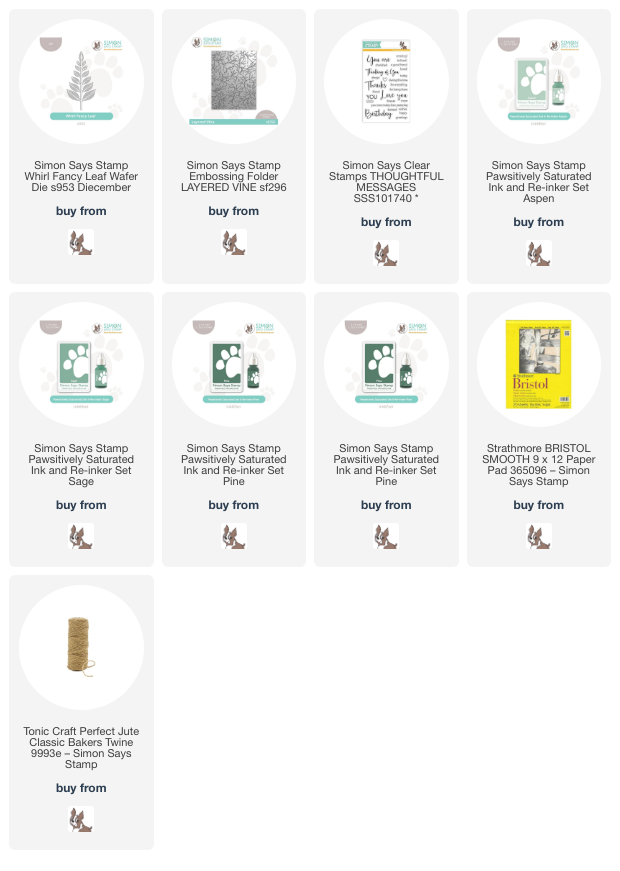
First I die cut Whirl Fancy Leaf die from Bristol Smooth cardstock five times. I will usually die cut extra in case I need them. I used three shades of Pawsitively Saturated Inks for my ink smooshing--Aspen, Sage, and Pine. I smooshed each ink pad onto my silicone craft mat and added a few spritzes of water to the inks.
Then I dipped each die cut into the inks, using my heat tool between each color to dry. I accidentally got one of the die cuts with way too much ink on it. So I just pressed it onto a scrap piece of paper to try to remove some of the ink. To my delight, I discovered that this is a way to "stamp" shadows of the die cut onto my background!
So I pulled out another piece of Bristol Smooth cardstock to plan and "stamp" the leaf shadows for a background. Note: wear disposable gloves if you are averse to having stained fingers!
When all of the pieces were dry, I ran the "stamped" background through my die cutting machine with the Layered Vine embossing folder. I trimmed the piece to 4-¼" x 4-½" and adhered it to an A2 card base. After I glued the embossed piece to my card, I inked up a narrow strip of white cardstock with Sage ink and then adhered it at the bottom edge of the panel.
I stamped the sentiment from the Thoughtful Messages stamp set in black ink at the bottom of the card base.
I used glue to adhere three of the Whirl Fancy Leaf die cuts to the card. To finish it off, I added a bow of twine and a few enamel dots.
This super fun to make and I hope I've inspired you with my card! Thanks so much for stopping by!


Lovely! I like the simple elegance.
ReplyDeleteThe simplicity of this makes if gorgeous!
ReplyDeleteSimply elegant. Love the green on so much beautiful white space!
ReplyDeleteThis card is everything elegant!
ReplyDeleteSimply beautiful, the embossing is beautiful!
ReplyDelete