
Hello crafty friends! Have you ever made a card with a clear acetate base? Today I'm sharing how I made my clear acetate card featuring the beautiful Anchor of Hope stamps and coordinating dies!

I began by assembling the elements for the clear card base. First I stamped the image from the Anchor of Hope stamp set with Copic marker safe black ink. Then I used Copic markers to color it. Next I cut it out with the coordinating Anchor of Hope die. I die cut white cardstock with the same shell die three more times.
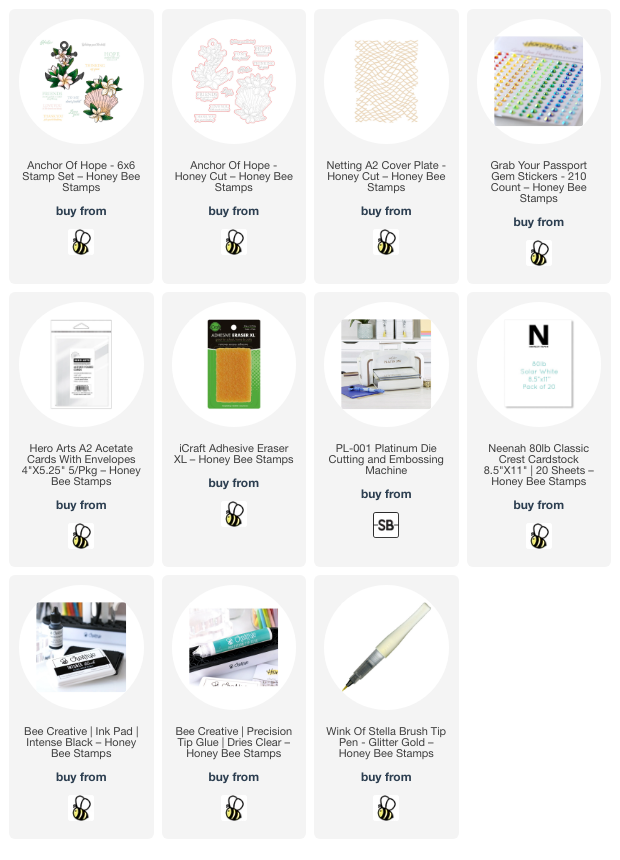
I chose a very light shade of coral cardstock and die cut the Netting A2 Cover Plate from it twice.
Next I stamped two sentiment from the Anchor of Hope stamp set in a coral color ink. I cut them out with the coordinating dies.

The card base is one of these pre-folded acetate A2 cards. First I added tiny drops of glue to the back of one of the A2 Netting die cuts. I placed it at an angle on the acetate card base and then trimmed off the overhang. Next I added dots of glue to the front of the other Netting die cut. I adhered this on the front inside of the card making sure to line it up with the Netting on the front. Again, I trimmed off the excess.
Next I glued the Copic colored shell image to the front. Then I glued another of the white shell die cuts on the inside back. To easily line up the shell die cut on the inside (to use for your message), add a bit of removable adhesive to the inside front shell. Next, place another shell die cut on this, face down. Add glue to the back of the shell and close the back acetate over it. Allow plenty of drying time and open the card, using an adhesive eraser to take off the temporary adhesive.
Here's a photo of the inside for a visual of the above directions. I glued the last shell die cut on the back of the card to hide the glue.

I used glue to adhere both of the sentiments to the front of the card.

I added a bit of sparkle with a Wink of Stella pen and some gems from the Grab Your Passport gem stickers.

This is really an easy card to make, and I hope I've inspired you to give it a try! If you have any questions, please be sure to drop it in the comments. Thank you for stopping by!
Thank you so much for using my affiliate links to shop (never any additional cost to you)!
Beautiful! This is the second acetate card I've seen recently, but I have not ventured into them... maybe it's a message!
ReplyDelete