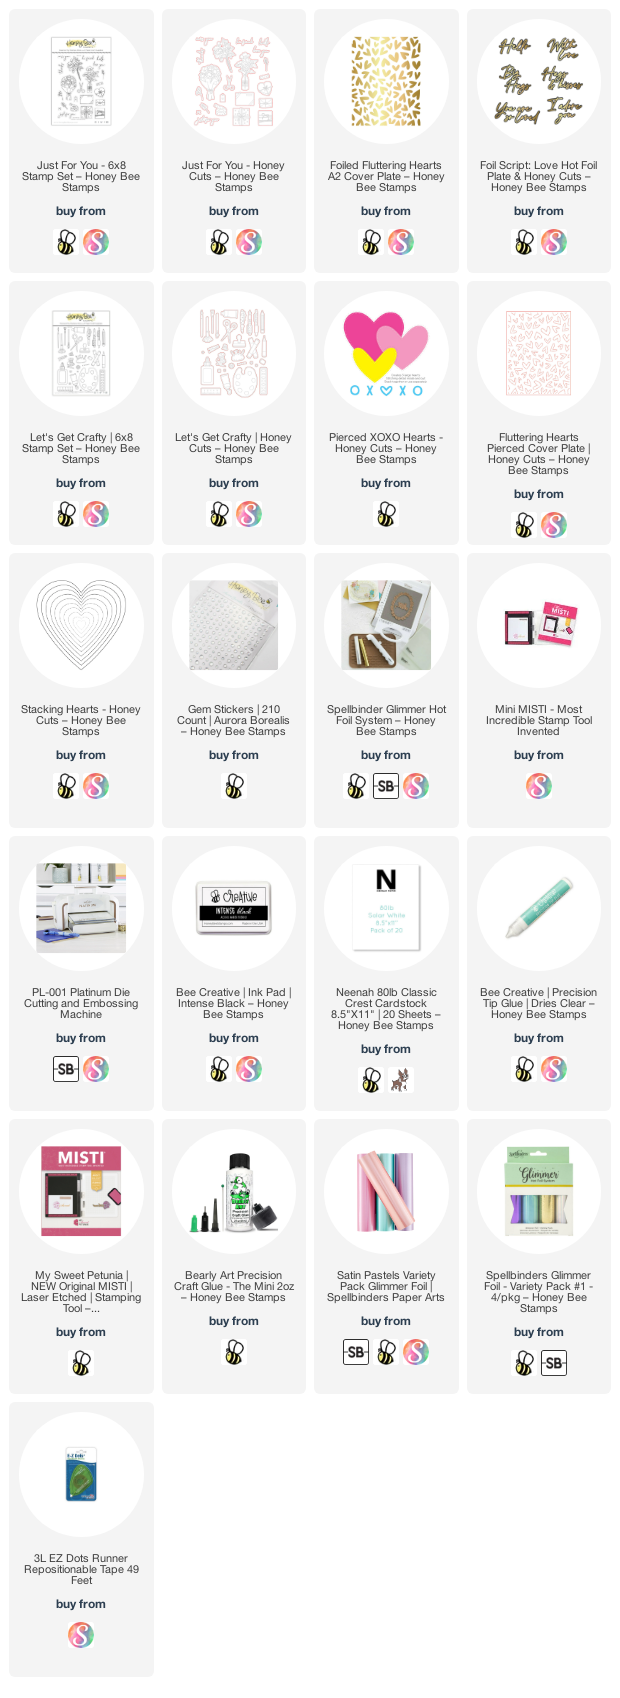
Happy 1st of February my friends! Today I'm sharing a fun card featuring some elements from several new sets including the Just For You stamps and coordinating Honey Cuts, and the Foil Script: Love, and Foiled Fluttering Hearts A2 Cover Plate hot foil plates. I've added in more elements from previously released products to create this sweet card that's perfect for sending to a special crafty friend!
First I stamped images from the Just For You and the Let's Get Crafty set with Intense Black ink. Then I used some Copic markers to color them. Next I cut the images out with the coordinating dies from the Just For You and the Let's Get Crafty Honey Cuts.
To create the heart with the images looking like they are part of the heart, I first took the third largest Stacking Heart die, placed it on some 80# Neenah and traced around it with a pencil. Then I added strips of respositionable adhesive. I began by adding the images of the crafty items around the heart making sure to let several of them hang off the edges. Then I filled in with the small floral images. The next photo is of my first arrangement.
As you can see from my final photos, I snipped the stems from some of the floral pieces to have them appear to be tucked behind the larger images. Make sure to have plenty of images around the edge of the heart to make it more visually appealing! Next I took the same Stacking Heart die and placed it over the pencil line and ran it through my die cutting machine. I used an adhesive eraser to remove any visible adhesive. (You could eliminate this step by adding your repositionable tape just to the back of the images.)
Then I carefully lifted up the images of the craft items with my die release tool. (They will be firmly adhered because of the die cutting process, but still removable.) I added foam tape to the back of them and put them back onto the heart. This adds so much most dimension!
Next I created my background layer by using some Mint Pastel Glimmer Foil and the new Foiled Fluttering Hearts A2 Cover Plate hot foil plate. I used my Glimmer Hot Foil System to add the foil to an A2 sized piece of teal cardstock. For the piercing around the hearts, I ran the foiled panel through my die cutting machine with the Fluttering Hearts Pierced Cover Plate.
I used Moon Dust Glimmer Foil for the sentiment from the Foil Script: Love set. I used the included coordinating die to cut out the foiled sentiment and some teal cardstock. I used Bee Creative glue to adhere the foiled sentiment to the teal die cut by placing it slightly offset.
I added foam tape to the back of the heart and the sentiment to pop it up onto the card base. I realized I wanted a little something just to the right of the sentiment. So I remembered this cute little open heart die from the Pierced XOXO Hearts! I die cut it six times from teal cardstock and adhered the layers with glue to create two hearts. I glued them to the card and added sparkle to them with a clear glitter pen.
For a bit more sparkle, I added some Aurora Borealis gem stickers in some of the open spots on the heart.
You can use this technique with any of your basic shaped dies! There are so many possibilities and I hope I've inspired you to give this a try! Thank you so much for stopping by today!
I so appreciate it if you choose to use my affiliate links for shopping (never any additional cost to you).


What a fun card! Lots of details, and so many little details
ReplyDeleteCarol this is sure cute! I love that foil plate for the background. Plus all of our favorite tools...super fun for a special crafty friend. Love it!
ReplyDelete