Pages

Tuesday, June 28, 2022

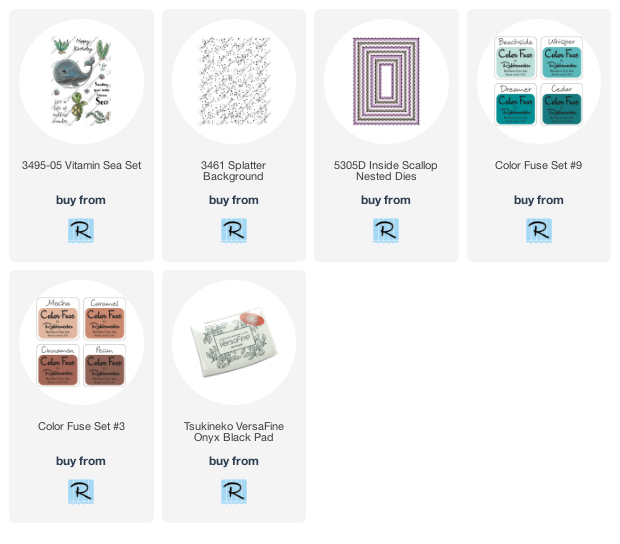
Sending You Some Vitamin Sea Infinity Shaker Card

Today I have a super cute card featuring Rubbernecker Stamps adorable Vitamin Sea Set!  I've created this sparkly infinity edge shaker card for even more fun!!

Here are the steps for the shaker portion:

  • Use ink blender brushes and Color Fuse #9 inks with the Wavy stencil to create an "ocean like" background.  Stencil the darkest color at the bottom of an A2 card panel, working up to the lightest shade at the top.  (Pixie Spray on the back of the stencil will hold it in place.)
  • Trim about 1/8" off of one side and the top or bottom of the stenciled piece.  This will allow the panel to lay flat in the shaker pocket.
  • Place the stenciled piece in the shaker pocket.  Remove the adhesive backer from both sides and the bottom.  Fold over to adhere.  These A2 Shaker Pockets make it SO easy to create shaker cards!
  • Pour in the shaker bits (however much, or little, you want) and fold the top flap over to adhere.
  • Add strong double-sided adhesive to the back of the shaker and adhere to an A2 card base.

The card details:

  • Stamp the images from the Vitamin Sea set in Copic safe ink.  Color all of the images.  I used these Copic colors:  whale: C5, C3, C1, W3, W1; turtle: G99, G46, YG63, G94, G43; sea plants: G07, YG17, YG25, YG03, E57, E31.
  • Fussy cut the images.
  • Create a "sandy" sea floor by coloring a strip of scrap cardstock with E31 Copic marker.
  • Ink up the Splatter Background stamp set with Pecan ink (Color Fuse Set #3).  Randomly stamp it over the strip for a look of sand.
  • Trim the sand strip to 4-¼" and use liquid glue to adhere to the card.
  • Stamp the sentiment from the Vitamin Sea set in Versafine black ink.  Use a Nested Inside Scallop die to cut it out.  First place the top of the die near the top of the sentiment.  Run it through your die cutting machine.  Reposition the die by lining up the scallops on the edge with the bottom edge of the die near the bottom of the sentiment.  Die cut it.
  • Adhere the sentiment and all of the images to the shaker with liquid glue.
  • Adhere a few crystal dew drops above the turtle to emulate air bubbles.

Thanks so much for stopping by!  Have a wonderful, and crafty, week!

Wednesday, June 22, 2022

Get Well Card Featuring Lovely Layers: Wildflowers

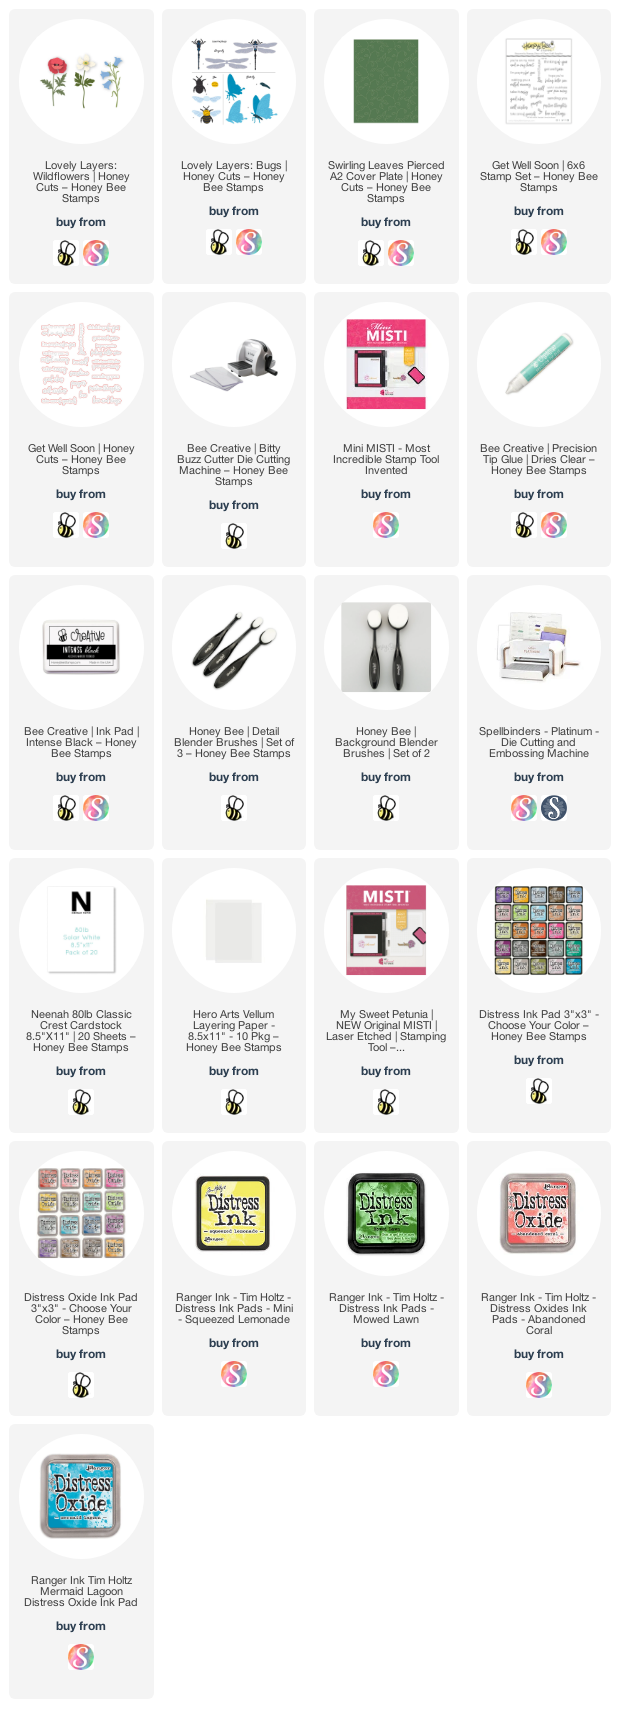
Today I'm sharing a sweet get well card where I've featured the Lovely Layers: Wildflowers and the bee from the Lovely Layers: Bugs. This was a quick, and easy, card to make, and a good type of card to have on hand!

First I die cut the Swirling Leaves Pierced A2 Cover Plate from 80# Neenah. I trimmed it to 4" x 5-¼" and adhered it to an A2 card base with foam tape. I love the subtle detail this creates for a background!

Next I pulled out some colored cardstock scraps and die cut (using the new Bitty Buzz Cutter) the Lovely Layers: Wildflowers and the bee from Lovely Layers: Bugs.  The Bitty Buzz Cutter is the cute little die cutter I didn't realize I need! It's so convenient to have right by my main crafting space! 

I used some Detail Blender Brushes to add Distress Inks and Oxides Inks for shading on the flowers and greenery. I used Mowed Lawn and Squeezed Lemonade Distress Ink. The Distress Oxide colors are Abandoned Coral and Peacock Feathers. You may be wondering why I used Distress ink and Oxide ink--well, honestly, I didn't even notice that I did until I began writing this post! LOL!

I assembled the flowers by following the layering guide that you can download using the link in the product description. I used Bee Creative glue to adhere the pieces together. I also used the glue and some foam dots to adhere the pieces to my card.

I used my black Copic marker to color in the stripes of the bee. Then I used a black Micron 005 pen to add little fuzzy lines. I die cut the wings from vellum, then added sparkle with a clear glitter pen. I used a small foam dot to adhered the small bee body piece and then more foam dots to pop him up on the card.

I stamped the sentiment from the Get Well Soon stamp set in black ink. I pulled out the coordinating Honey Cut to die cut the sentiment and popped it up with foam strips.

Thanks so much for stopping by today!  Have a wonderful day!

Links to products I've used for my card:  

Tuesday, June 21, 2022

Altenew June 2022 Fine & Dandy Collection Release Blog Hop + Giveaway ($300 in total prizes)

Welcome to Altenew's blog hop celebrating the awesome Fine & Dandy Collection release!  You should have arrived here from the amazing blog of Jenny Colacicco.  If you need to start at the beginning, head on over to the Altenew Card Blog.

Check out all of these fabulous new products!  The new brushed metallic cardstock is now my favorite too!  Check it all out in the Altenew shop!

This is such an amazing release!  I've made five cards to share today, and so that my blog post isn't ridiculously long, I'll be listing the products and ink colors I've used along with just a few details.  If you have a question, please feel free to use the "contact me" form in the left column of my blog.

This first card features the beautiful Charming Foliage die set.  The flower layers are created with Cherry Blossom and Green Meadows Gradient cardstock, and Pink Brilliance Glitter cardstock.

The background was made with the Fine Tulle background stencil and Spun Sugar Distress Oxide ink.

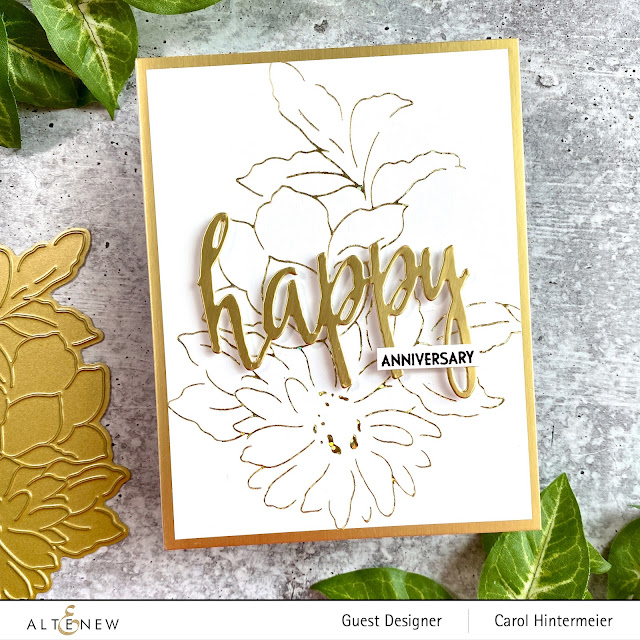
Next up is my card where I've used the new Delightful Flowers Hot Foil Plate.  Also available is the Delightful Flowers Layering Stencil Set and a bundled set that includes both sets!

I chose to let the hot foiling be the star here!  Also, isn't the subtle shine of the new Brushed Gold Metallic cardstock fabulous?  I used it to die cut the Happy Die.

I've also used the Brushed Gold Metallic cardstock for my mat layer.  The Delightful Flowers Hot Foil Plate is foiled with gold foil.  I love the elegant look of this card!

This next card has lots of fun sparkle and shine.  I think there are so many ways to use this Exquisite Marble hot foil plate in your cards!

I used pink foil with the Exquisite Marble hot foil plate.  I die cut the Happy Birthday Die sentiment with Pink Brilliance glitter cardstock and used the new Brushed Silver Metallic card stock for the mat layer and some of the greenery sprigs from the Charming Foliage die set.

I added an offset layer to the sentiment with the Brushed Silver cardstock too!

Next up is my card that features the gorgeous Freesia Hot Foil Plate, Freesia Simple Coloring stencil, and the Freesia die.  Get it all in the Bundle!

I know it doesn't show in the photos, but yes, the Freesia is hot foiled!  I used a black foil and it's just gorgeous in real life!  I used these Crisp Die inks to color the flower:  Parrot, Olive, Moss, Sunray, Chamomile, and Snapdragon.

I used the Dreamy Tiles 3D embossing folder for my card layer.  The sentiment is die cut from glossy black cardstock with the Fancy Thanks die.  This is such a stunning card, but so very quick and easy to make!

Last, but not least is my card where I've used the Oriental Poppy Outline Stamp & Die set bundle.  You can get these bundled with the Simple Coloring Stencil set that I've also used.  The gorgeous background features the beautiful Peaceful Poppies 3D embossing folder.  I love Altenew's embossing folders!!

First, I embossed an A2 piece of white cardstock with the Peaceful Poppies 3D embossing folder for my background layer.

I used the coordinating Simple Coloring Stencils and ink blending brushes to color the flowers and leaves.  I used inks in the Tea Party Crisp dye ink cube set.  The leaves are Grass Field and Shadow Creek inks.

I added one of the several lovely sentiments to choose from in the Oriental Poppy Outline set after I heat embossed in gold embossing powder.

I sure hope you've been inspired by my cards here today!  This is such a beautiful collection!  Be sure to leave a comment here before heading to the next stop on the blog hop.

Head on over to the next stop which is the blog of super talented Laurie Willison!

Giveaway Prizes

$300 in total prizes! To celebrate this release, Altenew is giving away a $50 gift certificate to 2 lucky winners and a $25 gift certificate to 8 winners! Please leave a comment on the Altenew Card Blog and/or each designer’s blog post on the blog hop list below by 06/27/2022 for a chance to win. 

Altenew will draw 10 random winners from the comments left on each stop of this blog hop and announce the winners on the Altenew Winners Page on 06/29/2022.


Blog Hop Order:

Altenew Blog

Terri Koszler

Cheryl Espie

Nathalie DeSousa

LauraJane

Therese Calvird

Mindy Eggen

Virginia Lu

Jenny Colacicco

Carol Hintermeier <<< that's me!

Laurie Willison

Linda Westfall

Emily Midgett

Nenette S. Madero

Reiko Tsuchida ***Note: Due to strict regulations in Japan, you might not be able to leave a comment on her blog post.

Dana Joy

Maryam Perez

Colleen Balija

Erum Tasneem

Bridget Casey

Agnieszka MaƂyszek

Natasha Davies

Amy Hill

Thursday, June 16, 2022

Spellbinders' The Right Words Collection Release

 Hello crafty friends!  Today I'm sharing two cards I've made with some of the new products from Spellbinders Paper Art's Right Words Collection by Becca Feeken!


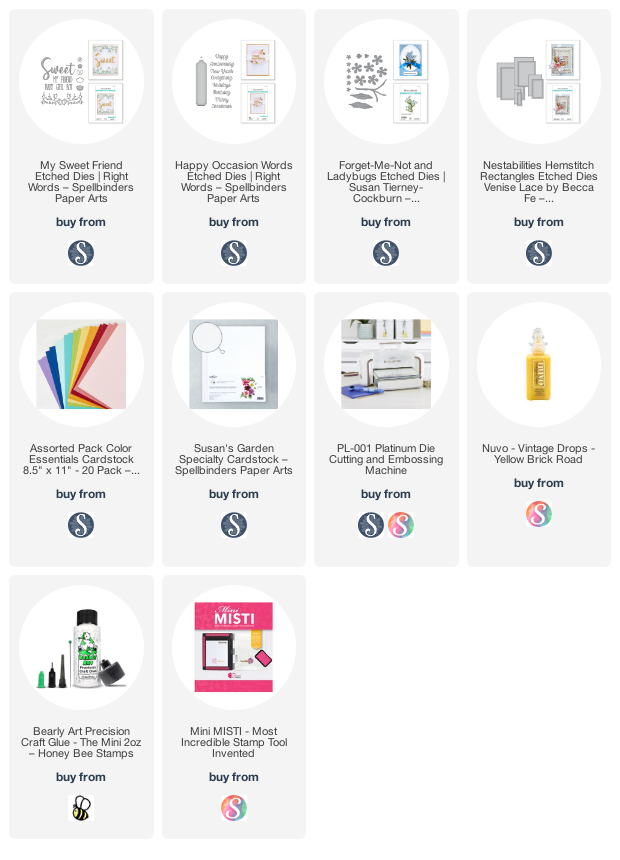
My first card is a somewhat non-traditional anniversary card featuring the new Happy Occasion Words die set.

I made this sweet anniversary in some less-than-traditional colors, but I like it!  I used the new Happy Occasion Words to die cut the tag from some brushed silver cardstock.  I added foam tape to the back and adhered it to my mini-slimline card that I layered with patterned paper from my stash.  I added a pearl brad to the end of the tag.

Next I die cut the sentiment from the Happy Occasion Words three times from white cardstock.  I used some purple ink and a blender brush to color one layer.  I adhered the layers with glue, then to the tag.

The sweet little flowers are from the Forget-Me-Not and Ladybugs die set.  I die cut the pieces from Susan's Specialty Cardstock, colored them with purple, yellow and green inks using a blender brush.  Then I used a few tools from Susan's Garden Ultimate Tool Kit to shape the flowers.  I arranged and adhered the stems, leaves, and flowers, then glued them in place.  I added a drop of Nuvo Dandelion Yellow Chrystal Drops to each flower center for a bit of additional interest.

My next card features the new, and so beautiful My Sweet Friend die set.  I love the size of the font on this one!

I created my card base by die cutting some gingham paper with a die from the Hemstitch Rectangles and adhering to my A2 card base.  Next I die cut the pieces from the My Sweet Friend from white and colored cardstock.  There are several sentiment add-ons and I chose "friend".  I die cut the Sweet and Friend three times and layered them up for extra dimension.

For the other pieces I used a few Copic markers to add more color to the stem and pink flowers.  I assembled the flowers with glue then adhered them all to my card.

For some bling, I added some gem stickers to the stem and Dandelion Yellow Crystal Drops to the flower centers.

Thanks so much for stopping by!!  Have a wonderful, crafty day!

Products I've used for creating these cards:

Wednesday, June 15, 2022

Strawberry-topped Birthday Cake Slice Card

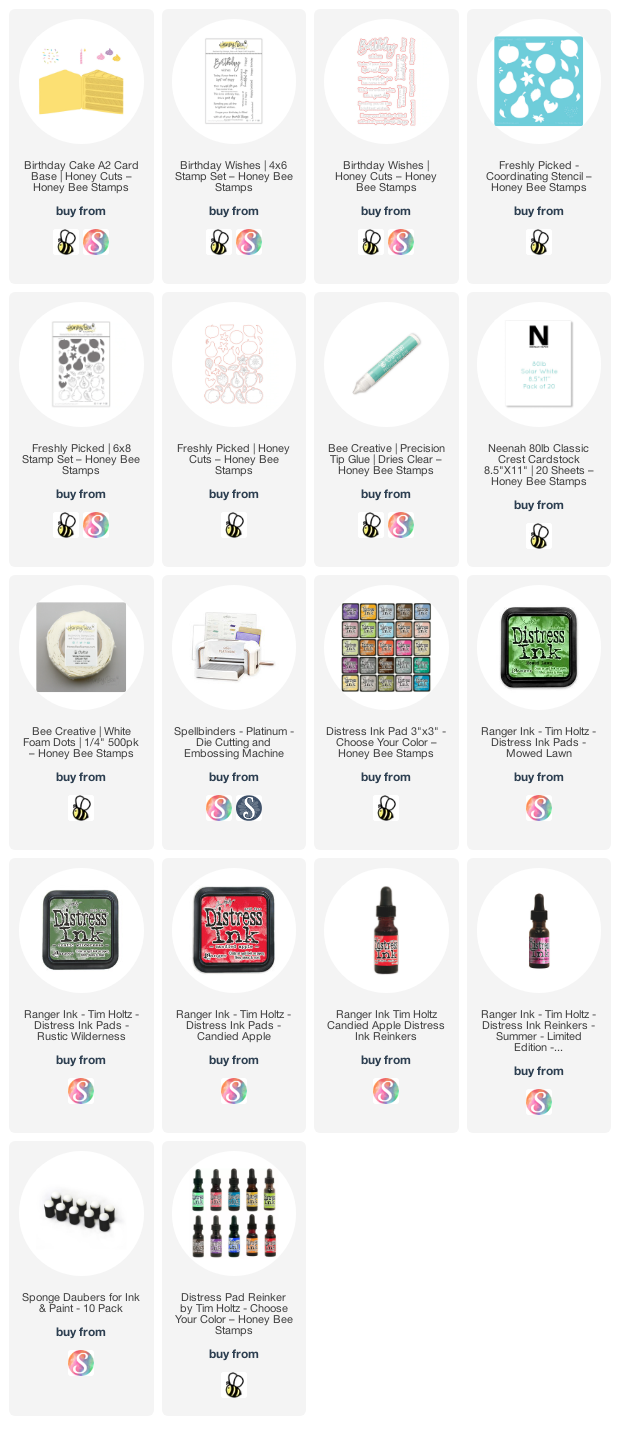
 Hello crafty friends! Today I have a beautiful piece of cake with strawberries on top on the desert menu! I've used the super fun Birthday Cake A2 Card Base Honey Cuts to create my slice of yum and the Freshly Picked Stencil for the strawberries!! I've even added "icing" with texture paste! Read on for the details!

The first thing I did was die cut the Birthday Cake A2 Card Base from 110# Neenah. Then I used my scissors to cut the top off along the scored line. Now for the fun part. You will need a craft mat, some texture paste, a few drops of Picked Raspberry Distress re-inker, one drop of Candied Apple re-inker. Put a good sized dollop of texture paste onto your mat. Then add the Distress re-inker drops. Then I used a palette knife to mix in the colors and spread it onto my die cut cake. I set the piece aside to dry and cleaned up my tools. Here's a photo of it after it was dry.

I die cut another Birthday Cake from 110# Neenah and adhered the texture paste layer to the card front with Bee Creative glue. I put a large stamp block on top of it to weight it down while the glue dried.

Next I die cut the cake layers die included in the Birthday Cake A2 Card Base set from 80# Neenah. I used my Copic markers to color each layer. I used E57, E35, E33, and E31. Then I used each marker again to add dots of color to add texture to the layers. This makes such a difference in the look of the slices!

Next I made the strawberries with the Freshly Picked stencil, sponge daubers, and some Distress Inks. The strawberry is Candied Apple Distress Ink and Versafine Onyx Black (seeds) and Mowed Lawn and Rustic Wilderness for the leaves on the berries. I love that the stencil includes the little seeds on the berries! Then I used the leaf stamp from the Freshly Picked stamp set and stamped it in Rustic Wilderness Distress Ink. I used the Freshly Picked stencil to color them in with sponge daubers. I used the coordinating Honey Cuts to die cut the pieces.

I arranged them on the top of the cake slice and adhered with Bee Creative glue and foam dots. Then I stamped the sentiment from the Birthday Wishes set in Versafine Onyx black ink, sprinkled on clear embossing powder, and heat set it. I used the coordinating dies to cut them out. I added foam dots to the back to adhere them on my card.

Check out the inside of the card!

The sentiment is also from the Birthday wishes set.  I stenciled on some strawberries for a cute decorative touch!

I hope you've enjoyed my treat of a card today!  Thanks so very much for stopping by!

Thank you if you shop with my links! (affiliate links at no additional cost to you)

Tuesday, June 14, 2022

I'll Always Be There For You! -- A Mixed Media Background Card

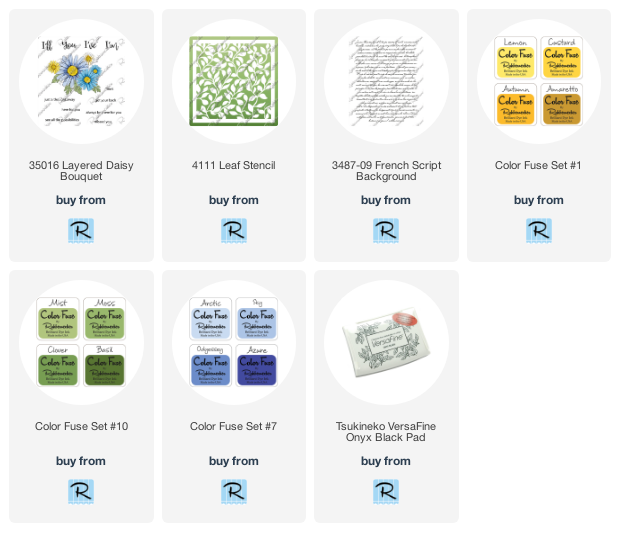
Hello crafty friends!  Today I'm sharing a card featuring Rubbernecker Stamps beautiful new Layered Daisy Bouquet stamp set.  I've created a mixed media background to show off these pretty flowers.  Read on for the details!

First I created my background on a 4" x 5-¼" piece of watercolor cardstock.

  • Using a brayer, I swiped on two shades of yellow ink onto the watercolor cardstock.  I used Lemon and Autumn from the Color Fuse #1 set.
  • I let that dry, then added some random stamping with the French Script background stamp and Amaretto ink.
  • Next I sprayed the back of the Leaf Stencil with Pixie spray.
  • Then I spread some texture paste through the stencil.  I didn't cover the entire stencil, but just applied the paste here and there.
  • When the piece was dry, I used a glue pen to add glitter to the dry texture paste.

Next I stamped the outline stamp of several of the flowers and leaves from the Layered Daisy Bouquet set in black ink.  Then I used the included layering guide to stamp each layer with blue ink from Color Fuse #7.  For the leaves I used Color Fuse #10.  I fussy cut the images and arranged them on my card with glue and some with foam tape.

I stamped the sentiment from the Layered Daisy Bouquet set in black ink.  I popped it up with foam tape for more dimension.

This was super fun to make!  I like how the texture paste absorbs some of the yellow inks to create a subtly textured background!  Thanks so much for stopping by!

Sunday, June 12, 2022

Altenew June 2022 Marvelous Monthly Series Release Blog Hop + Giveaway ($300 in total prizes)


Hello crafty friends!  Welcome to my stop in Altenew's June 2022 Marvelous Monthly Series Release Blog Hop!  You should have arrived here from the blog of Virginia Lu.  If you need to start at the beginning, head over to the Altenew Card Blog.

Get ready to celebrate the start of Summer with this collection of stamps, dies, stencils, and an embossing folder!  See a fresh take on florals, outline images just waiting to be colored with your favorite mediums, AND a sweet little sentiment set that can go from birthdays to graduation celebrations!  Be sure to check it all out on the Marvelous Monthly Series release collection page!  This fabulous collection is available now in the Altenew Shop!

My first card features the absolutely GORGEOUS Craft-A-Flower Cape Marguerite Layering Die Set!

After I die cut all of the Craft-A-Flower: Cape Marguerite layers, I started noticing that each petal layer had either a keyhole shape or an arrow die cut from the centers.  Check out the next photo.  There are also numbers etched onto each die.  Then I finally understood that all of the pieces with a keyhole went together in the number order shown on the die!!!!  The same for the arrow pieces.  How genius is this???  This makes aligning each layer extraordinarily easy because you line up each keyhole or arrow opening for each layer.  I'm just totally wow'ed by this!  LOL!

To color the flowers, I wanted to use inks from my stash that I've neglected so I chose some Distress Inks in the colors of Victorian Velvet, Peeled Paint, and Forest Moss.  I used ink blending brushes to shade the pieces.  Then I splattered some diluted white acrylic paint over the pieces.  I added gold splatters by using Enchanted Gold from the Metallic Watercolor 14 Pan Set.

When the splatters were dry, I used a stylus to add shape and dimension to each petal and leaf.  Then I adhered the layers with glue.  I create the card layer by inking the edges of blue cardstock with Blueprint Sketch and Black Soot Distress Ink.  Then I ran it through my die cutting machine with the Angled Mosaic 3D embossing folder.  (One of my favorites!)  I trimmed it to 4-1/8" x 5-3/8", and then I added splatters of Enchanted Gold metallic watercolor.  I let it dry and adhered it to the card base.

I heat embossed the sentiment from the Birthday Builder stamp set with gold embossing powder and popped it up with foam tape.

My next two cards feature the new, and so beautiful, Craft Your Life Project Kit: Silk Art.  For both of these cards I've used the very same Crisp Dye Inks: Grass Field, Shadow Creek, and the purples in the Shades of Purple set.  It's interesting how some inks can take on totally different shades of colors when water is used!

The card base layer is watercolor paper embossed with the Botanical 3D Embossing Folder (from the kit). Then I put the solid stamp from the kit's Silhouette Stamp set on my MISTI door.  I inked up the stamp with the purple and green inks, misted it with water, and stamped it onto watercolor paper.  I repeated this process until I was satisfied with the appearance.

When the piece was dry, I used the Silk Art die set to cut it out.  I added a bit of foam tape to the back to adhere it to the card.  I stamped the sentiment from the Silk Art stamp set in black ink and fussy cut it out to finish up my card.

Here is my next card--same inks, different techniques, and a totally different look!

To begin, I used a brayer to add Lavender Fields ink to the smooth side of the Botanical 3D embossing folder.  Then I added white cardstock and ran it through my die cutting machine.  Next I used the Silk Art Simple Coloring Stencil set to add the purple and green inks.  The flower centers are Maple Yellow Crisp Dye ink.  These small blending brushes are so helpful and made the stenciling much easier!

I trimmed the embossed piece to 3-¾" x 5" and added it to a layer of Deep Iris cardstock.  I stamped the sentiment from the Silk Art stamp set and added a mat layer of Deep Iris cardstock.  A bit of foam tape pops it up onto the card.

Thanks so very much for stopping by my blog!  I hope you will leave a comment for your chance to win one of the prizes!

The next stop on the hop is the blog of Reiko Tsuchida!

Giveaway Prizes

$300 in total prizes! To celebrate this release, Altenew is giving away a $50 gift certificate to 2 lucky winners and a $25 gift certificate to 8 winners! Please leave a comment on the Altenew Card Blog and/or each designer’s blog post on the blog hop list below by 06/18/2022 for a chance to win. 

Altenew will draw 10 random winners from the comments left on each stop of this blog hop and announce the winners on the Altenew Winners Page on 06/20/2022.


Blog Hop Order:

Altenew Blog

Jennifer McGuire

Erum Tasneem

Dana Joy

Jenny Colacicco

LauraJane

Emily Midgett

Cheryl Espie

Michelle Short

Mindy Eggen

Terri Koszler

Colleen Balija

Nathalie DeSousa

Caly Person

Therese Calvird

Nenette S. Madero

Virginia Lu

Carol Hintermeier >>> that's me!

Reiko Tsuchida ***Note: Due to strict regulations in Japan, you might not be able to leave a comment on her blog post.

Amy Hill

Tenia Nelson

Hussena Calcuttawala

Maryam Perez

Agnieszka MaƂyszek

Sande Woodson

Natasha Davies

Bridget Casey

Linda Westfall

Daniel Diaz