Happy Wednesday! I love making cards that are suitable for lots of occasions, and my card featuring Honey Bee Stamps new Vintage Hive stamps and coordinating Honey Cuts is another one for my stash! I decided to step outside my usual color comfort zone and play with colors I don't normally. Read on for the details!
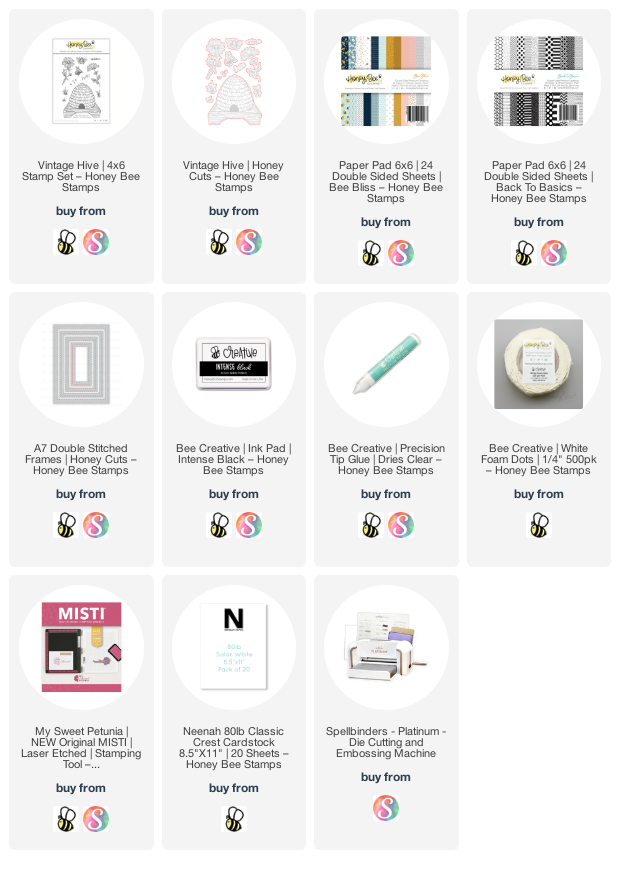
First I stamped all of the Vintage Hive stamp set images with Intense Black ink. This is a fabulous ink for Copic coloring, which I did next. I created the look of a worn painted wooden stand by adding in some brown Copics, then finishing it with blue-green colors. For the hive I used markers that were much less of a bright yellow, as I might have typically used. This time I colored it with YR27, YR24, YR23, and YR12. I stamped the grass pieces with green ink, and then I used the coordinating Honey Cuts to cut them out.
I began to plan my arrangement for the images on an A2 card base. I quickly realized I needed more room!! So I went with an A7 card base made from 80# Neenah. Then I die cut a black layer with the largest A7 Double Stitched Frames die. I adhered it to the card with Bee Creative glue. Then I used some patterned paper from the new Bee Bliss paper pad (I love the little bees on this paper!) and gingham piece from the Back to Basics paper pad. I added a narrow black card stock strip between the two pieces. This layer measures 5-7/8" x 4".
I adhered the images to the card with foam dots and Bee Creative glue. I tied a little gingham bow and adhered it to the hive with a glue dot. The sentiment is from the Vintage Hive set and die cut with the coordinating Honey Cut. I absolutely love having coordinating dies for sentiments!
I always appreciate that you've stopped by for an extra look at my cards! I hope you have a wonderful day!


Sweet beehive! Your card is adorable, and you've mastered those colors, in your comfort zone or not
ReplyDelete