It's been a while since I've made any dimensional flowers like this, but no worries! Susan, the designer of these dies, does video tutorials for each of her sets to help us get the layers just right! Watch Susan's Gardenia video to see what I mean!
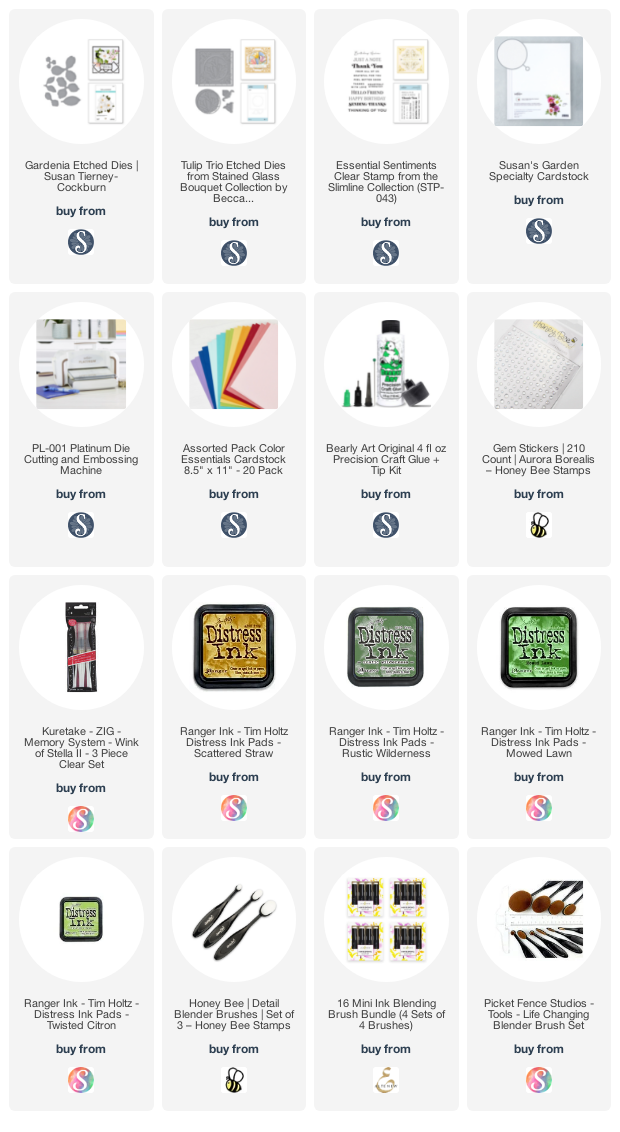
I die cut each of the dies for the gardenia from Susan's Garden Specialty Cardstock with my Spellbinders Platinum die cutting machine. The dies have the number of times to die cut that particular piece etched on them. I colored the centers of each petal layer with Scattered Straw Distress ink with a small blender brush. I blended Rustic Wilderness, Mowed Lawn, and Twisted Citron Distress inks onto the leaves. NOTE: I discovered that when I used Distress Oxide inks, the metal flower shaping tools left marks where the ink was! Something about the ingredients in the Oxides does this, I suppose!
I shaped the flower layers and leaves following the directions Susan gave in her video. I used various tools from Susan's Garden Ultimate Tool Kit to aid in shaping the petals and leaves. I used liquid glue to adhere each layer together. I set the flower aside to dry while I made my card base.
For the card base, first I used the frame from the Tulip Trio die set to cut white cardstock. I adhered it to an A2 sized piece of pink cardstock. Then I adhered the layers to my white card base. I used the circle die from the Tulip Trio die set to cut pink cardstock. I popped it up with foam tape on the card front.
Next I stamped the sentiment from the Essential Sentiments set onto the card with black ink. Then I adhered the flower and leaves. I think every birthday card should have sparkles, so I added a few gem stickers to my card. I added some subtle sparkle by using a clear glitter pen around the edges of the flower petals.
This was such an enjoyable card to make, and I hope I've given you more inspiration for this beautiful set. Thank you so very much for stopping by! Have a wonderful Friday!


Stunning! I can't believe that dimensional flower is paper! Such gorgeous design here, as well as that delicate lovely coverplate die
ReplyDelete