Hello crafty friends! Today I have a fun shaker birthday card to share. It's Rubbernecker Stamps birthday month and I've used their new Happy Birthday #1 set for my celebratory card!
Here is a step by step for creating this card:
- To create the shaker card frame, tape the two largest Mini Slimline Nested with Stitch dies together on the back. I used a few pieces of removable masking tape.
- Die cut the frame three times from 80# white card stock, saving at least one of the middle pieces to use in another step.
- Adhere two of the frames with liquid glue.
- Cut a piece of acetate to fit the window, just slightly less that 3-½" x 6". Adhere to the top frame. Adhere the third frame over the top of the acetate. Set aside to dry.
- Using the reserved rectangle from the frame, stamp the Happy Birthday #1 with Versamark clear embossing ink. Be sure to use your anti-static pouch first. Sprinkle on gold embossing powder and heat set.
- Create a mini slimline card base by scoring some 7" x 6" 80# Neenah card stock at 3-½". Add glue to the back of the Happy Birthday #1 piece and center it onto the card base to adhere.
- Add foam tape to the back of the frame. Then add your bling in the center of your card and adhere the framed window over the bling. I used bling from my stash that I've had FORever!!! Haha!
- Die cut the Balloons Die twice from two shades of pink card stock and once from gold mirror card stock. I really like how this one one die that cuts three balloons with strings!
- Stamp the sentiment from the Happy Birthday #1 set in Versamark ink. Use the third smallest Nested Square Stitch die to partially cut it out. (see photo) Reposition the die to finish the cut.


Finally, arrange the balloons, strings, and sentiment and adhere to the window with liquid glue.
Thank you so much for stopping by! Have a fabulous, and crafty, week!
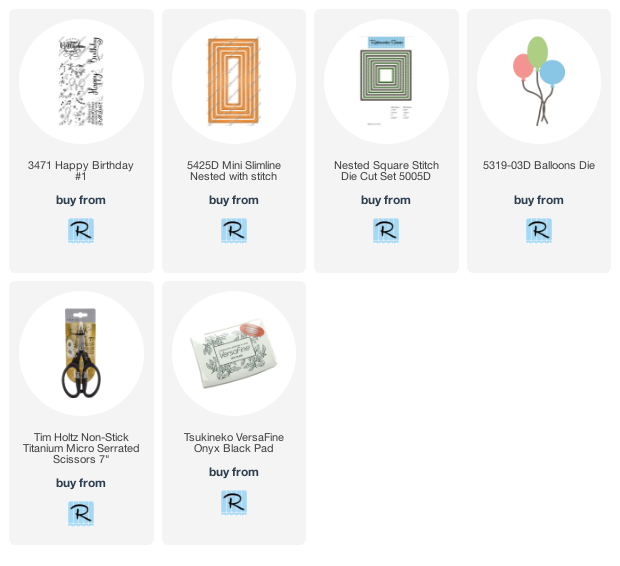
Rubbernecker products used for this card:


Such a fun shaker, Carol! Love the pink and gold colors
ReplyDelete