Hello my crafty friends! Let me tell you, one of those shocking moments happened when I opened an email from Spellbinders inviting me to be a guest blogger for their blog! I'm so very thrilled and honored. I was so excited to get to use several of the beautiful die sets from the new Spellbinders Susan's Holiday Floral Collection by Susan Tierney-Cockburn!
I created three cards for my guest designer blog post over at Spellbinders and wanted to share them here with you. I have lots of photos and will try to keep the "how to" descriptions brief! If you have any questions at all, please fill out the "contact me" form at the bottom of the left hand column here.
Susan Tierney-Cockburn is the designer of all of these gorgeous dies for Spellbinders! I learned how to assemble each die set by watching her instructional YouTube videos, and I'll be sure to give you a link to the video for each die set. My first card features a slimline card with the beautiful Amaryllis die set.
First I watched Susan's video, which was just what I needed to know how to assemble the amaryllis. The supplies I've used are these (all links to the products are at the end):
- Spellbinders: Amaryllis die set; Elliptical Ovals; Holiday Quotes stamp set
- Ranger Distress Woodgrain card stock
- Neenah 80# card stock
- Honey Bee Stamps Holiday Cheer 6x6 paper pad
- Honey Bee Stamps Intense Black ink
- Art Glitter Crystal Ultrafine Transparent glitter
- Heartfelt Creations Flower Shaping Kit
My slimline card measures 3-½" x 8". I wanted plenty of room to add the amaryllis with some patterned paper at the bottom. It's hard to see in the photos but I added some woodgrain card stock to the card base for a pretty textured background.
I used Copic markers to color the flower parts, leaves and stem. After I shaped the flowers I adhered the parts together with liquid glue. When the glue was dry, I added thin lines of glue along the flower edges and sprinkled on some pretty transparent glitter. I also added lines of glue and then glitter on the patterned paper for more fun sparkle!
My next card features the amazing Pine Cone and Evergreen Bough with Ladybugs die set! Susan's instructions in her VIDEO make this pine cone very easy to create!
The supplies for this card are:
- Brown and green card stock
- Ranger Distress Woodgrain card stock
- Hemstitch Rectangles die set
- Holiday Quotes stamp set
- Silver mirror card stock
- Honey Bee Stamps Holiday Cheer paper pad
This A2 card also has a layer of woodgrain card stock under the patterned paper. After I shaped the pine cone pieces (I did re-watch and pause Susan's video as I assembled this as it's my first time making it) and the glue had dried, I adhered the pieces to my card, added lines of glue and then, some transparent glitter to mimic snow. Some silver mirror card stock behind the sentiment and a little silver bow add to the holiday feel of the card!
My final card features the gorgeous Poinsettia die set! I wanted to make a white poinsettia as I think those are so beautiful in real life!
Supplies for this card:
- Poinsettia die set
- Hemstitch Rectangles die set
- Hemstitch Ovals die set
- Gold mirror card stock
- Holiday Quotes stamp set
- Fine dry glitter--gold
- Gold embossing powder
- Honey Bee Stamps Summer Stems paper pad
This time I went back to die cutting the poinsettia parts from 80# Neenah. Then I used a few green Copic markers that coordinated with the gingham patterned paper (I love gingham!!) and colored the petals and stamens. Not only are Susan's videos instructional, but it's just amazing to watch her create her gorgeous florals!! I adhered the pieces with glue and worked on the card base and sentiment while it dried.
I added a layer of coordinating green card stock behind the Hemstitch Rectangle die cut gingham paper. Next I adhered this to a top-folding A2 card base. Then I die cut 80# Neenah with a Hemstitch Oval die. I used just the solid die to cut gold mirror card stock to layer behind the Hemstitch Oval. The sentiment is heat embossed in gold, then layered with gold mirror card stock and popped up with foam squares.
I wanted a bit more bling (is there ever too much?!!) so I added dots of glue to the stamen tips, sprinkled on fine gold glitter, let it dry and tapped off the excess.
I truly had so much fun creating these gorgeous flowers! Have you tried creating dimensional flowers? If not, I hope I've inspired you to give it a try! I so appreciate you for stopping by today! Thank you Spellbinders for inviting me to create with these gorgeous dies!
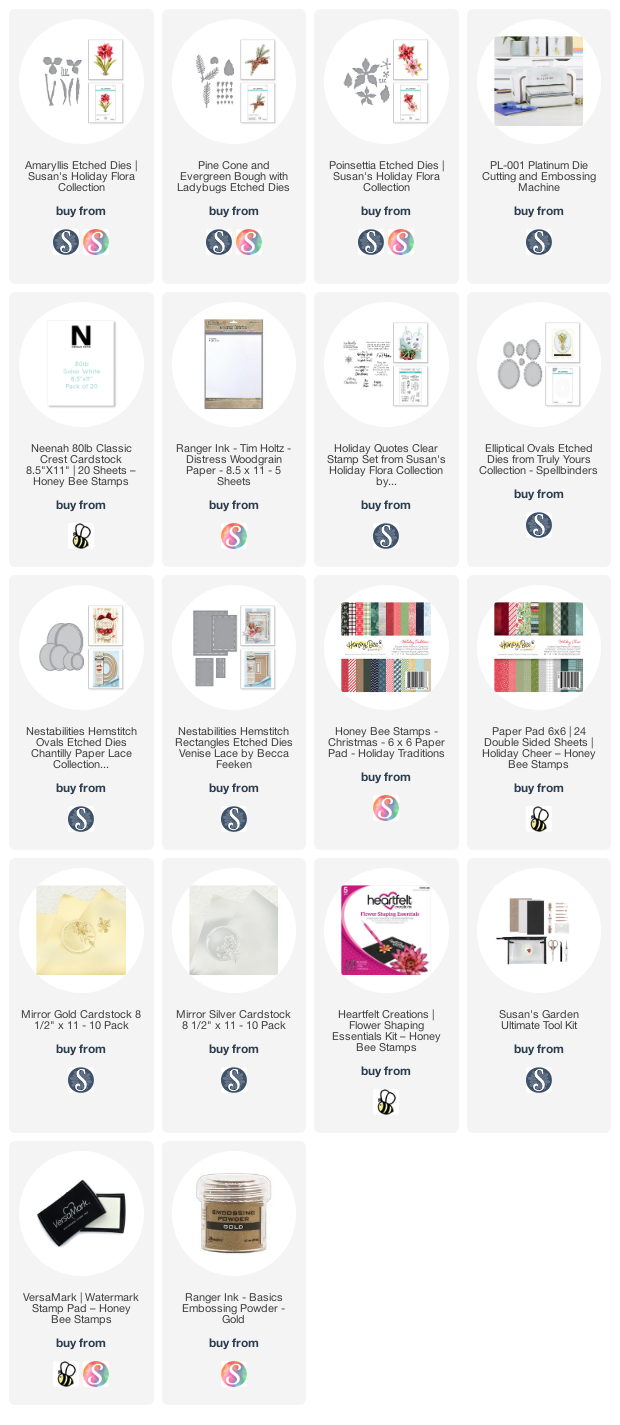
Check out the products I used for my cards:


Carol you were a perfect candidate for this space... these flowers are so gorgeous! I think Spellbinders is so great and find something I love every visit. I am definitely going to check out these lovelies from Susan... TFS
ReplyDelete