Hello my crafty friends! This week, over at Honey Bee Stamps, we are all about the red, white and blue! For my card today, I've used the adorable Market Cart Honey Cuts and colored it up to fit the theme! I had lots of fun creating this card--read on for the details!
Here are the steps I took to create the Market Cart (all other products I used are linked at the end of this post):
- Die cut the Market Cart pieces from 80# Neenah Solar White card stock.
- Use the Market Cart stencil to color the awnings and flower pots' greenery. I used Background Blender brushes and these Distress Oxides: Festive Berries, Blueprint Sketch, Mowed Lawn and Rustic Wilderness.
- Then I colored the remaining parts with various Copic markers.
- Next I used Bee Creative glue to assemble the Market Cart. Tip: On the top awning, just add glue along the top edge--then you can fold along the score lines created when it was die cut for extra dimension!
- I added some gem stickers to the awnings. I'm low on red and blue gems, so I was happy to find them in the Harvest Festival Gem stickers (red) and the Log Cabin Gem stickers (blue). The white are from...the White Gem sticker set! Haha!
- I added foam tape to the back of the cart and set it aside to create my card base.
- For the card base, I used some patterned paper from the Spring Lullaby paper pad. Trim it to 4" x 5-¼".
- Very lightly, ink the edges of the cloud patterned paper with Stormy Sky Distress Oxide ink. Adhere it to an A2 top-folding card base.
- I used a small scrap piece of green patterned paper I had from the Over The Rainbow paper pad and die cut it with the Grass Border Honey Cut.
- Trim the grass die cut to 4" and adhere it at the bottom. Next, adhere the Market Cart to the card.
- Stamp the sentiment from the My Favorite Flower stamp set in Bee Creative Intense Black Ink and die cut it with the coordinating Honey Cut. Add pieces of thin foam strips to the back and adhere it to the cart.
I love how this turned out for our red, white and blue themed week! I know for sure I'll be decorating the cart for all the seasons and lots of holidays! Thank you so much for stopping by! If you are in the U.S., I hope you have a safe, and fun filled 4th of July!
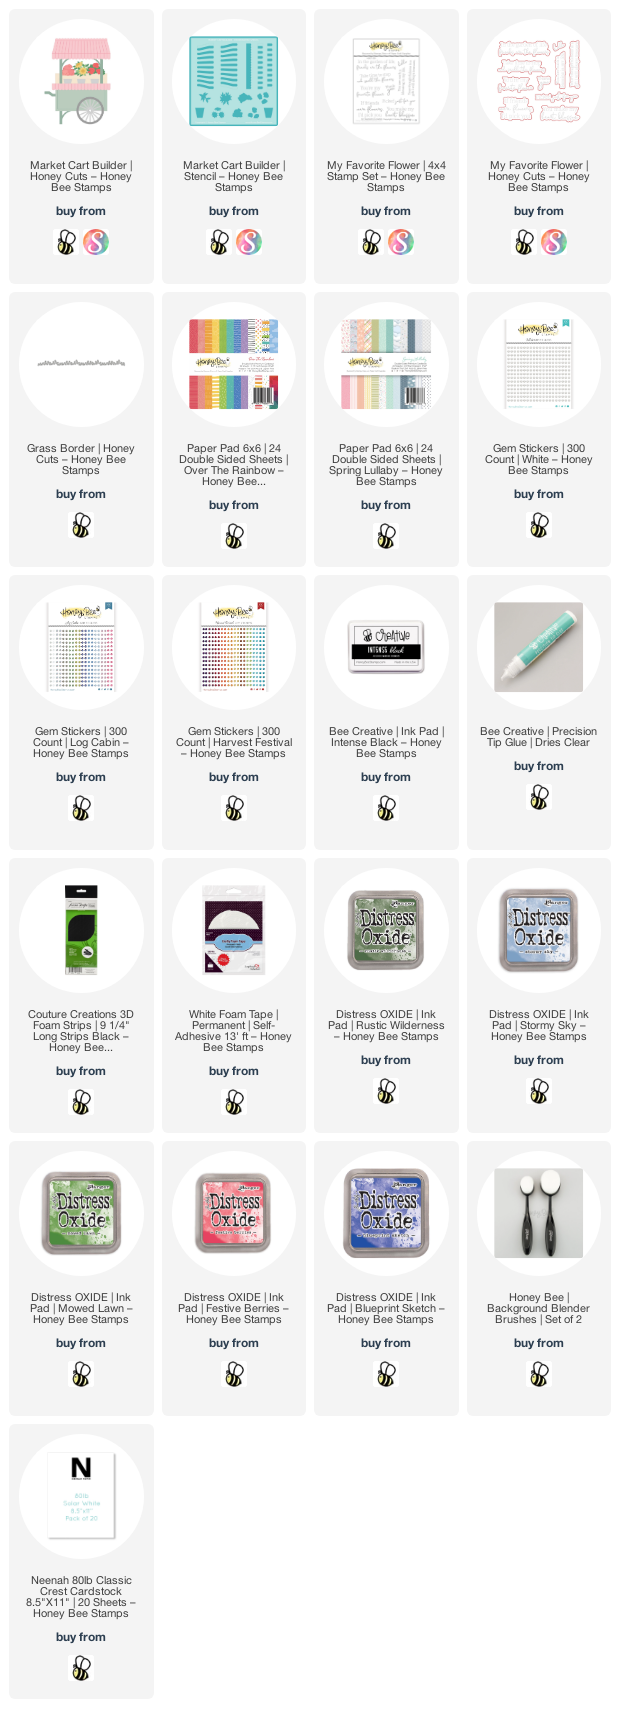
Click the images for more details on the products I used:


Well if this floral cart is the sweetest! What a way to brighten someone's day, Carol
ReplyDelete