Hello friends! My card today is a sweet birthday card using the beautiful Field of Daisies layering stamp set by Rubbernecker Stamps. I'm almost out of birthday cards to mail to friends and this is a easy fun card to make for the stash!
I began by creating the card base:- Using a blender brush, ink the edges of a 4-¼" x 5-½" white cardstock piece with Scarlet ink (Color Fuse set #4). Adhere to a top-folding A2 card base with glue.
- Ink up the Horizontal Stripe background stamp with Posey ink and stamp onto white cardstock.
- Trim the striped piece to 4" x 5-¼" and adhere to the card base.
- Stamp the stems from the Field of Daisies stamp set onto white cardstock.
- Die cut with the middle sized Nested Rectangle Scallop w/Holes die.
- Add foam tape to the back and attach to the card front.
- I used my MISTI for stamping the flower and leaf layers.
- I stamped the first layer of the flowers with Posey ink. For each layer/color I repeated the stamping until I got the look I liked.
- The small flowers are stamped with Scarlet and Nectar for the second and third layers.
- The large flower layers are stamped with Scarlet and Crimson.
- I stamped the flower centers with Crimson.
- I didn't think the stamping through for the large flower! Since I stamped the final flower layer with Crimson, when I stamped the flower center in Crimson, it just blended in.
- My solution was to stamp the flower center with one layer of Mocha, which is a light brown in Color Fuse #3. I took before and after photos to show you. As you can see from this photo, adding just a bit of light brown makes the center stand out!
- Next I stamped the leaves. I stamped the first layer of them all with Moss ink (Color Fuse #10). The second layer is stamped with Basil ink. There is a nice variety of four different leaves in this set!
- I used the coordinating dies to cut out all of the flowers and leaves.
- Add foam tape to the back of the large flower and one small one. I added a double layer of foam tape to the other small flower so it would be higher than the other two.
- Adhere the flowers near the top of the stems.
- For dimension on the leaves, I put a small foam square at the leaf tip and a dot of glue at the base and adhered them to the card base.
- I stamped the sentiment from the Best Friends Etc. stamp set in black ink. I trimmed it into a banner shape, added foam tape, and adhered it to the card.
- For a touch of bling, I added a few rhinestones around the sentiment.
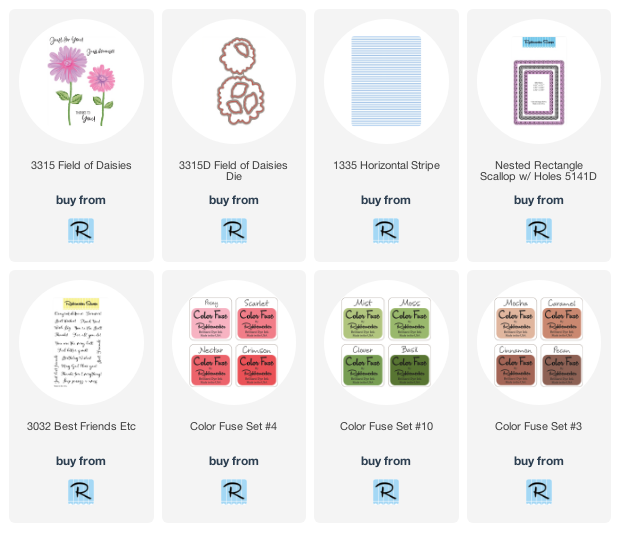
Click the links for these products I used:


Lovely card, lots of fun "candy" for the eye. And I'm ALWAYS amazed that anyone can pull off layered stamping -- something I CANNOT do!
ReplyDelete