Pages

Wednesday, February 24, 2021

Missing You Friend! | Honey Bee Stamps

 Happy Wednesday my friends!  How many friends do you need to send a "missing you" card to?  If you're like me, that would be a lot!  My card today is just what we need!  I've used Honey Bee Stamps beautiful Pretty Postage stamp set and coordinating Honey Cuts for this quick and easy card.  Except for the time it took to color the image, this card came together in a snap!  Read on for the details!


I began by creating my card base.  I used the new Quatrefoil A2 Cover Plate Base die to cut the purple paper from the Playful Pastels 6x6 paper pad.  There are so many gorgeous papers in this paper pad!  Then I used the Quatrefoil Cover Plate Top to die cut some 80# white card stock.  I adhered the layers together with Bee Creative glue and adhered the panel to a top-folding A2 card base.

Next I stamped the Pretty Postage image with Copic safe ink and colored it with my Copic markers.  I colored the flowers with these Copic markers:  RV25, RV14, RV13, RV21, and RV10.  For the leaves I used YG67, YG25, YG03, G28, G07, and G09.  The envelope liner is colored with Y15, Y13, Y11, Y00 and the shadows on the white envelope are C03, C01, and C00.  When I finished I thought the yellow was a bit too bright.  So I was brave (Haha!) and added shadows around all of the leaves and flowers that are over the liner with C2, C0, and C00.  I know it still looks bright, but the yellow is definitely toned down from what it was!  I used the coordinating Honey Cut to die cut it out.

I decided that I wanted all of the white edges around the image to blend in more with the background paper.  So I found a few Copic markers that coordinated nicely with the paper.  Those markers are V25, V22, and V20.  When I finished the shading, I used a #10 and #05 white gel pen to add white dots to the background and to the flower centers.

I stamped the sentiments, that are also in the Pretty Postage set, with black ink.  I die cut the sentiments with the coordinating Honey Cuts.  I added foam tape to the back of them and adhered the pieces to the card front.  I added just a few bits of bling from the Playful Pastels Gem Stickers.


This card was so fun to make!  I will be using the A2 Quatrefoil Cover Plate dies a lot--I think they are so beautiful!!!  Thank you so much for stopping by today!  Stay crafty!

Supplies:

Friday, February 19, 2021

So Hoppy - Honey Bee Stamps Spring Bliss Instagram Hop

Hello friends!  I'm so happy you've hopped over here from the Honey Bee Stamps Spring Bliss Instagram hop!  For my card today, I've used the new Loads of Spring stamps and coordinating Honey Cuts that were created to coordinate with the Big Pickup Cab and Big Pickup Tailgate sets.  I love these and, as you can see, they are so versatile for any occasion!


I'm going to keep my card descriptions brief so you can get back to the hop!  I made my card using both the Big Pickup Cab and the Big Pickup Tailgate for a double-sided card!  When you die cut the two, they are mirror images that can be adhered at the top by creating a simple little hinge.


I stamped all of the images with Copic safe ink onto 80# Neenah solar white card stock.  Then I colored them with my Copic markers.  I used the coordinating Honey Cuts to cut them out.  I have all of the supplies listed below with links for you to check them out!


I stamped the sentiment from the Hoppy Easter set onto 80# Neenah, first with Carved Pumpkin Distress Oxide, then with Versamark clear ink.  I sprinkled on clear embossing powder and heat set it.  Next I die cut it with the coordinating Honey Cuts.


Here are the views of the front and back (or is it the back and front? Haha) of the card.


There are so many awesome new sets in the Spring Bliss release!  You can click that link to see it all.  I sure thank you for stopping by and hope you will leave a comment for me over on Instagram!  Be sure to check out all of the hop links and comment for your chance to win one of two $25 Honey Bee gift cards!

Supplies:
Versamark clear ink
WOW Clear embossing powder

Rubbernecker Stamps Springtime Fun Release Instagram Hop

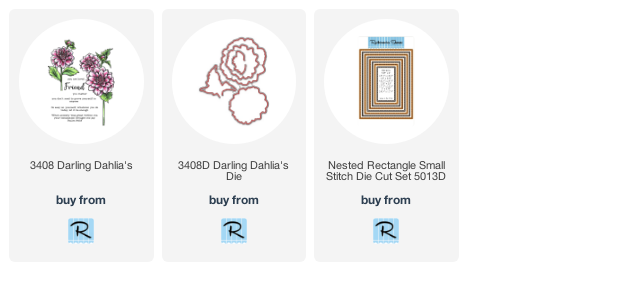
Hello friends!!  Thank you for coming from the Rubbernecker Stamps Springtime Fun release Instagram hop to check out my card today!  I've used the absolutely beautiful new Darling Dahlias stamp set for my card today.  This set has three gorgeous Dahlia flower stamps, two buds, leaves, and some awesome sentiments!  There's also a coordinating die set that I didn't use today.  I absolutely love this set!


I began by stamping the large Dahlia with Copic safe ink onto Neenah Solar White 80# card stock.  Next I stamped it onto some masking paper and fussy cut it out.  I placed the mask onto the stamped image and stamped the smaller flower, the bud, and the stem.  I stamped the leaves, and stem, and also a mask for one of the leaves.

Then I stamped the other leaves, placing the mask for the stem over the stem for the smaller flower.  I stamped the other leaves and then saw my boo-boo!  Do you see it?  Probably not until I mentioned it, right?  That is why I never give up on a card!  Especially after the stamping and masking I did!

I colored the flowers and leaves with Copic markers, which I've listed at the end.  When I finished coloring the flowers, I die cut the panel with the largest Nested Rectangle Small Stitched die.  Next I adhered it to an A2 sized pink card stock layer and added this to a top-folding card base.

Next I heat embossed the sentiment in gold onto heavy weight vellum and trimmed it into a banner shape.  I rolled up small glue dots and place under the embossing and adhered it to my card.


To finish up, I added some gold Nuvo drops around the arrangement.


I sure do thank you for stopping over to take a look!  Be sure to go back to my Instagram feed to continue on the hop.  Be sure to comment and tag friends for more chances to win!  

Copic markers:
flowers: RV25, RV23, RV21, RV10
leaves:  G07, YG17, YG25, YG03

Other supplies:

Shop the Rubbernecker products here:

Tuesday, February 16, 2021

Birthday Card with Field of Daisies Layering Stamps | Rubbernecker Stamps

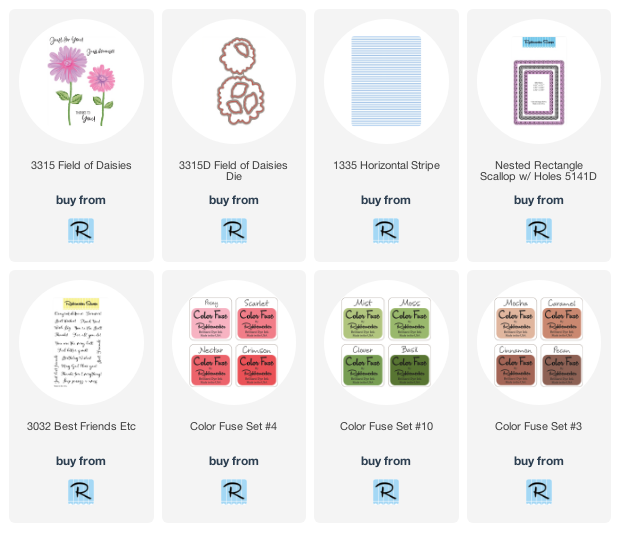
Hello friends!  My card today is a sweet birthday card using the beautiful Field of Daisies layering stamp set by Rubbernecker Stamps.  I'm almost out of birthday cards to mail to friends and this is a easy fun card to make for the stash!

 
I began by creating the card base:

  • Using a blender brush, ink the edges of a 4-¼" x 5-½" white cardstock piece with Scarlet ink (Color Fuse set #4).  Adhere to a top-folding A2 card base with glue.
  • Ink up the Horizontal Stripe background stamp with Posey ink and stamp onto white cardstock.
  • Trim the striped piece to 4" x 5-¼" and adhere to the card base.
  • Stamp the stems from the Field of Daisies stamp set onto white cardstock.
  • Die cut with the middle sized Nested Rectangle Scallop w/Holes die.
  • Add foam tape to the back and attach to the card front.

Next I stamped the flower, leaves and sentiment:

  • I used my MISTI for stamping the flower and leaf layers.
  • I stamped the first layer of the flowers with Posey ink.  For each layer/color I repeated the stamping until I got the look I liked.
  • The small flowers are stamped with Scarlet and Nectar for the second and third layers.
  • The large flower layers are stamped with Scarlet and Crimson.
  • I stamped the flower centers with Crimson.
  • I didn't think the stamping through for the large flower!  Since I stamped the final flower layer with Crimson, when I stamped the flower center in Crimson, it just blended in.
  • My solution was to stamp the flower center with one layer of Mocha, which is a light brown in Color Fuse #3.  I took before and after photos to show you.  As you can see from this photo, adding just a bit of light brown makes the center stand out!

  • Next I stamped the leaves.  I stamped the first layer of them all with Moss ink (Color Fuse #10).  The second layer is stamped with Basil ink.  There is a nice variety of four different leaves in this set!
  • I used the coordinating dies to cut out all of the flowers and leaves.
  • Add foam tape to the back of the large flower and one small one.  I added a double layer of foam tape to the other small flower so it would be higher than the other two.
  • Adhere the flowers near the top of the stems.
  • For dimension on the leaves, I put a small foam square at the leaf tip and a dot of glue at the base and adhered them to the card base.
  • I stamped the sentiment from the Best Friends Etc. stamp set in black ink.  I trimmed it into a banner shape, added foam tape, and adhered it to the card.
  • For a touch of bling, I added a few rhinestones around the sentiment.


I love how this card turned out and will probably make a few more for my stash!  Thanks so much for stopping by!


Click the links for these products I used:

Wednesday, February 10, 2021

My Best Adventures Are With You | Honey Bee Stamps

 Hello friends!!  For my card today I'm using Honey Bee Stamps' adorable Enjoy The Ride stamp set and coordinating dies.  Before I begin talking about how I made this sweet card, let me tell you a little story!


You see the bunny holding onto her love bunny on their scooter here.  Well, let me tell you that there's a true story about a trip my husband and I were on that this image brings back a, now funny, memory!  To keep it short, we were on a beautiful island in the Caribbean and "needed" to rent a scooter to get to the top.  (We were supposed to hike up, but the hubs had a slight injury and decided he couldn't do it!)  I was very skeptical about this, but I climbed on behind him and held on for dear life!!!!  LOL!!  I totally had my eyes closed for much of the scootering up that mini mountain!!  For the trip back down, I was less nervous and could enjoy that beautiful view!  Haha!

Now, onto my card!  To begin I used the Whimsical Hearts Stencil and a Background Blender Brush to ink up white card stock with the new Kitsch Flamingo Distress Ink.  I love the clear brightness of this color!  I removed the stencil and inked up the edges with the pink ink.  Then I placed my stencil back onto the card and spread some White Glitz Glitter Gel through it.  I cleaned up my stencil and set the piece aside to dry.

I stamped the bunny pair from the Enjoy The Ride stamp set with Copic safe ink onto 80# Neenah Solar White card stock.  I colored the image with the Copic markers I've listed below.  Next I stamped the sentiment in black ink and die cut it and the image with their coordinating dies.  I also stamped a few hearts with Kitsch Pink and die cut those as well.

I die cut some vellum with the middle sized Double Stitched Oval die.  I adhered the sentiment, hearts and image to the oval with Bee Creative glue.  When the glue was dry, I added foam tape to the back of the oval, but only adding it behind the image and sentiment.  This way the adhesive won't show through the vellum.

For even more sparkle, I added clear Wink of Stella to the wheels, light and hearts and topped those off with some Glossy Accents.


I hope you enjoyed my little story and maybe got a chuckle from the visual I described!  Haha!  Thank you so much for stopping by today!  Stay crafty, and warm!


Copic markers:
Bunnies: W5, W3, W1, W0, W00, E44, E42, E40, R20, R22
Scooter: BG18, BG13, BG11, C5, C3, C1, T9, T7, Y00, Y11, R29

Wednesday, February 3, 2021

Happy Mail!! | Honey Bee Stamps

Hello my friends!  Today I have a sweet card for Honey Bee Stamps using Honey Bunnies and Hugs Enclosed, products from their latest Love Letters release, along with the previously released Post Box Card Base die set.  I love how this can be used for so many different occasions--a just because, thinking about you, whatever you need!


Here are the steps for creating the card base:
  • With the Post Box Card Base die, cut two bases and the hinge from 100# Neenah Solar White card stock.  Die cut one base with patterned paper from the Love Letters paper pad.
  • Using an ink blending foam tool, add some gray ink just around the edges of the patterned paper piece for dimension.  I used a couple pink Copic markers to color in the hearts.
  • Add ¼" double-sided tape to both sides of the hinge and adhere it to the two white card bases.  Adhere the patterned paper base to the card front.
  • Die cut the extra Post Box pieces from pink card stock and add shading around the edges with Spun Sugar Distress Ink with an ink blending tool.  Adhere the pieces to the card front.

Next I created the cute elements to go on the card:

  • From the Honey Bunnies stamp set, I stamped the hearts and bunny in Copic safe ink and colored them with my Copic markers.  Then I die cut them all out with the coordinating Honey Cuts.
  • Next I used the Hugs Enclosed stamp set.  I stamped the sentiment in Worn Lipstick Distress Oxide ink and then with Versamark ink.  I sprinkled on some clear sparkle embossing powder and heat set it.  Then I die cut it with the coordinating Honey Cuts.  I added foam tape to the back and set it aside.
  • I stamped the envelopes from the Hugs Enclosed set in Copic safe ink and colored them with my markers.  For the open envelope I stamped "Hi" from the Honey Bunnies set onto the letter.  I stamped a little heart (in the Honey Bunnies set) with Worn Lipstick Distress Oxide ink just below "Hi".  I used the clear sparkle embossing powder on it and heat set it.
  • I added a bit of sparkle to the pink hearts with a clear Wink of Stella glitter pen.
  • I adhered all of the elements onto the card with foam tape and Bee Creative glue, as shown in the photos.


I hope you've enjoyed seeing how I made this sweet card!  Thank you so much for stopping by!

Supplies: