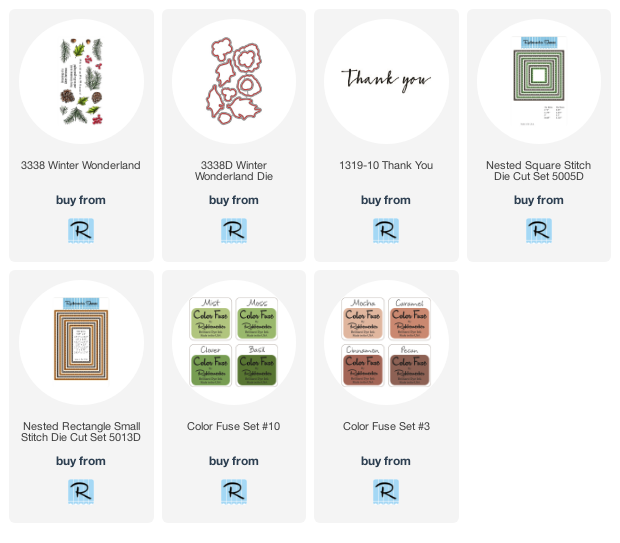
Hello my friends, and happy 2021! I hope your year is off to good start! Today I'm sharing a winter themed thank you card using Rubbernecker Stamps beautiful Winter Woodland stamps and coordinating die set. I've used a fun technique of creating a watercolor look with clear stamps and Color Fuse inks. I sometimes find that I'm in a bit of a creative slump after the holidays and having fun with a different technique can really help get me out of that!
Here are the steps for the watercolor look:
- A stamping tool (I use a MISTI) and watercolor paper will be needed for this technique. Be sure to leave the stamps in the stamping tool until you are totally finished with each layer of color.
- Using Color Fuse set #10 for the pine branches and set #3 for the pinecones, ink up the images with the lightest color first and spritz with water just until it beads up. Use Mist, Clover and Basil for the pine branches. For the pinecones use Mocha, Caramel and Cinnamon.
- Ink up the stamp with the lightest color, spritz with water until you se little beads of inky water. Stamp onto the watercolor paper and be sure to press the stamps down for a few seconds to allow the inky water to absorb into the paper.
- Allow the images to dry naturally, or use a heat tool to dry the ink in between each layer.
- Repeat the steps with each shade of ink and spritzing with water each time. Repeat any layers to get the desired look.
- Ink the stamp up with the darkest ink (Basil for the pine branches and Pecan for the pinecones) without adding water, and stamp it to add the detail back into the watercolored image.
- Before removing the stamp, add some sparkle to the branches by swiping a clear sparkle pen over the stamp and stamp it down over the pine branches.
- This photo shows the progression of stamping the layers.
- Stamp in the third pine branch when the other two are totally dry using the same steps as listed above.
- Die cut some wood plank patterned paper with the largest Nested Rectangle Small Stitch die and then adhere it to a top folding A2 card base.
- Die cut the dry image with the second largest Nested Square Stitch die and adhere to the card front with glue.
- Stamp out the layers for two more pinecones using the same technique. Die cut with the coordinating dies
- Pop up the two additional pine cones with foam squares and adhere to the card front.
- Here's a closeup photo of the sparkle!
Stamp the sentiment Thank You in Versamark ink onto a 4" x 1" strip of watercolor paper. Sprinkle on black embossing powder and heat set.
Use the same square die to die cut the edges of the sentiment strip to coordinate with the square. Use liquid glue to adhere it to the card.
For a bit more sparkle, add some green and brown gem stickers!


This turned out superb! Love the detail layering just with color
ReplyDelete