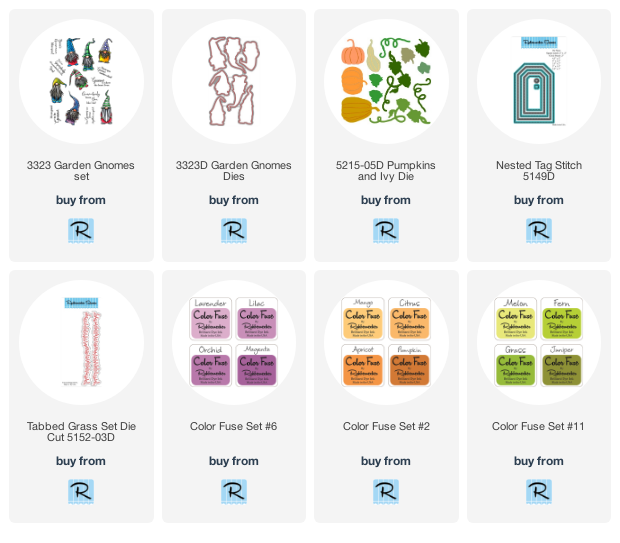
Happy Sunday my friends! It's getting really close to Halloween and I wanted to make these adorable gnomes from Rubbernecker Stamps into Halloween gnomes! These are from the Garden Gnomes set and there's several included sentiments. This sentiment "True Gnomes are alway together in spirit" was just perfect for this setting! Read on for the steps to make this fun card!
Card base:
- The base is an A2 size at 4-¼" x 5-½". I used a cloud stencil, ink blending brushes and Color Fuse inks to create the cloudy background. I used Basil ink from Set 10 and Magenta ink from Set 6. I inked up the outer edges with Black Soot Distress ink.
- Next I hand cut two hill layers from white card stock. I inked them up with Fern, Basil, and Juniper inks.
- Adhere the taller hill with glue and the shorter hill with foam tape.
- Die cut grass with one of the Grass dies. Ink it up with Fern and Grass inks. Adhere it to the bottom of the card layer.
Card elements:
- Die cut white card stock with the Pumpkin and Ivy die. I used sponge finger daubers to color the pumpkins with Citrus and Pumpkin inks. I colored the vines with Fern ink.
- I'm not sure if you can tell from the photo, but I added some shine to the pumpkins and vines, which really made the colors pop! I did this by squeezing a bit of Glossy Accents onto my craft mat and barely diluted it with water. I brushed it onto the pumpkins and vines and set them aside to dry.
- I stamped three of the adorable gnomes in Copic safe ink and colored them in Halloween colors with my Copic markers. I used the coordinating dies to cut them out. I used a clear sparkle pen to add some shimmer to their hats and clothes. You can kind of see it in the next two photos.
- I added the gnomes and pumpkins to the card with glue and some with foam tape.
- I finished it off by stamping the sentiment with Versamark clear ink onto black card stock. I sprinkled on some white embossing powder and heat set it.
- I found that the smallest Nested Tag Stitched die was just the right height to die cut the sentiment. It was a bit long, so after I die cut it the first time, I shifted the die (using just the squared off end) to make it the length I wanted and die cut just that end. I popped it up with foam tape.
I love how versatile these gnomes are and how you can color them to suit whatever your need is! It's great when a set can be used year round!! Thank so much for stopping by!!


So fun, and terrific colors and coloring!
ReplyDeleteOh my goodness Carol, , this is amazing! Such beautiful colors and blending to match your gnomes! I’m am wowed, seriously! 😊
ReplyDelete