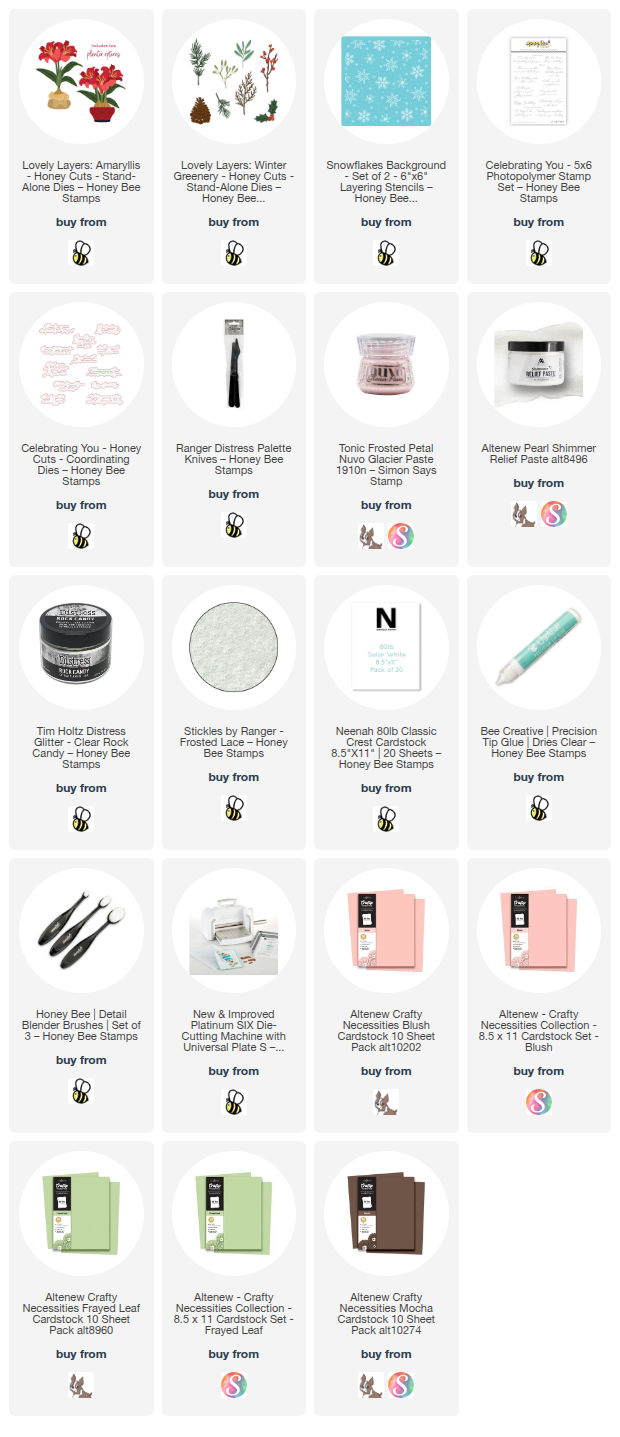
Hello, and happy New Year's Eve crafty friends! I realized that I need more birthday cards for friends that have birthdays in January! I love using products in a different way as I did here with the Lovely Layers: Amaryllis Honey die set!
Don't miss out on the birthday sale, today only, in celebration of Honey Bee's owner, Melissa! 30% off your entire order, no coupon needed, at the Honey Bee shop!

I went with a pink theme and a snowflake background for this card. To create the background, I used the Snowflakes Background stencil set. First I placed the stencil with the large snowflakes over an A2 sized piece of white cardstock. I used a pallet tool to spread pink paste through the stencil, then removed the stencil and set it aside to dry.
Don't forget to clean the stencil and your tools immediately.
When the pink layer was dry I added white pearl paste through the other stencil in the Snowflake Background set.
While that dried, I die cut pink, green, brown, and white cardstock with the die in the Lovely Layers: Amaryllis and the Lovely Layers: Winter Greenery sets. Note: I die cut the layers for the Amaryllis twice.

Next I used green, pink, and brown inks with blending brushes to add shading to the layers. Beginning with colored cardstock makes this very quick and is so easy too!
Following the Layering Guides for the Amaryllis and Winter Greenery, I used Bee Creative Glue to adhere the layers together.
Now that the stenciled panel is dry, I can adhere it to an A2 card base with glue. I arranged and then glued the Winter Greenery pieces to the card. To adhere the Amaryllis I put foam tape on the back of the burlap bag and the Amaryllis and placed each one on the card.
The sentiment is from the Celebrating You stamp set (I LOVE the font of this set). After I stamped it with black pigment ink, I cut it out with the coordinating die. Some foam strips were used to attach it to the card.
With the shimmery snowflake background, I felt like the greenery and flowers needed a touch of sparkle too! I added some Frosted Stickles here and there to the pieces. Before that dried, I sprinkled on some Rock Candy clear glitter for even more sparkle!

I am very pleased with how my card came out and hope you like it too!
On this New Year's Eve, I would like to express my gratitude for the kind words and support I received from you all this year. I wish all the best for you in 2026!
See you back here next year!
Thank you so very much for using my affiliate links to shop (never any additional cost to you)!
1