Hello, crafty friends! This time tomorrow I will be headed to the airport to go to Oregon for Honey Bee Stamps' 10th Anniversary Card Making Retreat! I'm so excited! As you may guess, this trip is what inspired my card for today!
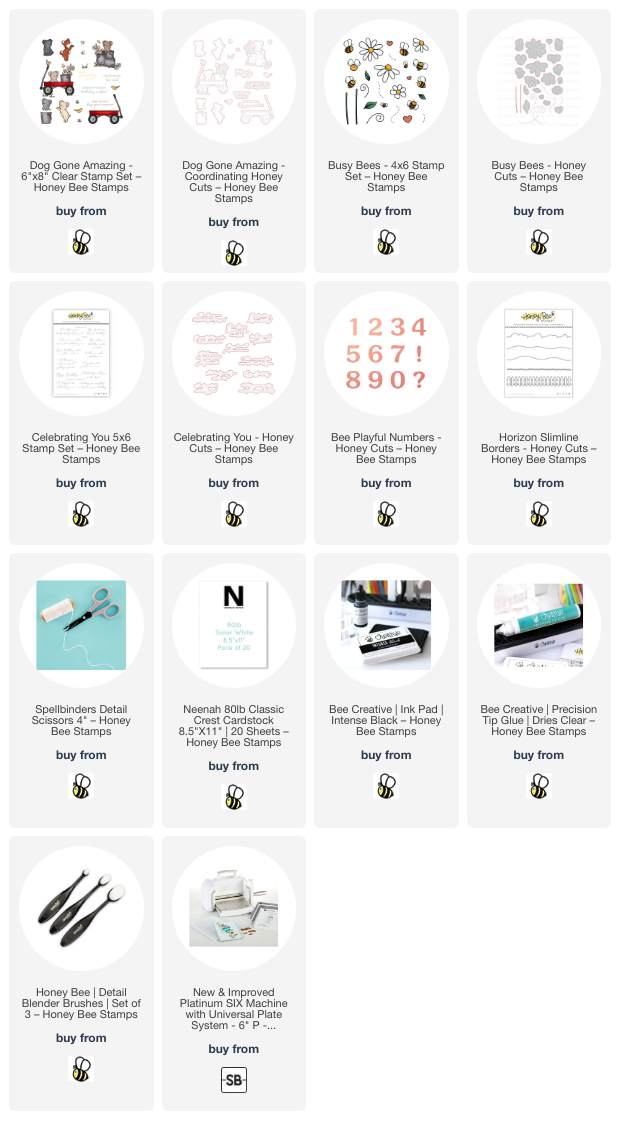
I pulled out what was one of my very first Honey Bee purchases! I still love the Busy Bees stamps and Honey Cuts, and good news, these are still available!

I think that the Busy Bees stamps and Honey Cuts are timeless, as these pair perfectly with newer products!
The background for my card is an A2 card base. First I used a blender brush to add blue ink to the card for the sky. Then I used the hill die from the Horizon Slimline Borders Honey Cuts to die cut green cardstock. I glued this to the bottom of the card base.
Next I stamped the grass from the new Dog Gone Amazing stamp set with green ink onto the hill. Then I stamped two of the dogs from that set with Intense Black ink and colored them with my Copic markers. I cut them out with the coordinating Honey Cuts.
My next step was to stamp all of the flowers, leaves, and some bees from the Busy Bees stamp set with black ink. I repeated the stamping onto more white cardstock since I knew I would want extra. After I colored them with my Copic markers, I cut them out with the coordinating Busy Bees dies.
I decided on an arrangement for the flowers, then adhered some with foam and glued some to the bottom of the card. I used my scissors to trim anything hanging off the edge of the card. I used glue to tuck the leaves here and there around the flowers.

I die cut the 1 and 0 from the Bee Playful Numbers die set four times from white cardstock and once from black. I used glue to adhere the layers together.
I stamped the sentiment from the Celebrating You with black ink and die cut it with the coordinating die.
Next I adhered the Dog Gone Amazing pups with foam squares. Then I put a butterfly from that set onto a stamp block and stamped it with Intense black ink. Then I colored them with a few blue and yellow Copic markers.
To finish up, I glued the number 10 on the card. I added foam strips to the right side of the sentiment and glue to the left to adhere it.
Then I placed the cute little Busy Bees here and there on the card.

If you would like to see some photos from the retreat, then be sure to follow me on my Instagram! I hope to have time to share some of the fun!
Thank you so much for stopping by! You are most appreciated!
Thank you for using my affiliate links to shop (never any additional cost to you)!