Pages

Thursday, October 31, 2024

Thinking Of You Floral Card & Stenciled Background

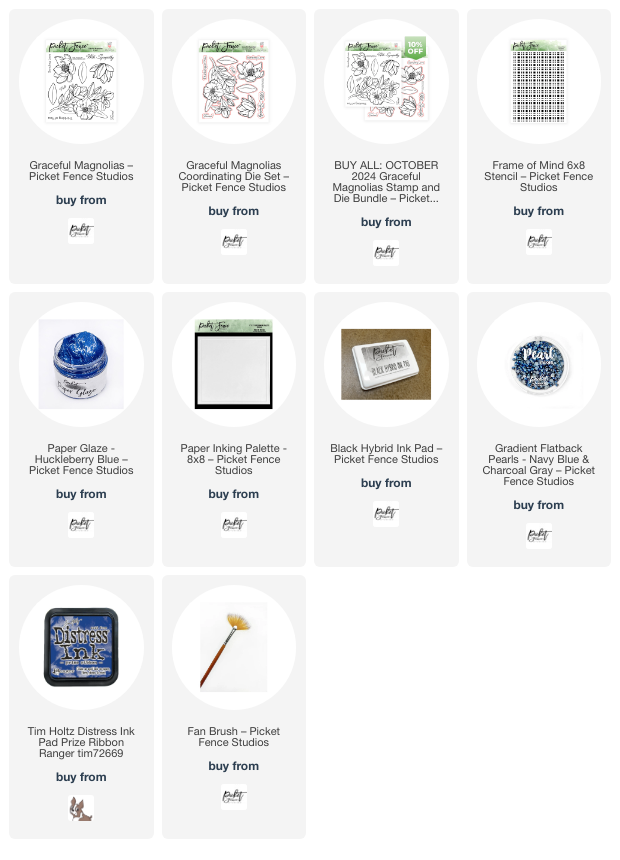
Hello friends!  Today my card features the beautiful Graceful Magnolias stamps and dies by Picket Fence Studios!  Be sure to check out my reel by clicking the Instagram post in the left column.

First I stenciled my background using the Frame of Mind 6x8 Stencil and Huckleberry Blue Paper Glaze.  I only covered one upper and lower corner leaving open space on my A2 card layer.  I set it aside to dry and wash the stencil and tools.

I stamped the Graceful Magnolias flowers and sentiment with Copic safe ink and color them with my markers.  Then I cut them out with the coordinating dies.  

When the stenciled layer was dry, I smooshed my Prize Ribbon Distress Ink pad onto my craft mat, diluted it with water and splattered it onto the piece.

Next I glued the stenciled piece to a layer of coordinating blue cardstock.  Then I used foam tape to adhere the flowers, leaves, and sentiment to the card.

I added some pretty pearls from the Navy Blue & Charcoal Gray pearl mix.

This was a fun, and pretty easy, card to make!  Thanks so very much for stopping by!

Thank you for choosin g to use my affiliate links to shop (never any additional cost to you)!

Wednesday, October 30, 2024

Noel Christmas Card

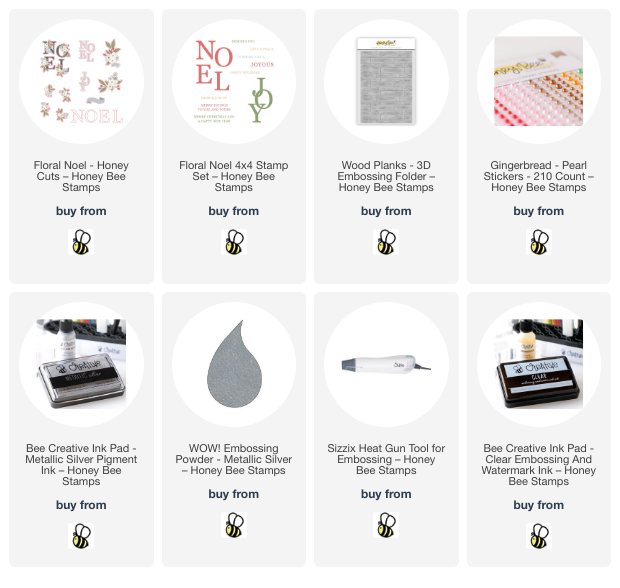
 Hello crafty friends! Have you been as amazed by the Honey Bee Stamps new Cozy Christmas release as I am? One of my favorites (one of many) is the Floral Noel set of stamps, Honey Cuts, and coordinating stencils. So I reached for that set to make my card for this post.

Please note: After I made this card, I was getting links and discovered that the stencils are currently out of stock. The good news is that there will be more available in about a week. So please come back here and click THIS link to check.

I placed a 6" x 6" piece of white cardstock onto my sticky mat. Then I used my ink blending brushes and a few Distress Oxide Inks to color through each of the Floral Noel stencils. I used these colors: Spun Sugar, Worn Lipstick, Festive Berries, Candied Apple, Bundled Sage, and Rustic Wilderness. The flower centers are stenciled with Bee Creative Metallic Silver ink.

When I finished the stenciling, I cut out the images with the coordinating Honey Cuts.

I chose a sentiment from the Floral Noel stamp set to stamp with clear embossing ink onto the inked banner. After sprinkling on silver embossing powder, I used my heat tool to set it.

Next I embossed white cardstock with the awesome Wood Planks 3D embossing folder! I just love the detail!! I trimmed it to 4" x 5-¼" and glued it to an A2 card base.

I added foam dots to the back of each letter of Noel. Tip, I use my nonstick scissors to cut strips of the large foam dots to whatever size I need! Before adhering the letters, I used glue to add the floral cluster.

To finish the card and add a bit of bling, I added pearls from the Gingerbread Pearl Stickers set.

I absolutely love this Floral Noel set! There are so many options to use this with different colors and arrangements! Be sure to check out all of the Cozy Christmas release to find your favorites!

Thank you so much for stopping by!!

Affiliate links (never any additional cost to you)!

Monday, October 28, 2024

Grateful For You!

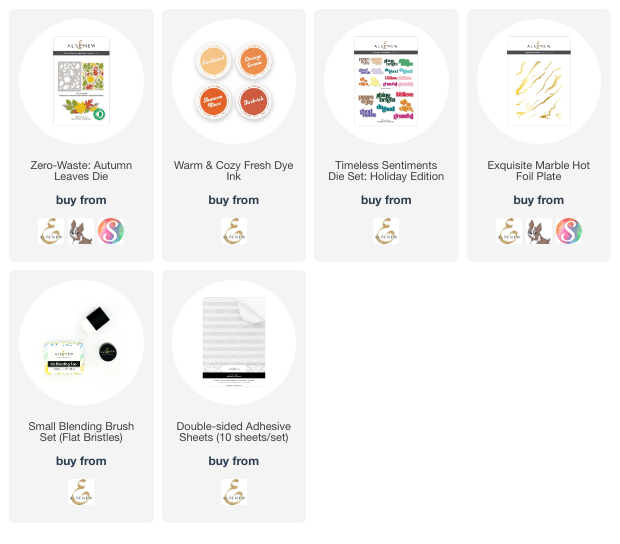
Hello friends!!  Today I'm sharing my card that features Altenew's wonderful Zero-Waste: Autumn Leaves Die!  I also have a reel over on Instagram showing some of the process to make this card.

I have seen many beautiful projects that feature the Zero-Waste: Autumn Leaves die and wanted to think of a different way to use it.  So I had the idea to use the Exquisite Marble Hot Foil Plate with an ink blended background!

First I blended the four inks in the Warm & Cozy set of inks.  Then I die cut it with the Zero-Waste: Autumn Leaves die.  I adhered the outside die cut to a white A2 card base.  I shaped the leaves a bit with my fingers then glued them into the openings.  Some of the circles fell out and I didn't try to place those back into the die cut.

The sentiment is from the Timeless Sentiments 3.  I added more copper foil by adhering double-sided adhesive to cardstock and sticking the foil to it.

Check out my reel over on Instagram to see more!  Thanks so much for stopping by!

Thank you for using my affiliate links to shop (never any additional cost to you)!

Sunday, October 27, 2024

Watercolor Autumn Leaves Card

Happy Sunday, crafty friends!  Today I'm over on the blog at Brass & Bliss today to share my fun watercolor card!  This card features the Fall Leaves stamps and Nested Woodgrain die set.

I used Distress re-inkers as my watercolor medium.  If you would like to see all of the exact details, they are over on Brass & Bliss' blog, along with helpful process photos.

I love how the watercolors bled into the die cut lines of the Nested Woodgrain Sign die!

I coordinated the sentiment from the Fall Leaves stamp by stamping and heat embossing in gold.  I was thrilled when I discovered that a leaf shaped die from the Fall Leaves die set would work with the sentiment.

Thanks for stopping by today!  I hope you have a wonderful week with lots of crafty time!

Wednesday, October 23, 2024

Boo To You! and Happy Halloween Shaped Card

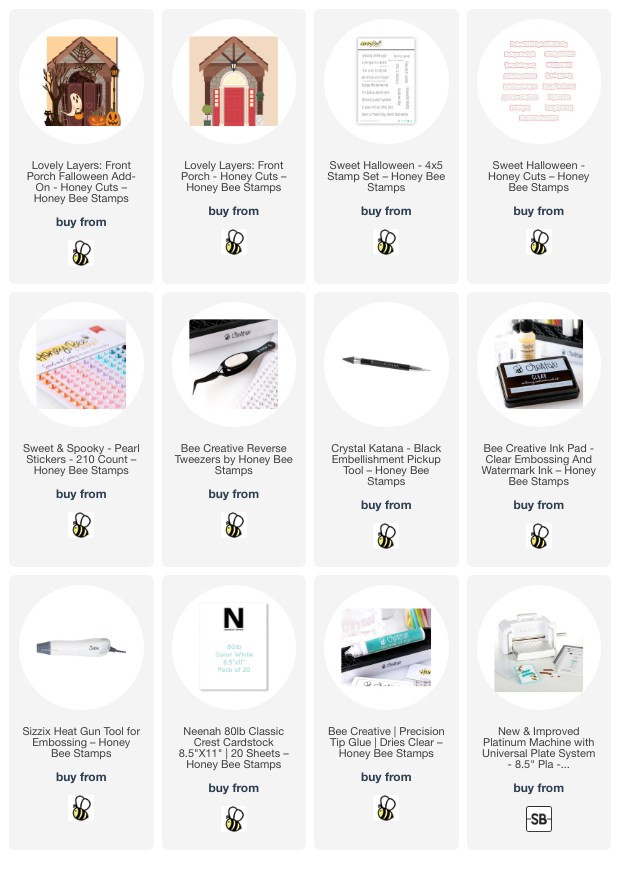
Hello crafty friends! Today I'm sharing my cute Halloween card that features Honey Bee Stamps Lovely Layers: Front Porch Falloween Add-on Honey Cuts! This pairs with the previously released Lovely Layers: Front Porch dies.

Before I begin how I made this, I wonder if you, like me, feel overwhelmed with a lot of dies like the Lovely Layers: Front Porch Falloween Add-on? I found a way to break it down to make it so much easier! I printed off the Layering Guide that is available to download and found in the product description.

Then I looked at the first section of the Layering Guide and just focused on the layers for the door, as shown. I just continued through the guide and the pieces were assembled in no time! I used two shades of gray cardstock, and black, white, orange, brown, and yellow cardstocks to die cut the elements in the Front Porch and the Front Porch Falloween Add-on sets.

The cat's eyes and the pumpkin stems are white cardstock that I colored with a YG25 Copic marker.

Using my reverse tweezer and pick-up tool made it easy to glue the layers together.

For the card base, I took a folded A2 card and placed the large die from the Front Porch dies with the folded edge of the card just below the top of the die. I ran that through my die cutting machine to create the shaped card base.

Then it was just a matter of arranging and gluing the elements to the base.

I stamped three sentiments from the Sweet Halloween stamp set with clear embossing ink onto more of the dark gray cardstock. I added white embossing powder and then set it with my heat tool. I cut the sentiments out with the coordinating dies.

I glued one sentiment inside the card.

I adhered the other two sentiments to the front of the card with foam strips.

Then I added Sweet and Spooky pearl stickers to the tree, pumpkins, and door. Did you notice how one of the pumpkins is on the planter? Haha!

Thanks so very much for stopping by!  I hope you have a wonderful day!

Thank you for using my affiliate links to shop (never any additional cost to you)! 

Friday, October 18, 2024

Lilac Layering Dies for a Friendship Card

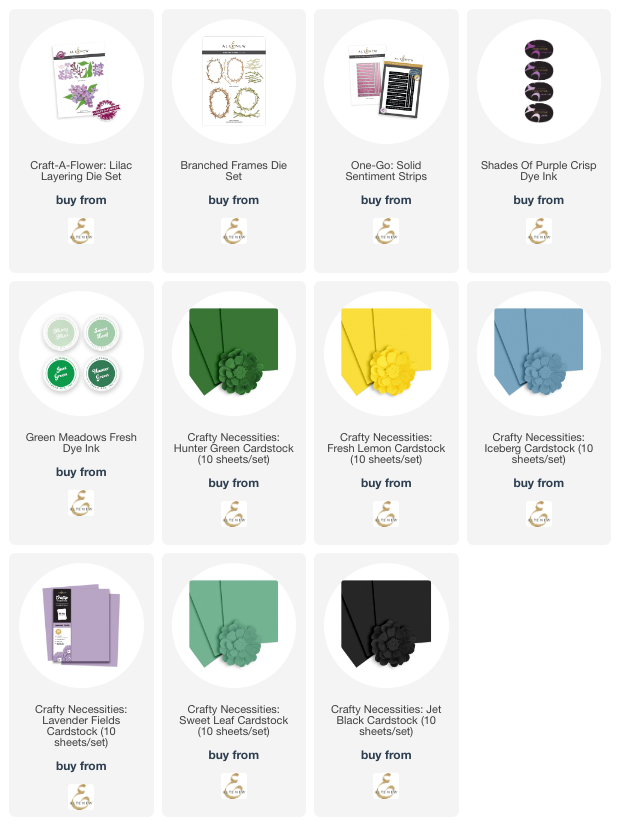
 Happy Friday crafty friends!  I'm sharing my card featuring Altenew's Lilac Layering Die Set and the Branched Frames Die Set.

I die cut the Lilac Layering dies and the Framed Branch dies with colored cardstocks.  The colors are in the list below.

Then I add shading to the flower petals and leaves with Lavender Fields and Deep Iris inks.  Yes, I added purple inks to the blue cardstock!  I shaded the leaves with Hunter Green ink.

I used the layering guides that are included on the packaging to assemble the pieces.  I think that the way Altenew has numbers that imprint on the stem and petals of the Lilac Layering dies is genius!!  The flower centers cover those numbers for a finished look!

I added the Lilacs and Branched Frame to a watercolored panel I made by dropping the purple ink onto dampened watercolor cardstock.  I added purple splatters to the panel before I added the wreath.

The sentiment is from the One-Go: Solid Sentiment Strips Press Plate and coordinating die.

Check out my reel over on Instagram to see some of the process.  Thanks so much for stopping by.  I hope you have a great weekend with lots of crafting time!

Thank you for using my affiliate links to shop (never any additional cost to you)!

Thursday, October 17, 2024

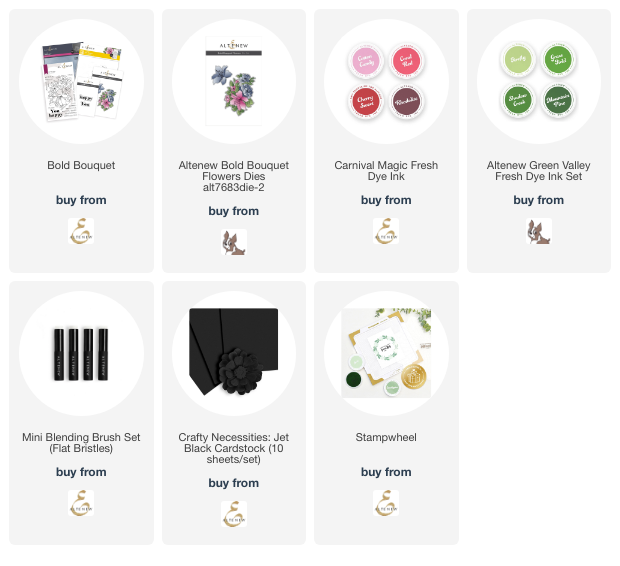
Bold Bouquet Birthday Card

Y'all, I am super thrilled to be a guest designer over on Altenew's blog!  I'll show you a photo, but you will need to join me on their blog for more photos and all of the fabulous details.

Also, if you'd like to go ahead and check out the products I used, I linked them below.

Be sure to leave a comment over on Altenew's blog so I'll know you stopped by!  I sure appreciate you!

Here's a list of the products for my card (thank you for shopping with my affiliate links-never any additional cost to you)!

Friend, Thinking of You

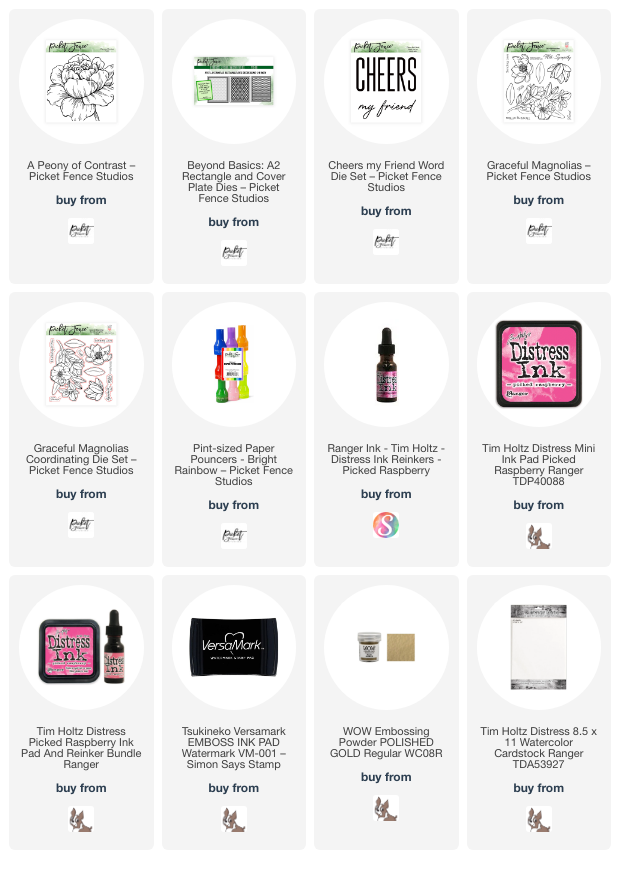
Hi friends!  Today I'm sharing a bit about my card I made featuring Picket Fence Studios gorgeous stamp called A Peony of Contrast.  This is one of the new products in the release that just became available!!

After I stamped the Peony of Contrast with Versamark onto Distress watercolor cardstock, I added gold embossing powder and heat set it.

Then I used a few drops of Picked Raspberry Distress re-inker to watercolor this beautiful flower.  If you'd like to see this in action, I have a reel posted over on my Instagram.  Just click the image in the left sidebar of my blog.

Next I used my scissors to cut around the embossed lines of the flower.

I used the new Beyond Basics: A2 Rectangle and Cover Plate Dies set to create the background layers.  This set has five rectangle shaped dies and three different cover plate dies, including the heart one I used here.

I used my paper trimmer to cut down the peony to fit the card front and adhered it with some foam tape.

The "friend" sentiment is from the Cheers My Friend word die set and is die cut three times.  I used a Paper Pouncer to color the die cuts and then glued them together.  I stamped the other sentiment from the Graceful Magnolias stamp set with Picked Raspberry Distress ink and trimmed it into a strip.  There is a coordinating die set, that I totally spaced on using, with a die to cut out the sentiment (eye-roll to me, haha).

Simple watercoloring is so relaxing and also easy!  I sure appreciate you stopping by for a bit today.  I hope you have a great one!

Thank you so much for shopping with my affiliate links (never any additional cost to you)!

Wednesday, October 16, 2024

There Is Always Something To Be Thankful For

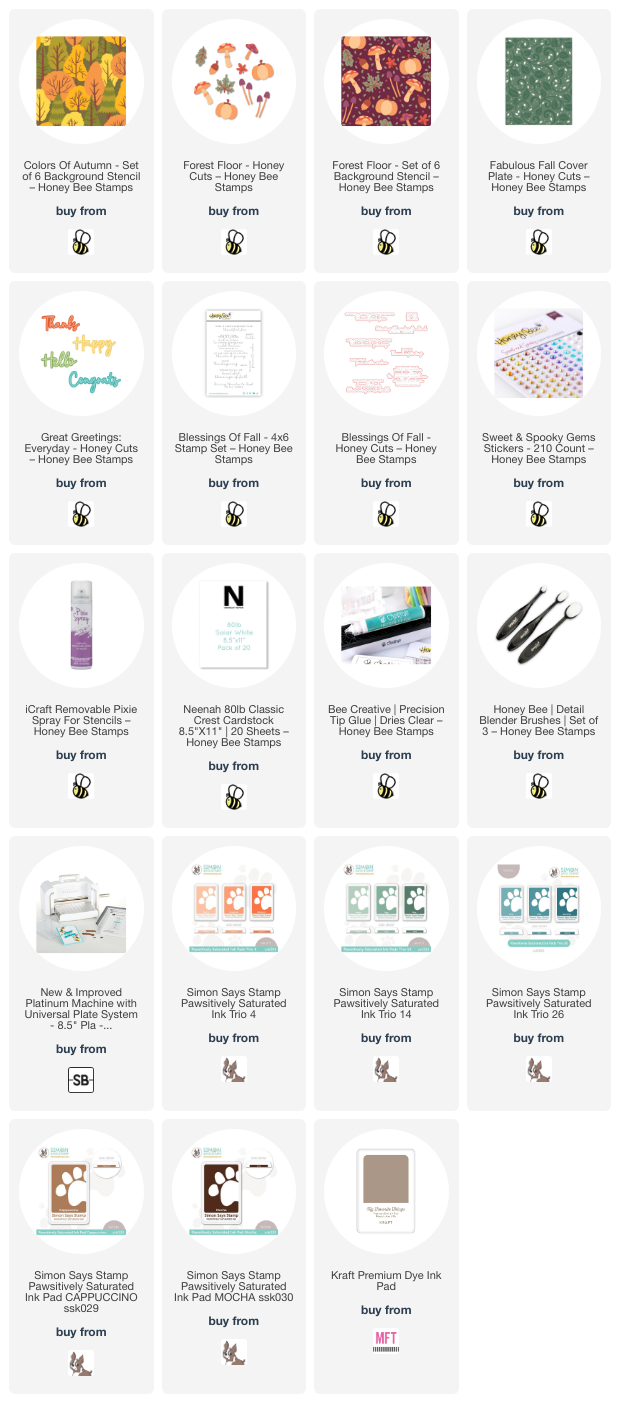
Happy Wednesday crafty friends! My card today features Honey Bee Stamps gorgeous Colors of Autumn stencil set but not in traditional autumn colors! I used green inks with the stencils for a nontraditional autumn card. I love how this turned out and hope you do too!

I started out by spraying the Colors of Autumn stencils with Pixie Spray. I only sprayed the few stencils that have very delicate parts that would move when I swiped the blending brush over it.

I used green ink in a light, medium, and darker shade with each of the Colors of Autumn stencils and Detail Blending Brushes. I used two shades of brown ink for the tree trunks. By using the lightest green ink at the top of the trees it adds lots of definition to each tree.  (All of the inks I used are linked in the list below.)

Next I cut the panel in half crosswise. Then I trimmed each piece to be 2" x 4-¼". I adhered these with glue to a piece of white cardstock I die cut with the Fabulous Fall Cover Plate die. I inked up a scrap of white cardstock with the darkest green ink and cut two thin strips. I used glue to adhere these strips to the stenciled pieces.

Next I die cut white cardstock with some of the dies in the Forest Floor Honey Cuts. Then I used the coordinating Forest Floor stencils to color and shade the pieces with teal blue, light orange, beige, brown, and green inks with blending brushes.

I used glue and a few foam dots to adhere the Forest Floor pieces to the card.

Next I inked up more white cardstock with the darkest green ink and die cut the top layer of "hello" that's from the Great Greetings: Everyday dies. Then I die cut white cardstock with the shadow three times. I used glue to stack up the shadow die cuts and to adhere the top layer.

I stamped the greeting from the Blessings of Fall with green ink. I cut it out with the coordinating die and cut two more white cardstock layers. I glued the layers together and then glued the stack to the card.

I added some matching pearls from the Sweet and Spooky Gem Stickers around the sentiment and the pumpkin arrangement for a bit of bling.

So, what do you think about the shades of green? I think this set could be used in the springtime too with a brighter set of green inks! Thanks so much for stopping by. Have a fabulous day!

Thank you so very much for using my affiliate links to shop (never any additional cost to you)!

Sunday, October 13, 2024

Happy Halloween, Friend!

 I'm over on the blog at Brass & Bliss today to share the details of my Halloween card that features the Jack O Lanterns stamps and coordinating dies.

I used patterned paper from the Spook-tacular paper pad to frame the stamped and Copic colored scene within the Nested Square die cut opening.  The tree stamp is in the Jack O Lantern stamp set.

I stamped the string of pumpkins and the other pumpkin images and colored them with my Copics.  The images are die cut with the coordinating Jack O Lantern dies.

There are five sentiments in the Jack O Lantern stamp set and I chose one to stamp and trim for my card.

I was so dismayed to discover some mysterious smudges on the patterned paper and actually tossed this in the trash!  However, after other attempts to save this card I ended up retrieving it from the trash.  I hid the smudges by creating the two frames you see on the card!  Two dies nested together from two set (Nested RC Squares and Classic Nested Rectangle dies) created the frames and saved the card!

Get lots more details and progress photos over on the Brass & Bliss blog.  Thank you so much for stopping by!

Thursday, October 10, 2024

Let's Have Some Christmas Fun

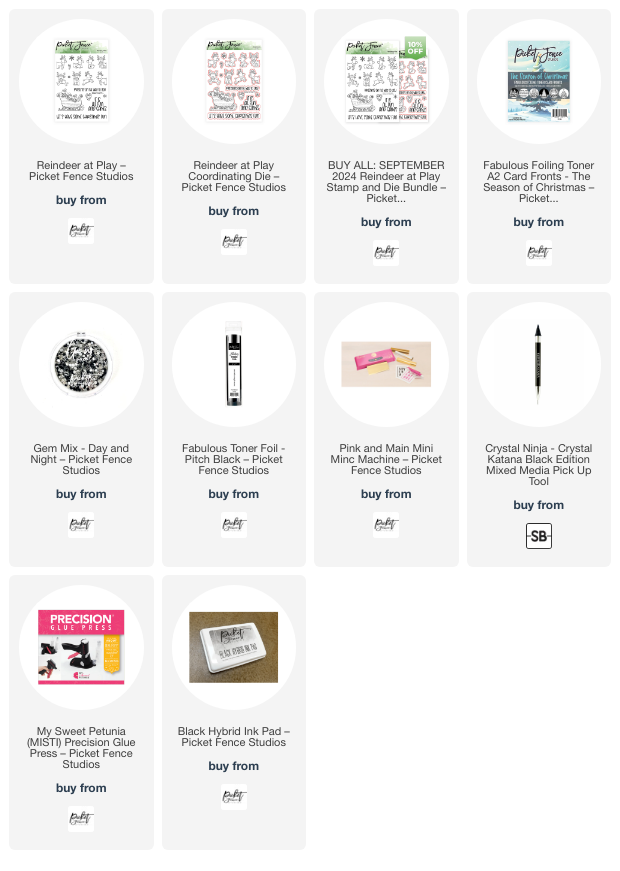
A quick post here to share a few details of my card that features Picket Fence Studios adorable Reindeer at Play stamps and coordinating dies.

I stamped four of the super cute reindeer and the sleigh from the Reindeer at Play stamp set with Black Hybrid Ink.  Then I colored them with my Copic markers and cut them out with the coordinating dies.

Next I stamped a sentiment from the Reindeer at Play set with black ink and used the coordinating die to cut it out.  I added foam tape to the back of all of the die cuts and set them aside.

I chose one of the beautiful The Season of Christmas Fabulous Folding Toner card fronts.  I thought it would be fun to keep the background black and white for the images to really stand out.  These are to be used with heat from a laminator type machine.  I cut a piece of Pitch Black toner foil, placed it on top of the toner card front, and then ran it through my Minc mini machine.

After trimmer it to 4" x 5-¼" I glued it to an A2 card base.  Then I adhered the sentiment and images to the card.  Then I added a bunch of the Day & Night gems to the tree.  I used my Crystal Katana pickup tool to place the gems on tiny dots of glue for a bunch of pretty bling!

I hope you will come over to Instagram to check out my reel I posted for this card.  Thanks so very much for stopping by!

Thank you for using my affiliate links to shop (never any additional cost to you)! 

Wednesday, October 9, 2024

Sweet Autumn Card For Our Friends

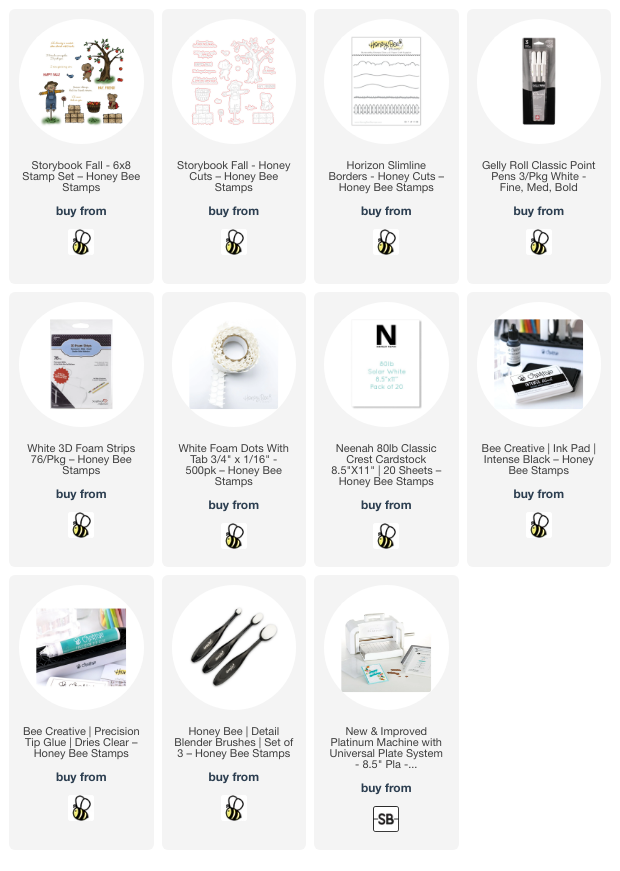
Hello crafty friends! Today I'm sharing my sweet card I made with Honey Bee Stamps adorable Storybook Fall stamps and coordinating Honey Cuts. I love the sentiments in this set that are so perfect for a card for that special friend!

I created the scene by first stamping some of the images from the Storybook Fall stamp set with Intense black ink, an alcohol marker safe ink. There's the cutest scarecrow in this set but I just didn't have room for him on my card!

I used a variety of Copic markers to color the images. Then I cut them out with the coordinating Storybook Fall dies. I used a white gel pen to add highlights to the apples and stripes on the pup's scarf.

Next I used one of the hill dies that is in the Horizon Slimline Borders die set to cut a strip of white cardstock. I used an ink blending brush to color it with Mowed Lawn and Rustic Wilderness Distress Oxide inks. Then I used the little grass stamp in the Storybook Fall set to add the grass to the piece by stamping with Rustic Wilderness Oxide.

Before I glue on the grass piece, I added Tumbled Glass Oxide ink with a blending brush to my A2 card base. I used glue and some foam dots to adhere the cute images to the scene.

Then I stamped the two sentiments from the Storybook Fall set with black ink and cut them out with the coordinating dies. I added foam strips to the back to pop the sentiments up on the card.

And that's it! A super sweet card made with one stamp set and two die sets! I sure do appreciate you taking a few minutes to stop by today! Have a fabulous day!

Thank you so much for using my affiliate links to shop (never any additional cost to you)!
Monday, October 7, 2024

It's Your Day -- Embossing, Stencils, & Ink Blending Fun!

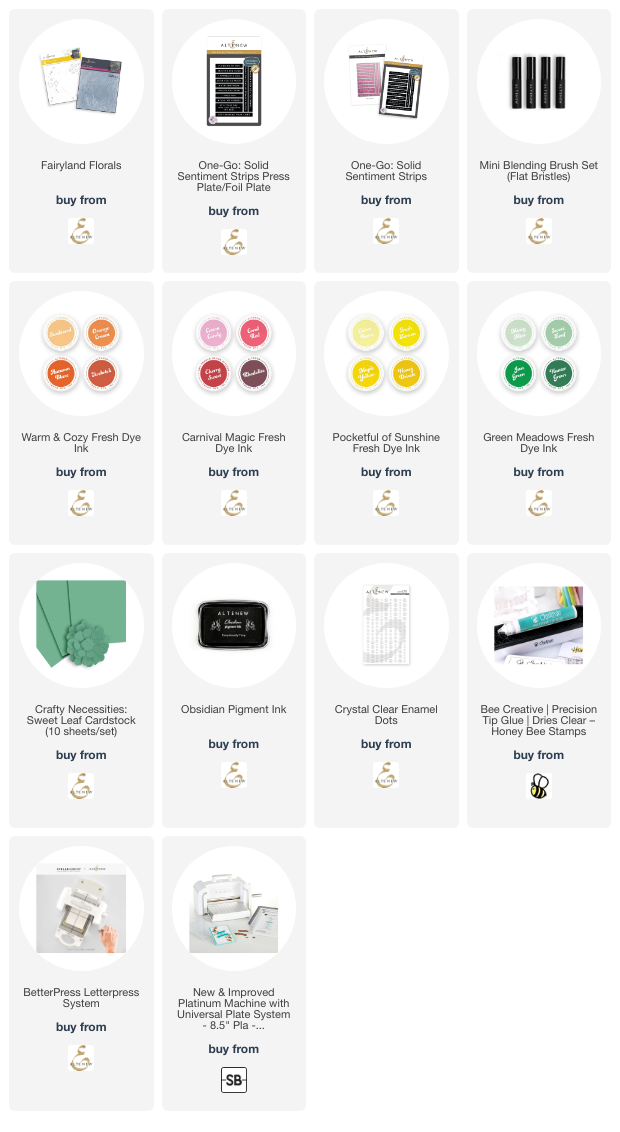
 Hello friends!  Today I'm sharing my card featuring Altenew's beautiful Fairyland Florals 3D embossing folder and the Simple Coloring Stencil Set.  I've also used the new One-Go: Solid Sentiment Sentiment Strips Press Plate which can also be used with your hot folding!

I think y'all know how much of a fan I am of 3D embossing folders and I love this Fairyland Florals 3D embossing folder!  After I embossing a 6" x 6" piece of white cardstock, I used various Fresh Dye Inks and the Mini Blending Brushes I ordered (love these!) to color in each of the four Fairyland Florals stencils.

I used these ink colors:

A note about these Mini Blending Brushes.  I paid for these and these were not part of my being on the team.  My honest opinion here.  I think these are some of the best brushes out there.  I really like how the brush is short and flat, plus the bristles are thick.  I really do recommend these.

I trimmed the panel and used glue to adhere it to a black layer and a Sweet Leaf cardstock layer.

The sentiment is one from the One-Go: Solid Sentiment Strips Press Plate.  The awesome thing about the is that not only does it give you all the sentiments in one pass, it has a coordinating die and can be used as a hot foil plate too!

I placed the press plate onto my BetterPress plate, tapped on Obsidian pigment ink, and pressed it with my Platinum onto 80# Neenah.  I cut the sentiments out with the coordinating Sentiment Strips die.

I used foam tape to adhere the sentiments to my card and added a few Crystal Clear enamel dots for a bit of bling!

If you'd like, I would love for you to check out my reel for this card over on Instagram!  Thank you for stopping by, and I hope you have a wonderful week!

Thank you for using my affiliate links to shop (never any additional cost to you)!