Pages

Wednesday, February 28, 2024

You Make My Heart Sing -- Layered Love Birds!

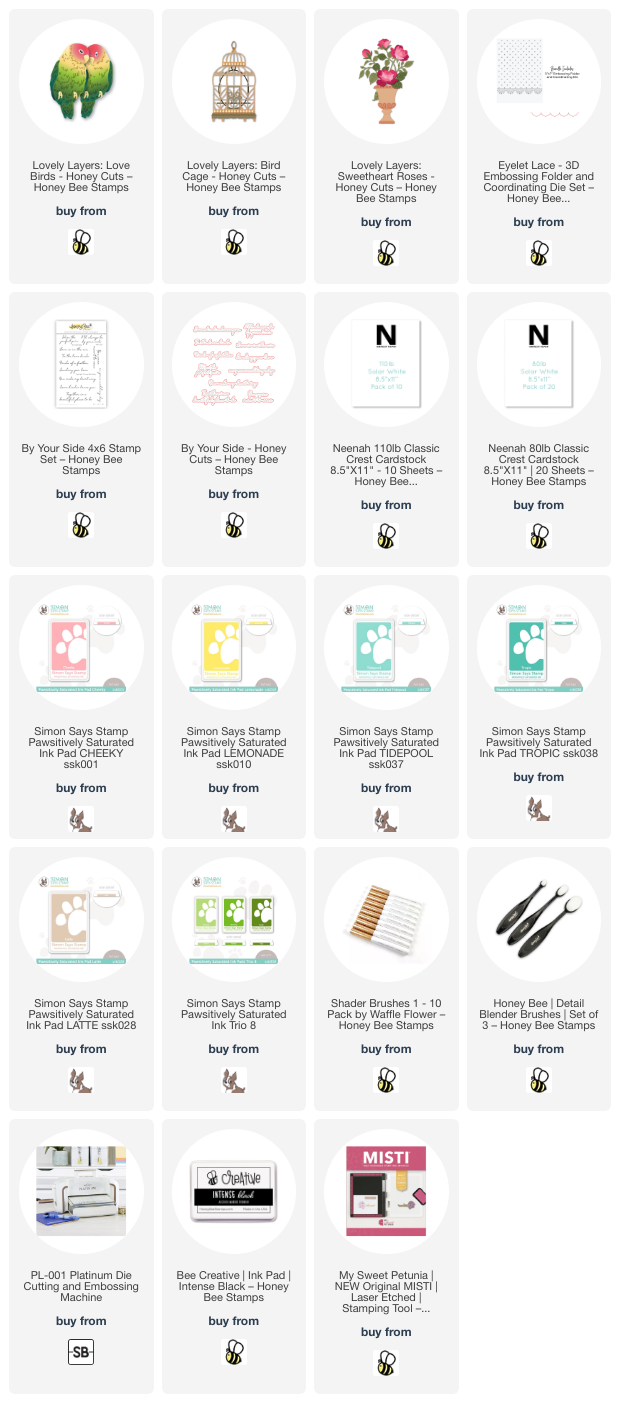
Hello crafty friends! Today I'm sharing my card that features three of Honey Bee Stamps beautiful new Lovely Layers sets--Love BirdsBirdcage, and Sweetheart Roses! I chose some cheerful springtime colors for this card since spring is just around the corner!

The card base is 5" x 7" and topped with a layer embossed with the Eyelet Lace 3D embossing folder. I used the coordinating die to cut the bottom edge.

The sentiment is stamped in black ink and is from the By Your Side stamp set. Since I stamped it directly onto the card base, I didn't need the wonderful coordinating die.

I created the white Lovely Layers: Birdcage by cutting the dies with white cardstock except for the round portion of the perch and the top piece which are cut from silver cardstock. I die cut another of the perch (just the horizontal piece) from scrap white cardstock. I trimmed it and used a light brown Copic marker to color it to resemble wood. Then I used glue to adhere it to the silver portion of the perch.

I used the handy Layering Guide to assist my assembly since this was the first time using the Birdcage set. After I glued the pieces together, I set it aside to work on the birds. I die cut all of the Lovely Layers: Love Birds from white cardstock. Using ink blending brushes, I colored the birds in a coral, yellow, and teal ink shades that I have in my stash.

Again, I used the Love Birds Layering Guide to adhere my layers together with glue. When I glued their claws on I made sure to just add a dot of glue to the top. This allowed me to lift the base of the claws to adhere them over the perch. Once I had the birds and perch finished, I glued them behind the birdcage. I made sure to position the birds so the eyes were in an open area of the cage.

I added a few strips of foam tape to the back of the birdcage to adhere it to the card. For the decorative flowers, I die cut the Lovely Layers: Sweetheart Roses from white cardstock. I did not die cut the large branch piece as the flowers and leaves can be used alone making this set even more versatile!

The roses are colored with the same coral and yellow inks that we used on the birds for a cohesive look. After I adhered the Sweetheart Roses layers, I arranged them on the bird cage and adhered with glue.

I really love how this card turned out and hope you do too!  Be sure to check out my reel that I will be sharing over on Instagram to see some of the process to make my card.  Thanks so much for stopping by!

Thank you for shopping with my affiliate links (never any additional cost to you)!
Sunday, February 25, 2024

I'm Yours Forever (No Exchanges)

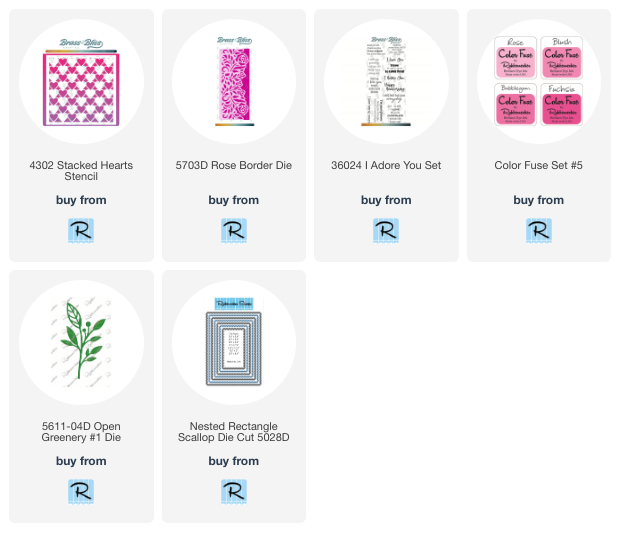
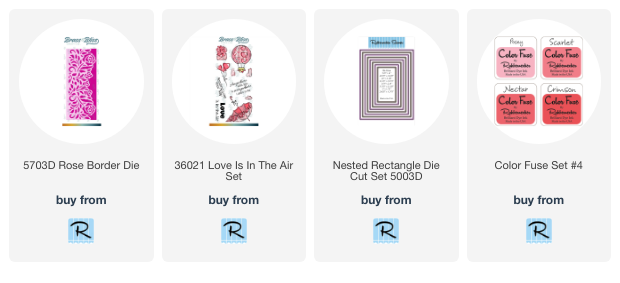
Happy Sunday crafty friends!  Today I'm over on the blog at Brass & Bliss Craft Co. with all of the details of my card featuring the Rose Border die.  I thought it was really funny to add a snarky sentiment to this elegant card!  Haha!  It would be perfect for Valentine's Day or for an anniversary.  I plan on giving it to my husband and can't wait to see his reaction to the sentiment!! LOL!

I'm just hitting the highlights here, so be sure to head over to the Brass & Bliss blog for all of the steps to make this fun card.  I layered the Rose Border die after coloring each piece to make an ombre border.

The background panel is white on white with texture paste added through the Stacked Hearts Stencil.

I added a pink mat layer behind the sentiment from the I Adore You stamp set.  Both pieces are die cut with a rectangle scalloped die.

Before adhering the sentiment with foam tape I added two vellum Open Greenery die cuts.

Thank you so much for stopping by!  I hope you have a wonderful week!

Thank you so much for shopping with my affiliate links (never any additional cost to you)!

Friday, February 23, 2024

Sara Girl Foiled Butterfly Card

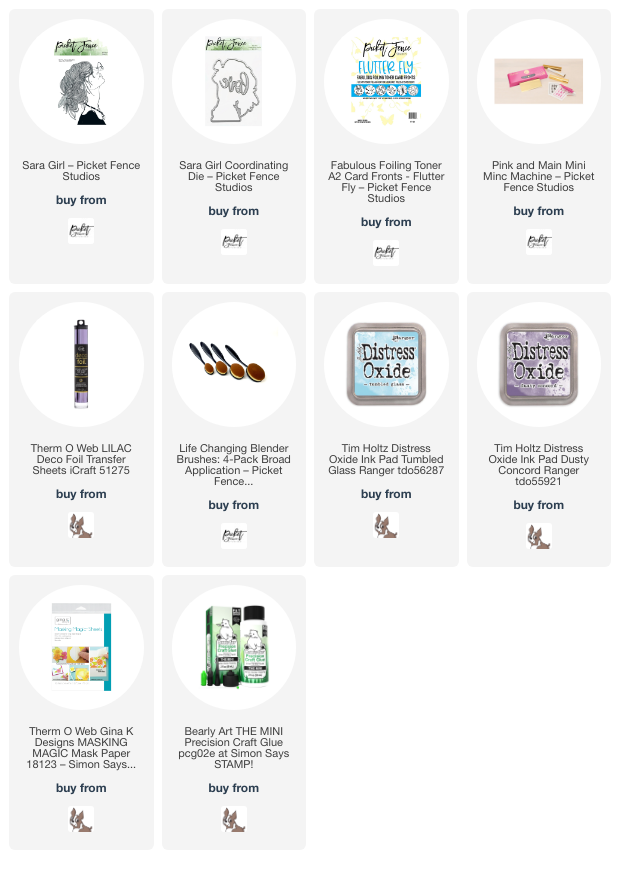
Hello crafty friends!  If you have a good stash of toner foils like I do, then you will love these new Flutter Fly Foiling Toner Card Fronts by Picket Fence Studios!  Also new is the beautiful Sara Girl stamp!


 First I chose one of the six designs (2 each) included in the Flutter Fly Fabulous Foiling Toner Card Fronts pack.  I used my Minc Mini to foil lilac toner foil onto the card front.

Next I used a Life Changing Blender Brush to add Tumbled Glass Distress Oxide ink around the edges of the foiled card front.  Then I adhered it to a top-folding A2 card base.

Then I stamped the Sara Girl stamp with black ink onto white cardstock, masking her top.  I tapped some Seedless Preserves Distress Oxide ink onto her top.  After I wiped off the excess just above the top, I stamped it with my MISTI.

I used several Copic markers to color the image.  Next I cut it out with the coordinating die.  Also included with the die is a die for the word "love".  I added doubled sided tape to a piece of white cardstock and die cut "love" from it.  Then I removed the backing and pressed some lilac foil onto the sentiment creating a coordinated die cut for my card.

I added foam tape to the back of the image to adhere her to the card.

I die cut the sentiment three more times from black cardstock and adhered them together with glue.  Then I glued on the foiled sentiment slightly offset and then glued it to the card.

Be sure to visit my Instagram to see the coordinating reel I made for this card!  Thanks so very much for stopping by!

Thank you for using my affiliate links to shop (never any additional cost to you)!

Thursday, February 22, 2024

Hello, Sweet Friend -- Beautiful Blooms Stamps & Dies

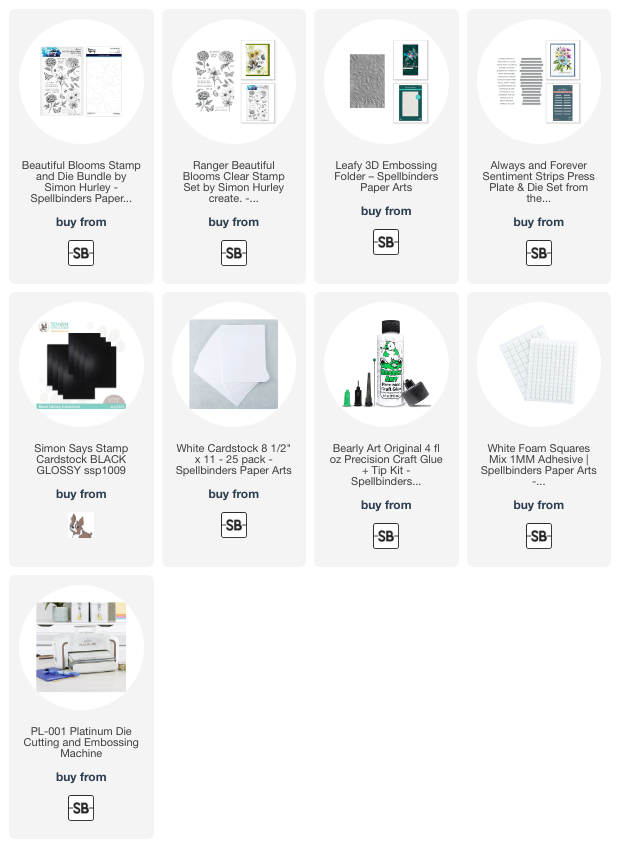
Today I'm sharing a somewhat dramatic card featuring the Beautiful Blooms Stamp & Die Bundle by Simon Hurley.  These stamps are drawn with lots of fine details in each image and I left the stamped images as is to show off that detail.

I began by embossing some black glossy cardstock with the Leafy 3D embossing folder.  After I trimmed it to 4" x 5-¼" I glued it to a top-folding A2 card base.

Next I stamped the Beautiful Blooms images with black pigment ink and cut them out with the coordinating dies.  I stamped the ladybug with red ink and then used a black pen to color the parts that would normally be black.  I love the pop of red!

I used glue to adhere one flower to the card and foam tape to adhere the other images.

The sentiment is from the Always and Forever Sentiment Strips BetterPress set.  I added foam tape to the back to pop it up on the card.

Thank you so much for stopping by today!  I hope your day is filled with crafty fun!

Thank you so much for using my affiliate links to shop (never any additional cost to you)!

Wednesday, February 21, 2024

You're In My Thoughts -- A BetterPress Letterpress Card

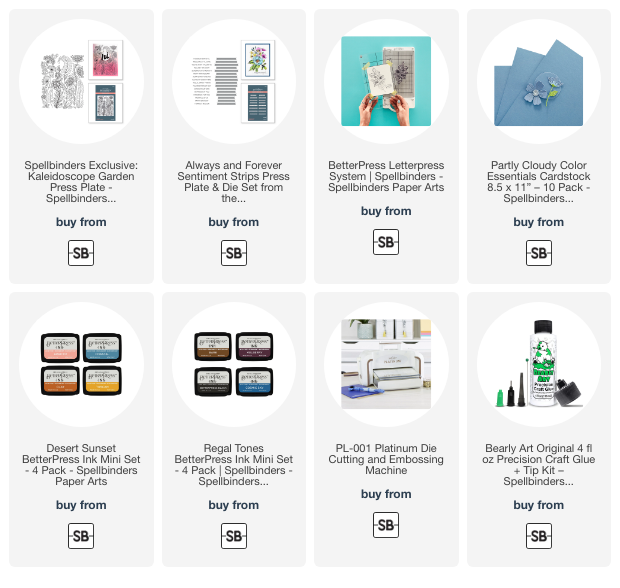
Today I'm sharing this beautiful letter pressed card that features Spellbinders' Kaleidoscope Garden BetterPress press plate.

If you need a card that is beautiful and super quick to make, this one is for you!  What made it even faster is the Always and Forever Sentiment Strips press plate I used.  This presses all of the sentiments in one pass and then die cuts them all together with one die!

Using my BetterPress Letter Press System I tapped Coastal BetterPress ink onto the Kaleidoscope Garden press plate.  After adhering Porcelain Cotton card to the clear plate, I ran the base through my Platinum die cutting machine.  P.S.:  The original Platinum is on sale now!!  I love the crisp, clear images you get with the BetterPress!

Next I trimmed the image and glued it to an A2 sized piece of Partly Cloudy cardstock.  I added this to a top folding card base.

I used Porcelain Cotton card and black BetterPress ink for the sentiment from the Always and Forever Sentiment Strips.  I love having one die to die cut all of the sentiments!

I added a layer of Partly Cloudy cardstock to the back of the sentiment and popped it up with foam tape strips.

The Kaleidoscope Garden press plate would work great for a variety of occasions.  Change the ink color and sentiment and color the image with your preferred medium, for totally different looks!

I hope you've found some inspiration here today.  Thank you, always, for stopping by!

Thank you so much for using my affiliate links to shop (never any additional cost to you)!

Tuesday, February 20, 2024

You're Simply The Best -- Create A Card With Die Cuts!

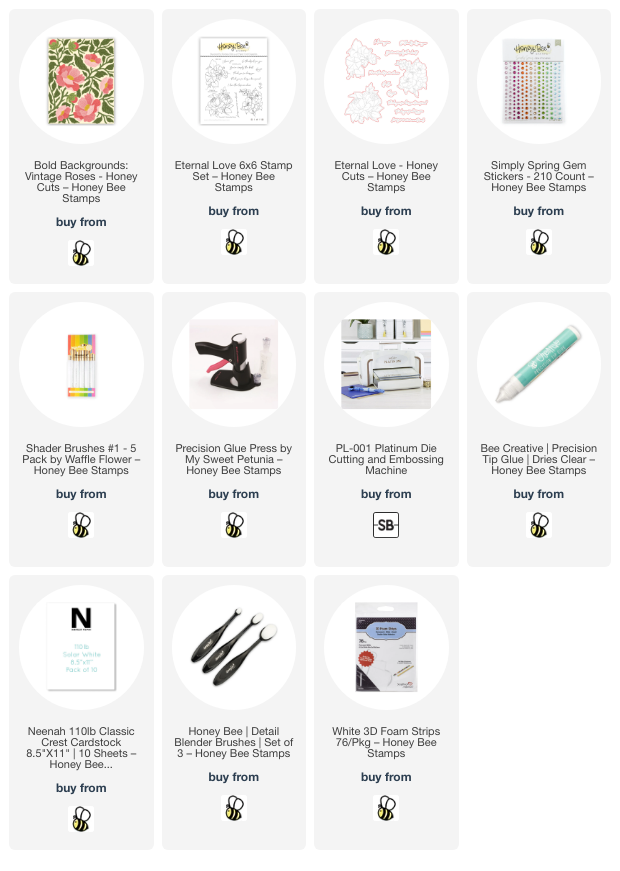
Hello crafty friends! Today I'm sharing my card that features the gorgeous Honey Bee Stamps Bold Backgrounds: Vintage Roses die set. As beautiful and intricate as this set appears, it was so quick to create a card with! I love that the roses can be used alone too!

First I die cut the all of the pieces of the Bold Background: Vintage Roses dies. I cut the base of leaves from 100# white cardstock and used small blending brushes to add two shades of green ink. The flower layers are die cut from two shades of peachy toned cardstock. I used a coordinating peach ink to add shading to the petals with my ink blending brush.

Be sure to die cut two each of the large flower and three each of the medium and small flowers. I used the handy Layering Guide found in the product description to help in assembling the flowers. Next I used glue to adhere all of the layers together. I added glue to the base to adhere the piece to a top-folding A2 card base.

I chose a sentiment from the Eternal Love stamp set and stamped it with black in. I cut it out with the coordinating die and added foam tape to the back to adhere the sentiment.

I decided to add a bit of sparkle and found the perfect color of coordinating gems in the Simply Spring Gem Stickers! I think all cards are better with a bit of bling, right?

This card was really just that easy! I absolutely love the Bold Background: Vintage Roses! Thank you so much for stopping by today! 

Thank you for using my affiliate links to shop (never any additional cost to you)!

Monday, February 19, 2024

Spellbinders February Stitching Die of The Month -- A Beautiful Floral Card Front

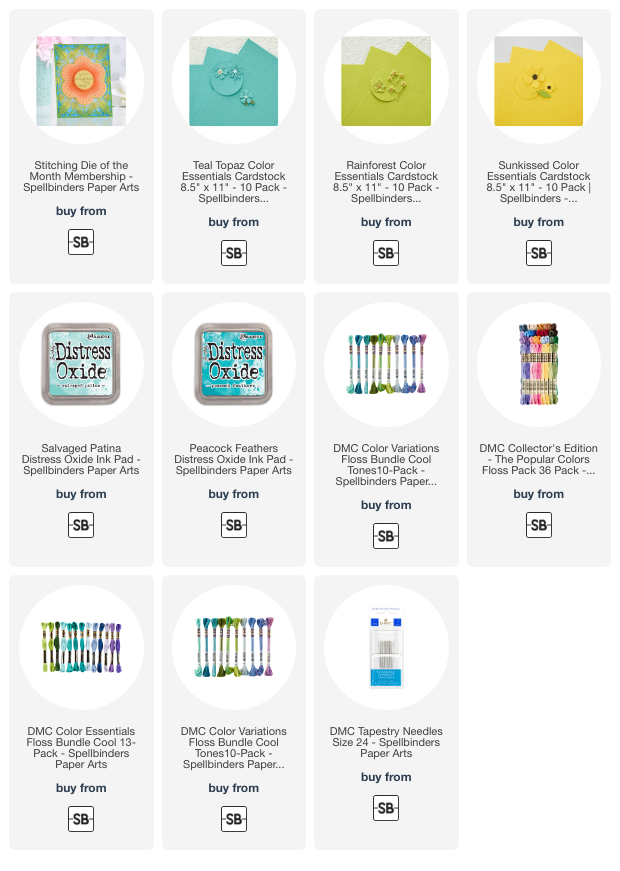
Hello crafty friends!  Today I'm sharing my card that features the Stitched Floral Focal Card Front die set.  This is Spellbinders' February stitching die of the month and is so beautiful.

While I've added stitching to this card, the die set would be just as stunning without stitching!

I die cut the Stitched Floral dies from green, yellow, and teal cardstock.  Then I used a couple of coordinating teal inks to add shading to the flower portion.

I chose a few different green shades of embroidery thread to stitch the outer portion.  I used six strands of the thread on the flower portion and three strands of each color for the flower center and the leaves.

To adhere the finished pieces to my A2 card front I used liquid glue behind each stitched portion of the outer layer.  I added thin foam tape to the flower pieces.

To finished I stamped a sentiment from the Hummingbird Sentiments in black ink, added foam tape squares and adhered it to the card.

I have several other ideas for using these February stitching dies and hope to have time to try them out.  Be sure to check out all of the details of Spellbinders' Club Kits to see what may interest you!

Thank you for using my affiliate links to shop (never any additional cost to you)!

Wednesday, February 14, 2024

Happy Birthday Card with A Fun Stamping Technique

Hello crafty friends! Today I'm sharing another card with the florals from the Blooming View stamp set, but with a twist! Did you see my card from last week's blog where I used this set? I love thinking of different ways to use the same set to get more use out of a favorite! Check out the details below.

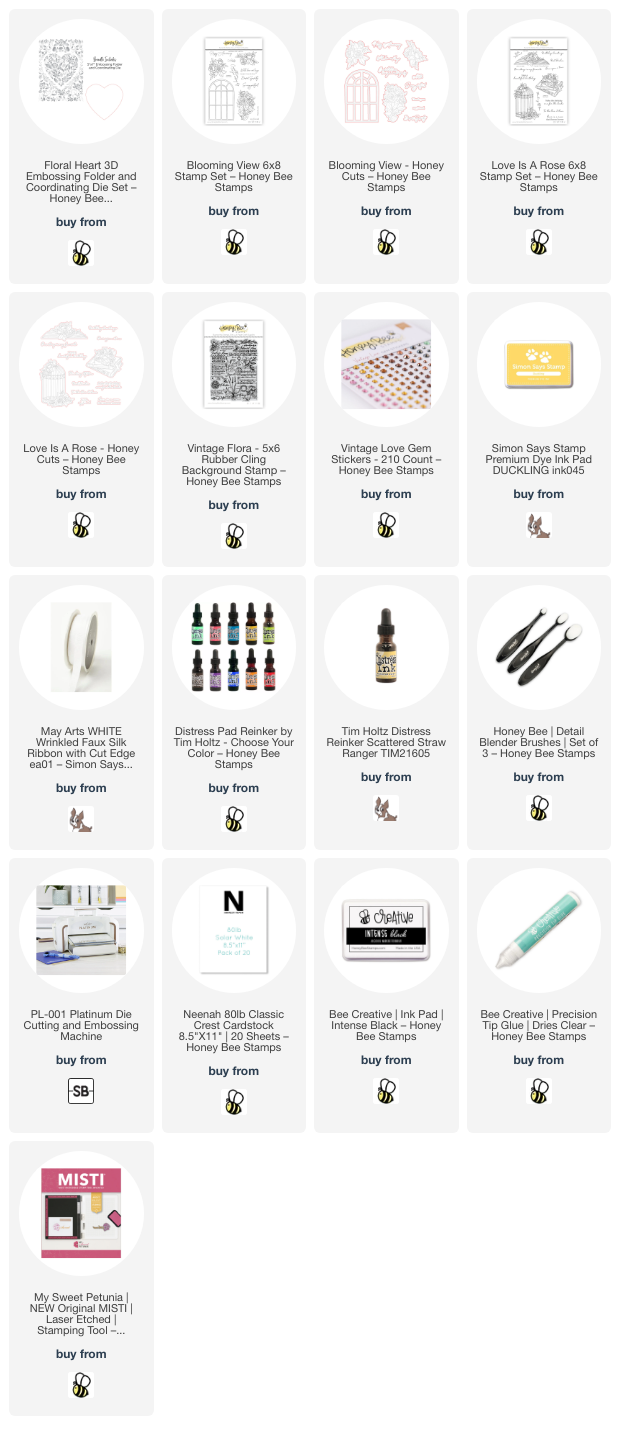
First I cut a panel of 5" x 7" 80# Neenah. I placed it inside the Floral Heart 3D embossing folder, but did not emboss it just yet. I used the embossing folder to plan where to place the included heart die to cut out the center. I adjusted as needed, then use removable tape to hold the die in place. After I ran it through my die cutting machine, I taped the die cut heart by putting tape on the back to hold it in place.

Next I put the entire panel into my MISTI. Then I chose two of the florals from the Blooming View stamp set and arranged them so that part would stamp on the heart and part off. Then I removed the tape and placed the heart aside and ran the other piece through my die cutting machine after I placed it in the Floral Heart embossing folder.

I used some Copic markers to color the images on the heart die cut. Then I placed the Vintage Flora background stamp on my craft mat and inked up just one corner. TIP: Use a small ink blending brush to apply the ink to the stamp. This will avoid the lines you get when pressing the ink pad to the stamp and give a more subtle stamped image. I used my fingers to press the heart over the inked portion of the stamp and repeated once more. As you can see in the above photo it certainly adds detail, but does not overpower the colored flowers. I used the same ink and a blending brush to add ink to the edges of the heart.

I dyed some white ribbon with drops of Scattered Straw Distress Ink re-inker that I added water to. After drying the ribbon, I tied it around the main panel in a double bow. I used glue to adhere it to a 5" x 7" card base.

Next I added foam tape to the back of the heart and adhered it in the opening of the embossed piece. The sentiment is from the Love Is A Rose stamp set. After I stamped it with black ink, I cut it out with the coordinating die and popped it up with foam strips.

For a touch of bling, I added some sparkle from the Vintage Love Gem Sticker!

Such a super fun card to make and I hope you've found inspiration here today!  Thanks so much for stopping by!

Thank you for shopping with my affiliate links (never any additional cost to you)!

Sunday, February 11, 2024

Die Cut Rose Border Gatefold Card

 Hello crafty friends!  I'm happy to share my card featuring Brass & Bliss Craft Company's (formerly Rubbernecker Stamps) Rose Border die.  (Note: All products are listed on the Rubbernecker shop site until the Brass & Bliss site launches in March.)

I have all of the "how to make this card" details over on the Brass & Bliss blog today.  If you would like the specific instructions, please join me there.

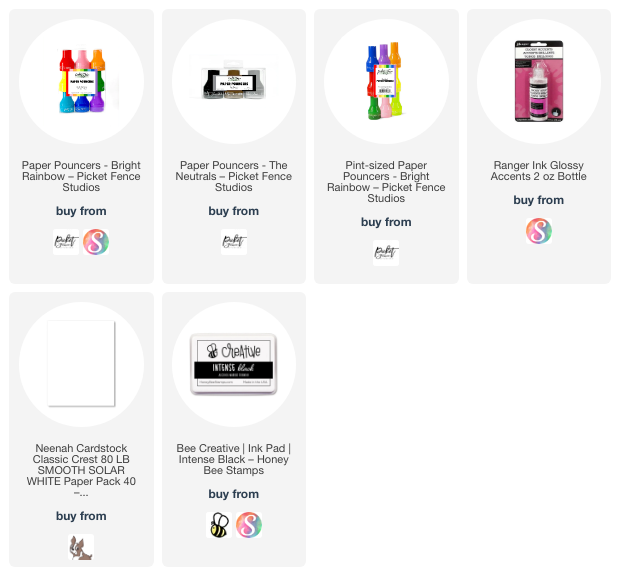
After I die cut the gatefold sides of the card, I used the fabulous Paper Pouncers to add Posey, Scarlet, and Crimson ink to the die cuts.  These Pouncers really make coloring intricate die cuts a snap!

I stamped a sentiment and some extras from the Love Is In The Air stamp set on the card inside too!

Thanks so very much for stopping by!  I hope you'll join me over on the Brass & Bliss blog for all of the details.

Thank you for shopping with my affiliate links (never any additional cost to you)!

Thursday, February 8, 2024

Spellbinders Beautiful February 2024 Embossing Folder of the Month

The Spellbinders' February Embossing Folder called "Swirling Blooms" is part of their amazing club kits, and I love it!  I created a simple, sweet and so pretty get well card -- keep reading for the details!

I used my brayer to ink up the smooth side of the Swirling Blooms embossing folder with a lovely shade of teal ink.  I placed 80# Neenah inside and ran it through my Platinum die cutting machine.  I love how this shows off the beautiful embossed detail!

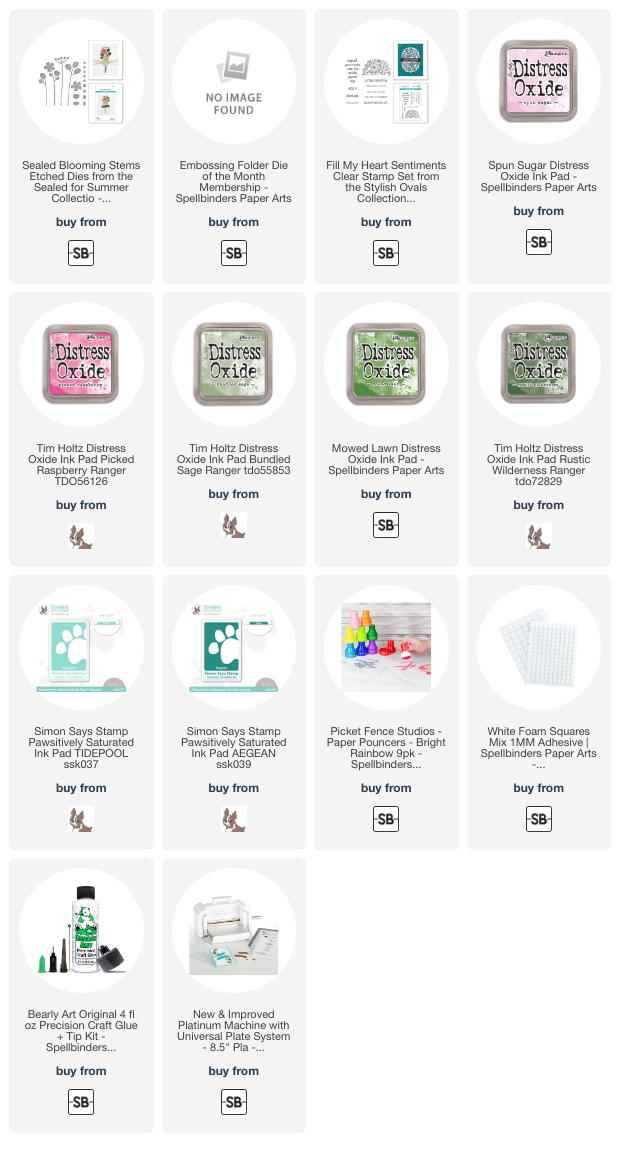
Next I die cut white cardstock with the die in the Sealed Blooms Stems die set.  I used these awesome Paper Pouncers to color them with a few different inks (listed below).

I adhered the arranged blooms with glue and some small foam squares.

The sentiment is from the Fill My Heart Sentiment set and stamped in a darker teal ink.  After I trimmed it into a strip, I used foam tape strips to adhere it to the card.

I hope you will check out all of the monthly Club Kits by Spellbinders.  I love the broad selection of club kits that suit everyone's favorite product!

Thank you so much for using my affiliate links to shop (never any additional cost to you)!

Wednesday, February 7, 2024

Anniversary Card With Stencils and Watercolor

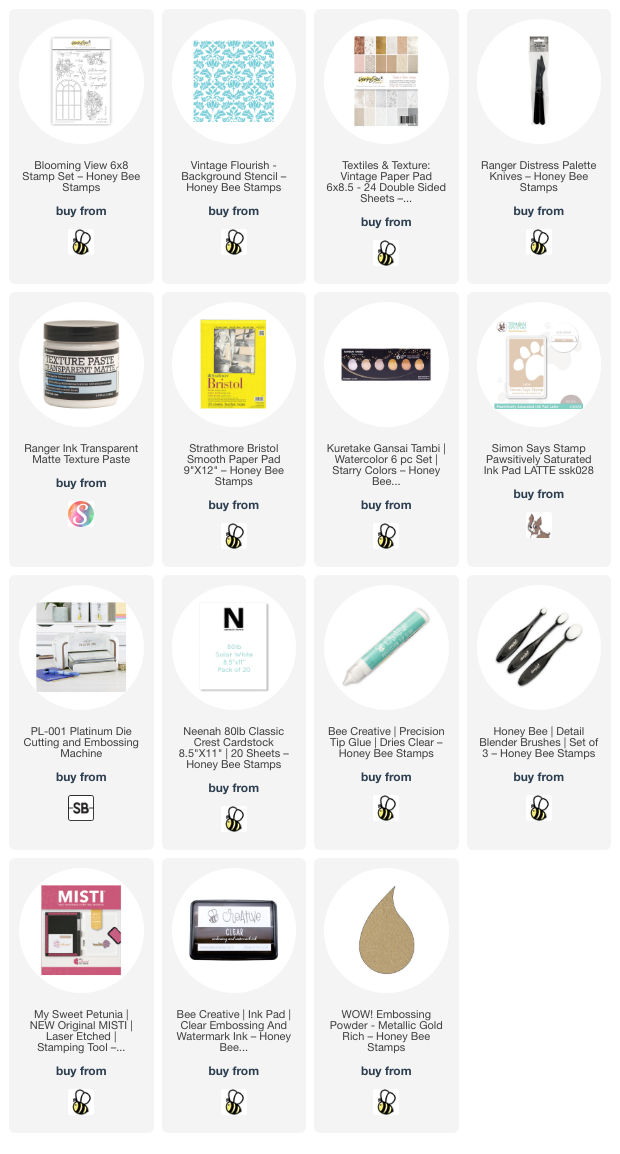
Hello Honey Bee friends! Have you been loving the new Vintage Love release as much as I have? Today my anniversary card features the gorgeous Blooming View stamps and coordinating dies. I absolutely love the florals, but also the window which has so many possibilities with other sets too!
I started by using a fun stenciling technique for my A2 card background. I trimmed a piece of paper from the new Textiles & Texture: Vintage paper pad to 4-¼" x 5-½". Then I lightly sprayed the back of the Vintage Flourish stencil with Pixie Spray. This is a beautifully detailed stencil and the spray will keep the small parts of the stencil secure.

Next I used a pallet knife to spread some transparent matte texture paste through the stencil. I removed the stencil and immediately washed it and the knife. When the piece was dry, I used an ink blending brush to add some very light brown ink over the entire piece. This makes the detail of the stencil pop! Check out this photo I took about half way through the process.

You can really see what a difference the ink makes. (The ink wasn't thoroughly dry and is much lighter after some time.) I adhered the panel to my A2 card base with glue.

Next I stamped the images from the Blooming View stamp set with clear embossing ink onto Bristol Smooth cardstock. I added gold embossing powder and heat set it.

Then I used various watercolors from my stash to color the florals. I used a gold metallic watercolor on the window. Tip: Use a scrap piece of Bristol to experiment and combine colors to find what you like. This prevents me from making a color mistake on the actual piece.

I die cut all of the dry pieces with the coordinating Blooming View dies. I love that the window has two dies! I used the outer die to cut a piece of vellum to fit behind the window and used glue to adhere it to the card.

The gold embossed sentiment is one of several in the Blooming View stamp set and is cut out with the coordinating die. I used foam dots and narrow foam tape strips to adhere the florals and sentiment to the card.

This was a super fun technique to used with patterned paper and stencils! I hope you've enjoyed my card making process and have found inspiration here! Thank you so much for stopping by!

Thank you for using my affiliate links to shop (never any additional cost to you)!